

Once you have pulled a lino print, it is tempting to pick it up, add the next colour or put it away. Giving the ink enough time to dry helps keep the print clean and avoids smudges or marks from other sheets.
This guide explains what affects drying time, how to check a print and how to organise a drying space. There is no single drying time for every ink and paper, but a few simple checks will help you plan your printing sessions.
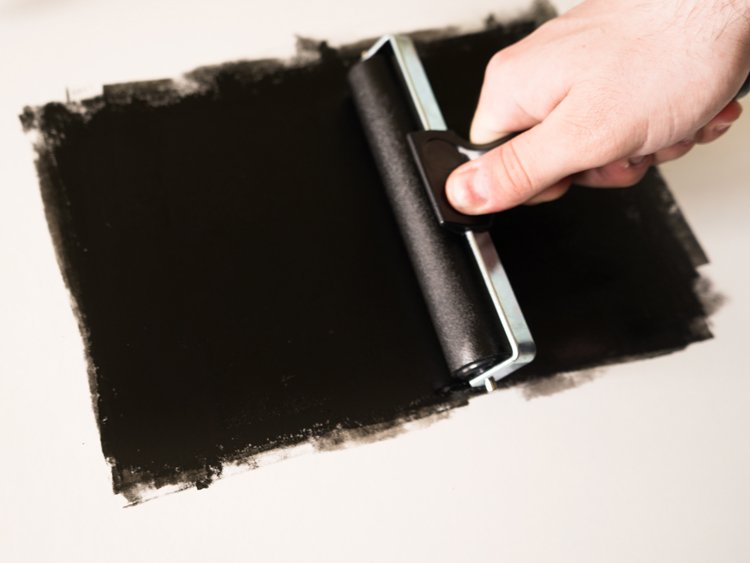
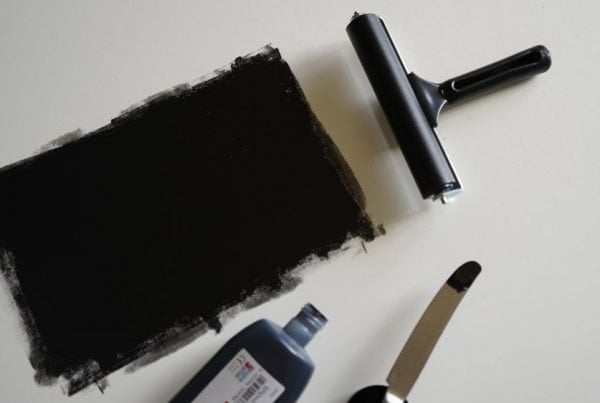
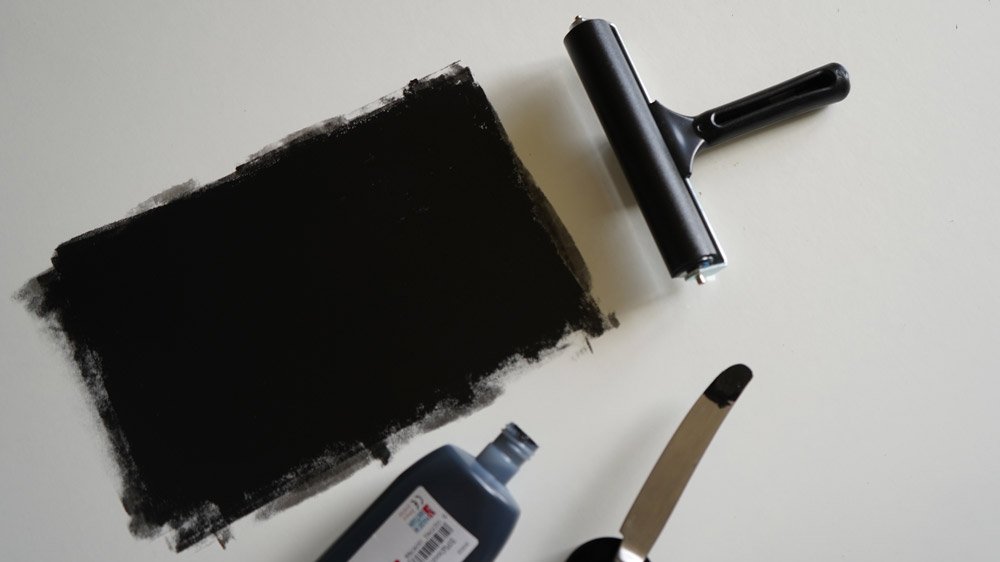
The thickness of the printed ink ink is one of the variables to record in a drying test.
Table of Contents
How to check whether your print is dry
Before moving on, check a spare print to see whether the ink is ready for the next step.
- Dry to the touch: Gently touch a printed area on a spare proof with a clean, dry fingertip. The ink should not smudge or come away on your finger.
- Ready for another colour: Try the next layer on a spare proof first. The new colour should print cleanly without lifting or smearing the ink underneath.
- Ready to stack: The ink should no longer feel sticky or transfer onto another sheet. Check a heavily inked area as well as the edges before stacking the finished prints.
- Ready to wash: For fabric prints, follow the ink maker’s waiting time and any heat-setting instructions. Feeling dry does not necessarily mean the fabric is ready to wash.
Use spare proofs for these checks so you do not mark your finished prints. Solid areas with more ink may need longer to dry than fine lines.
What to expect from different inks
| Ink example | Manufacturer’s drying guidance | What this means for your project |
|---|---|---|
| Essdee water-based block-printing ink | Essdee gives an example of approximately 2 hours on an elevated string drying rack in a warm, dry room. In a cold, dark studio, prints could take weeks. | The 2-hour example is not a guaranteed time. Use a thin ink layer and check a spare proof before stacking. This standard ink is for paper and card, rather than washable fabric prints. |
| Cranfield Caligo Safe Wash Relief | Cranfield does not give one fixed drying time for paper in the guidance linked below. Warmth, low humidity, airflow, paper and ink thickness all affect drying. | It is oil-based, despite its soap-and-water cleanup. Test a spare print before adding a colour or stacking, rather than assuming it will dry within the session. |
| Speedball Fabric Block Printing Ink | Touch-dry within 12–24 hours. Speedball recommends waiting a full week before washing or getting the print wet. No heat setting is required. | Allow separate time for the print to feel dry and to become ready for washing. These timings apply to this fabric block-printing formula, not every Speedball ink. |
| Essdee fabric block-printing ink | Essdee says the ink must dry and then be heat set to bond to the fabric. Its FAQ does not give one fixed drying time. | Follow the setting instructions supplied with the ink. Do not use the no-heat-setting advice for Speedball’s fabric ink with this product. |
These are manufacturer examples and instructions, rather than results from a timed studio test. Check the current label for your ink, as drying depends on the materials and conditions.
Caligo Safe Wash is oil-based, so it dries through a reaction with air rather than simply losing water. Its soap-and-water cleanup does not make it dry like a water-based ink. See Cranfield’s product information for the details.
Why one print dries differently from another
Ink thickness, paper, temperature, humidity and airflow can all affect drying. A print may take longer in a cold, damp room than in a warmer, drier space.
The same ink can also behave differently on another paper or when applied more thickly. If you change the colour, paper or amount of ink, try a small proof before printing the whole edition.
Try a proof before printing the full edition
- Make a test print. Use the same paper and include the detail and solid areas in your design.
- Note what you used. Write down the ink, colour, paper and any additions.
- Note the room conditions. Note the time, approximate room temperature and whether the space feels damp or well ventilated.
- Check the spare print. Use a spare proof for checking so you do not mark a finished print.
- Try the next colour. Check that the first layer stays clean when you print over it.
Make a note of what you used and how long the proof needed before the next step. These notes will give you a useful starting point next time you use the same materials.
Make space for prints to dry
Make room for wet prints before you start. Keep sheets separate, with no inked surfaces touching, and put them somewhere clear of the inking area. Label batches if you are working with several colours or groups.
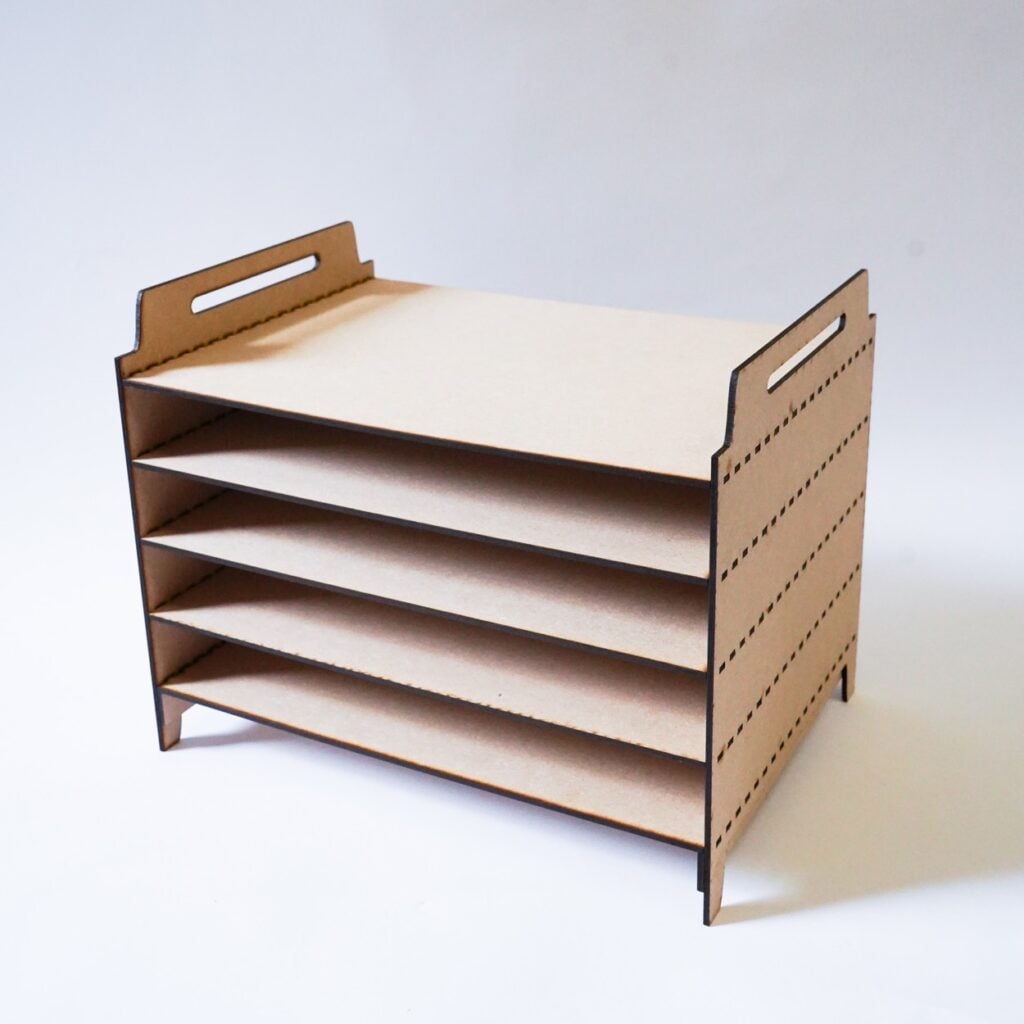
A drying rack separates sheets; it does not guarantee a particular drying time.
Our A4 stackable drying rack helps keep sheets organised while they dry. Check the paper size and how many sheets you need to store before choosing a setup. The rack keeps prints apart; the ink and room conditions still determine the drying time.
How long should fabric prints dry?
Speedball says its Fabric Block Printing Ink is touch-dry within 12–24 hours and recommends waiting a full week before washing or getting it wet. It does not need heat setting. Follow Speedball’s product guidance and the current label, as other fabric inks have different instructions.
What if the ink is still sticky?
If a print is still sticky, keep it separate and give it more time. Check the ink instructions and think about the amount of ink, paper and room conditions. Before adding a drier or other product, check that the ink maker recommends it and follow the stated quantity.
A little planning at the start makes drying easier to manage. Try a proof, leave space for the sheets and check the ink before stacking or adding another colour. Our inking-your-block guide can help with application, and lino-printing troubleshooting covers common printing problems. Browse our lino printing inks if you are choosing materials for your next project.