

A group workshop needs more planning than multiplying a beginner kit by the number of people. Some items belong to each participant, while others can be shared at printing stations. Paper, drying space and cleanup supplies need their own calculation. Our Quick Order form makes it easy to build a mixed order of inks, blocks, tools and paper for your group.
The example below is a planning model for a single-colour, hand-printed paper project. It assumes everyone can carve at the same time, with shared inking and printing stations. It is not a prescribed supervision ratio or a guarantee of how much ink a class will use.
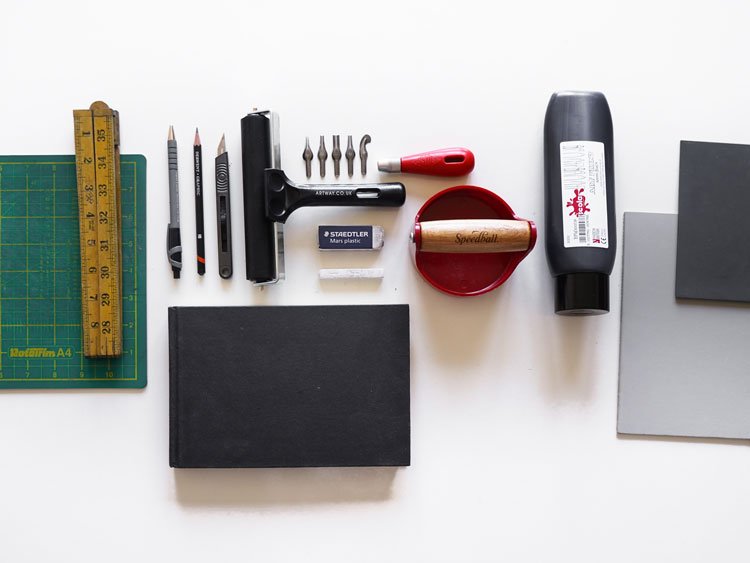
Choose a manageable project first, then calculate the materials and shared equipment.
Table of Contents
Start with the project
Choose the image size, carving material and number of finished prints before ordering. A small, bold design with one colour is easier to organise than a detailed multicolour edition. For a mixed-experience group, prepare examples that show positive and negative space, rather than expecting every participant to design from scratch during the session.
Match the activity and tools to the participants and the venue’s risk assessment. Where cutting tools are unsuitable, consider an alternative mark-making activity instead of assuming that a softer block removes the sharp-tool risk.
An example equipment plan
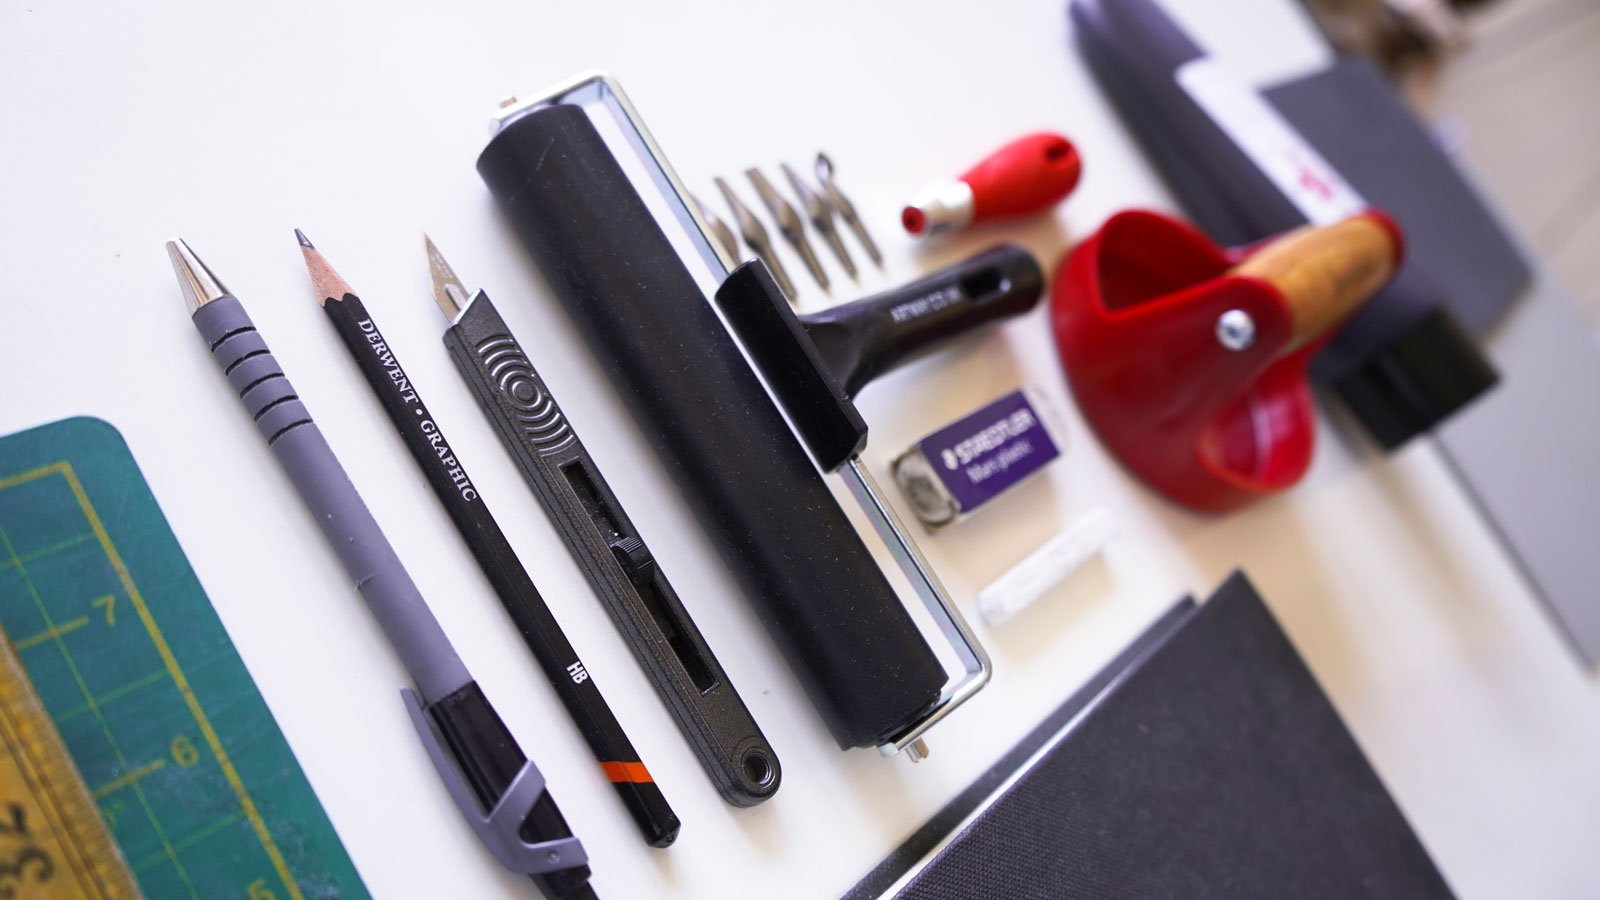
This model uses groups of five at shared printing stations. Change that group size if the room, project or session length requires it. One tool handle per person supports simultaneous carving; provide the selected blades and any extra profiles the project needs.
| Item | 10 people | 20 people | 30 people |
|---|---|---|---|
| Project blocks, one each | 10 | 20 | 30 |
| Practice or replacement blocks, example 20% reserve | 2 | 4 | 6 |
| Carving handles or individual fixed-blade tools | 10 | 20 | 30 |
| Pencils and suitable work-holding positions, one each | 10 | 20 | 30 |
| Shared printing stations, five people per station | 2 | 4 | 6 |
| Rollers and inking surfaces, one of each per station | 2 each | 4 each | 6 each |
| Hand-printing tools, example two per station | 4 | 8 | 12 |
| Paper sheets, using the example below | 60 | 120 | 180 |
Keep spare handles, blades and demonstration materials separately from these totals. Check pack contents before ordering: a blade multipack may not include handles, and a kit may already contain a roller or baren.
Calculate paper with proofs included
For this example, allow each participant two proofs and three finished prints. That is five sheets per person. Add a 20% paper reserve for demonstration, extra proofs and mistakes:
Participants × 5 sheets × 1.2 = paper allowance. This produces 60 sheets for 10 people, 120 for 20 and 180 for 30. It is an example allocation, not a fixed requirement. Increase it if participants will print more copies.
If you are cutting large sheets down, work out the number of usable pieces from the actual dimensions and border allowance. Paper size affects drying capacity too: several small cards and several A4 sheets do not occupy the same space.
Choose blocks and cutters together
Our Essdee SoftCut options include different sizes and pack quantities. Check whether a listing describes the size of one block or the total pack. Decide the project size first so that the quantity calculation remains meaningful.
Essdee handles and cutters can be useful for a group where replacement blades and interchangeable profiles are part of the plan. Inspect the equipment before the session and demonstrate the correct grip. Essdee recommends cutting away from fingers, avoiding excessive force and using suitable work holding; see its carving guidance.

Count handles and blades separately when preparing equipment for simultaneous carving.
How much ink should you buy?
Our Essdee water-based block-printing inks in 300ml tubes are a budget-friendly choice for beginners, schools and workshops. They offer good coverage for the price and a generous tube size for shared printing stations, making them a practical starting point for paper-printing projects.
For a first session, choose one colour unless colour mixing is part of the lesson. The quantity you need will depend on the size of the designs and how many prints each person makes, so try a small rehearsal before ordering for the whole group. Follow the ink instructions for use and cleanup.
Organise the room before people arrive
- Separate clean paper and finished prints from the inking surfaces.
- Provide stable work holding, clear carving space and enough room for the tutor to demonstrate.
- Set aside a labelled drying area with capacity for the planned output.
- Prepare surface protection, wiping materials and the approved cleanup supplies.
- Allow time for tool collection, washing and checking the work area before departure.
Use our step-by-step lino-printing guide as a lesson reference. For ordering, start with school art supplies and Quick Order. Contact us with the group size, block dimensions and planned project if you would like help checking a mixed-product list.