
What is Monoprinting?
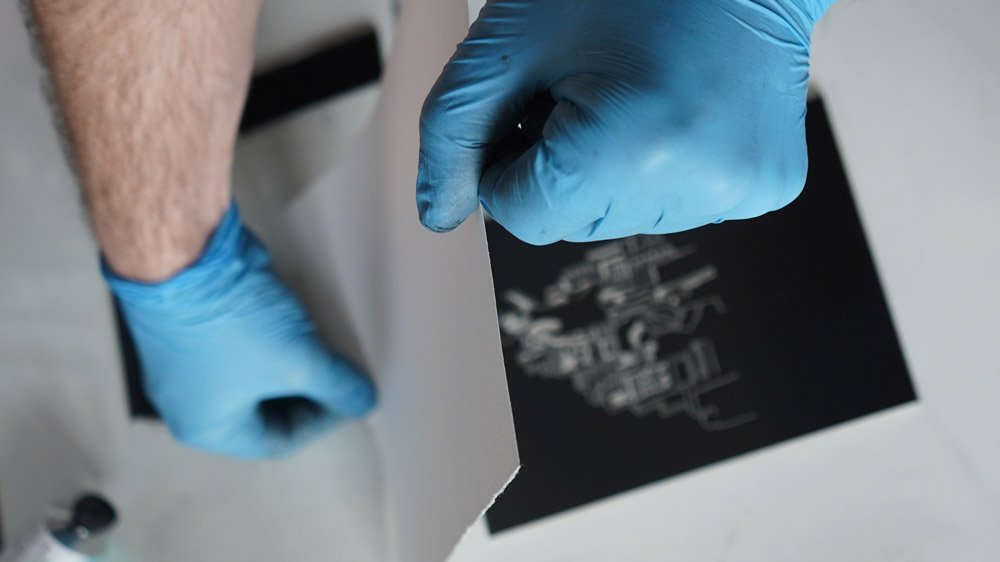
Monoprinting is a one-off fine art printing technique that uses a sheet of glass or Perspex to transfer a unique design onto a sheet of paper. No two monoprints are alike, and the design created can only be used once (‘mono’ = single).
Monoprinting printmaking techniques can include combining artistic methods and multimedia such as painting and drawing with lithography, etching or woodcut. Monoprints are unique, spontaneous and expressive, allowing more scope for abstract compositions and more detailed prints than other types of printing.
This ‘monoprinting step by step’ guide provides clear instructions on how to monoprint and includes a nifty checklist of all the tools and materials you will need for the monoprinting process. You can also find some interesting information by reading some recommended printmaking books found here.
Read the list below to see the basics of the monoprinting process and what is contained in this monoprinting guide to learn more about this traditional printmaking method.
What Materials Do You Need for Monoprinting?
- Block printing ink
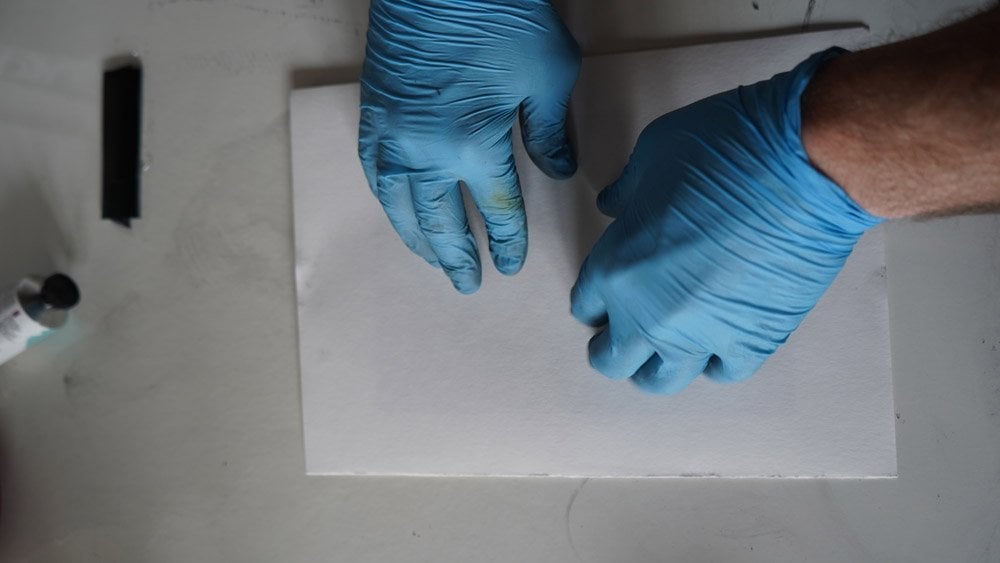
- Lightweight paper around 60gsm to 160gsm
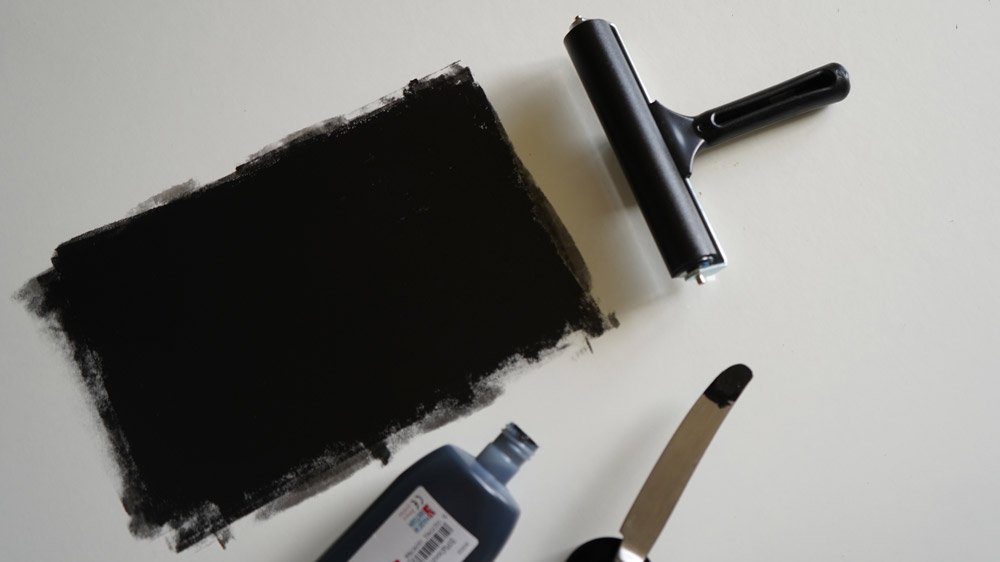
- Glass or perspex sheet to roll ink onto
- Printmaking brayer (ink roller)
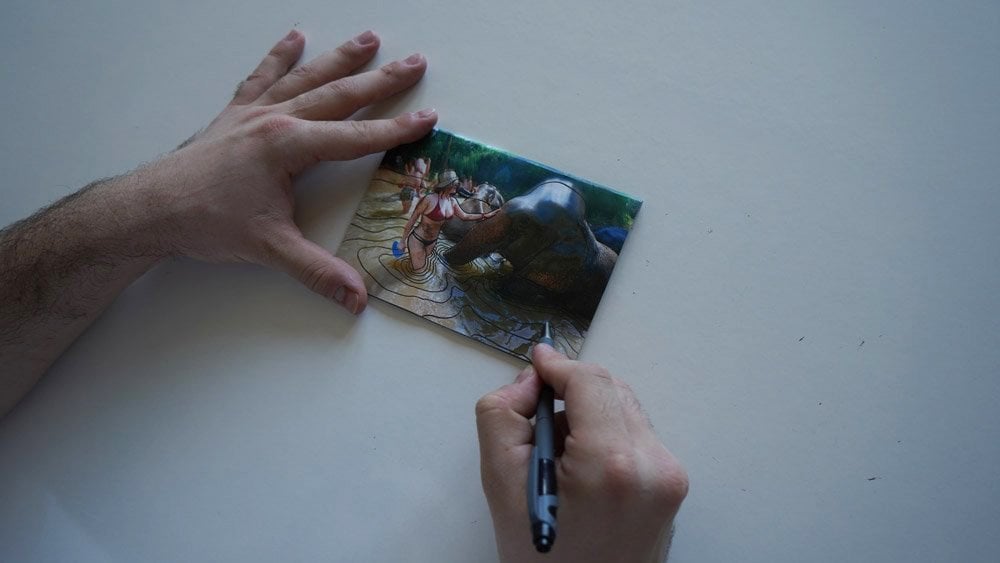
- Pencil or pen
Help Improve This Monoprinting Guide!
Feel free to message me on the contact form to contribute & improve this guide. You can also check the comments at the bottom of the guide or you can checkout the Reddit Printmaking Forum for more ideas.
Affiliate Disclosure: I only recommend products I would use myself and all opinions expressed here are our own. This post may contain affiliate links that at no additional cost to you, I may earn a small commission when you purchase. These commissions help with the running costs of this website, if you do purchase via one of the product links many thanks it is greatly appreciated!


Comments & Notes