Affiliate Disclosure: I only recommend products I would use myself and all opinions expressed here are our own. This post may contain affiliate links that at no additional cost to you, I may earn a small commission when you purchase. These commissions help with the running costs of this website, if you do purchase via one of the product links many thanks it is greatly appreciated!
Guide to the Best Films & Stencils for Screen Printing Exposure
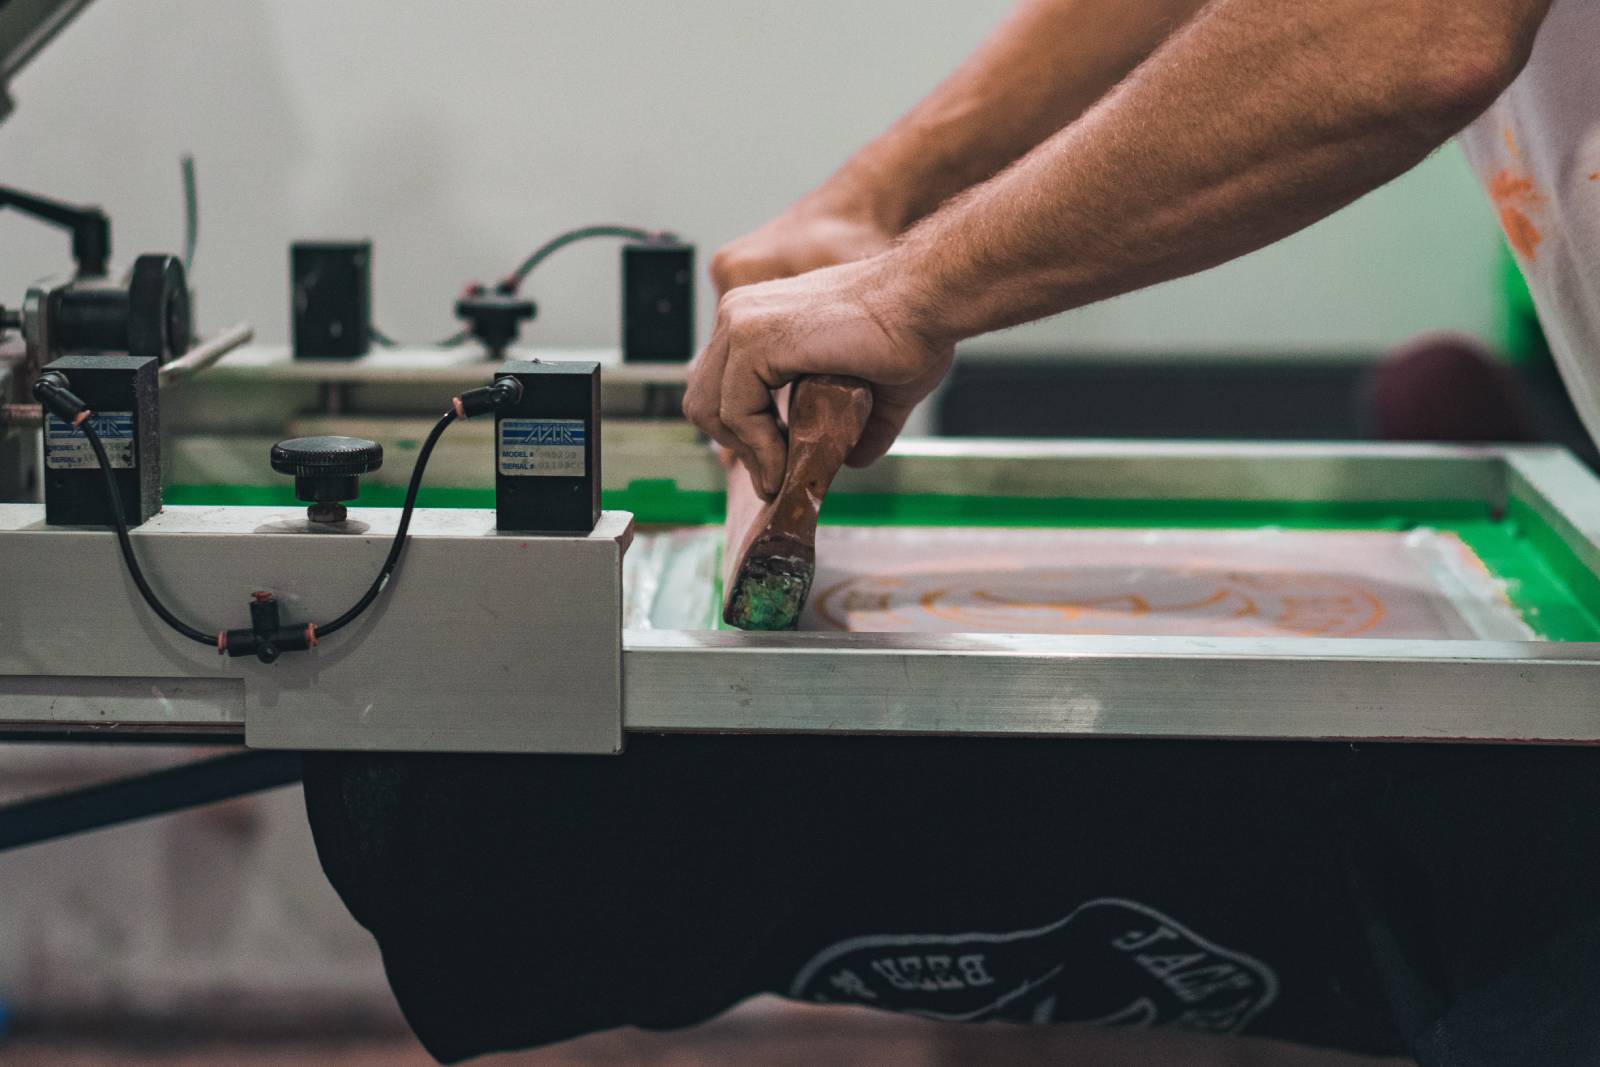
When screen printing, it’s essential to separate all the colours into distinct layers, creating a stencil for each.
How to Make Silk Screen Stencils
There are several methods to craft the stencils for your screen print project. Our guide primarily focuses on using emulsion, but we’ve listed all methods below:
- Hand-cut stencil from paper or vinyl.
- Using a vinyl cutter; vinyl tends to be more durable than paper.
- Light-sensitive emulsion exposed with a design printed onto transparent acetate or tracing paper.
- Paint emulsion directly onto the screen to form your design.
My preferred method involves using emulsion and printing designs onto acetate or tracing paper. This approach is favoured simply because it allows for screen printing of detailed illustrations.


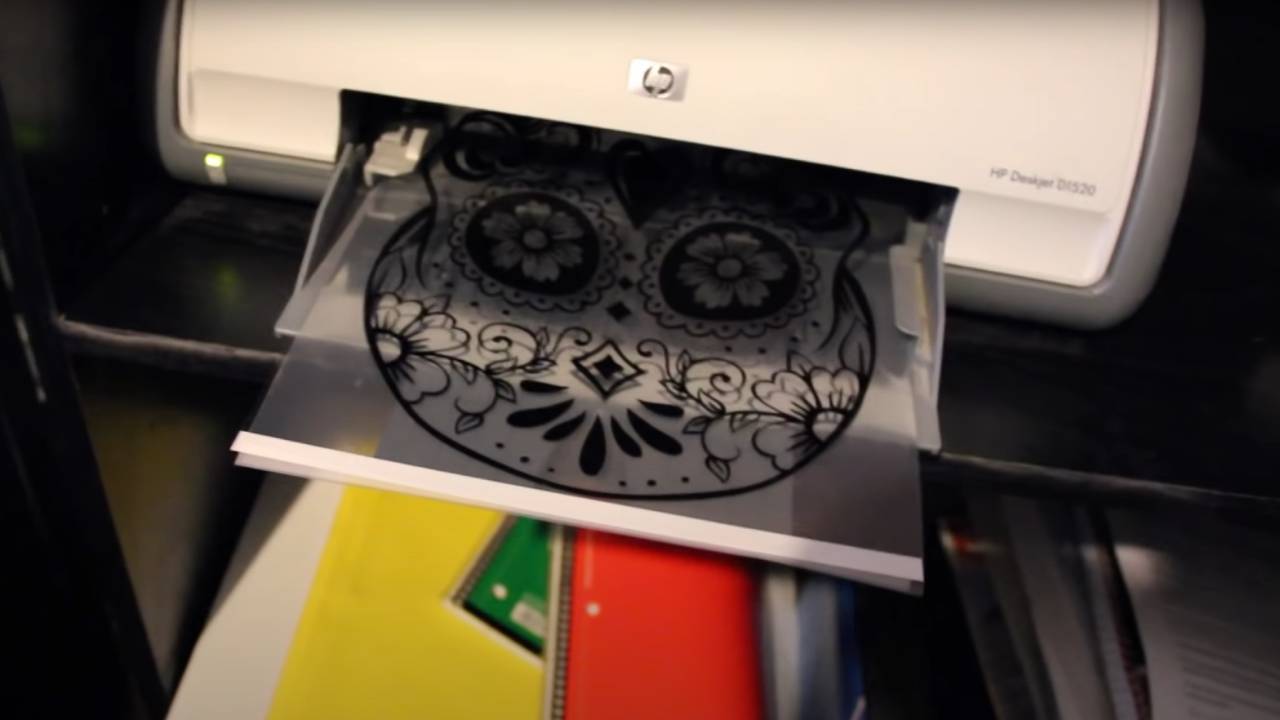
How to Print a Film Positive for Screen Printing?
When setting up your artwork, any lines or blocks of colour will constitute the layers of the design since you print each colour separately. These can be printed onto transparency paper or thin tracing paper. However, when printing transparencies, ensure that the ink/toner of the positive is dense enough to prevent light penetration. It’s recommended to use a toner printer for this purpose or consult a printing firm for advice.
- If using multiple colours, ensure that the black/key layer overlaps all other colour layers with a slight bleed; this technique is known as overprinting.
- Always mirror or reverse the film positive when placing it onto the screen.
- High Contrast: Ensure your film positives have a high contrast. The black areas should be completely opaque to block out UV light during exposure, ensuring a clear and crisp stencil.
- Resolution: When printing your positives, use a high resolution. This ensures that even the finest details are captured, leading to a more accurate stencil.
- Waterproof Films: If using inkjet printers for your positives, ensure you’re using waterproof inkjet films. Regular ink might spread when in contact with emulsion, leading to blurry images.
- Double Up: If you’re struggling to get a dense black on your film positive, consider printing two copies and stacking them. This can increase opacity and improve the quality of your exposure.
- Avoid Banding: Ensure your printer settings are optimized to avoid banding or lines on your film positives. Banding can lead to inconsistencies in your stencil.
- Size Matters: Always check the size of your film positive against the size of your screen. It should fit comfortably with ample space around the edges to avoid any issues during printing.
- Storage: Store your film positives flat, in a cool, dark place to prevent them from curling or getting damaged. This ensures they’re ready for reuse if needed.
- Alignment: When printing designs that will be used across multiple screens (for multi-colour prints), ensure that your film positives have clear registration marks. This aids in aligning them perfectly during the screen printing process.
- Monitor Calibration: If you’re designing on a computer, ensure your monitor is calibrated. This ensures that what you see on screen is what you get on your film positive.
- Material Choice: While transparency films are common, some screen printers also use vellum paper or frosted mylar sheets for their positives. These can sometimes offer better ink absorption and density than standard transparencies.
- Printer Maintenance: Regularly check and maintain your printer. Clean the printheads to avoid streaks or spots on your film positives, which can affect the quality of your stencil.
- Ink Density: If your printer allows, adjust the ink density settings to achieve the darkest black possible. The denser the ink, the better it will block UV light during exposure.
Remember, the quality of your film positive directly impacts the quality of your stencil and, ultimately, your final print. Investing time and care in creating the best possible positive is crucial for screen printing success.
Environmental Considerations: The materials chosen for stencil creation in screen printing can have environmental implications. Acetate sheets, while durable and effective, are not easily biodegradable. Depending on your exposure setup, tracing paper might be a viable alternative. Not only is tracing paper effective for certain setups, but it also has the added advantage of being easily recyclable. When considering the environmental footprint of your screen printing operations, it’s beneficial to opt for materials that reduce waste and can be recycled or repurposed.
Checking Film Positives
Checking density of screen printing film positives
Screen Print Film Positives
Dense screen printing film positives
Great video about the best way to print screen print transparencies for screen printing from NateScreenPrints.
Achieving Optimal Opacity: Mastering Screen Printing Transparencies
For screen printing enthusiasts, achieving the perfect opacity in transparencies is paramount. The clarity of your final print hinges on this crucial step. Here’s a comprehensive guide on using different printers for your transparencies and tips to ensure the best opacity.
Choosing the Right Printer:
- Inkjet Printers:
- Widely accessible and versatile, inkjet printers are a popular choice.
- Always use inkjet-compatible transparency sheets.
- For some inkjet printers and transparencies, it’s essential to print on the rough side of the paper to ensure proper ink adherence.
- Opt for black ink cartridges specifically designed for photo printing, as they offer denser ink.
- Laser Printers:
- Renowned for sharp, clear images, laser printers are a solid choice.
- Ensure you’re using laser-compatible transparencies to avoid issues like melting.
- Typically, these printers produce more opaque prints than standard inkjet printers.
- Toner Printers:
- Perfect for bulk printing, toner printers deliver consistent quality.
- Their strength lies in producing dense black areas, which is vital for screen printing transparencies.
Tips for Maximum Opacity:
- Double Printing: To enhance opacity, print your design twice on the same sheet, ensuring perfect alignment.
- High-Quality Settings: Use the highest quality settings on your printer for denser ink application.
- Software Adjustments: In design software, such as Photoshop or Illustrator, tweak the contrast and saturation to deepen the blacks.
- Test and Refine: Always do a test print. Check the opacity against a light source and adjust if necessary.
- Proper Storage: Store your transparencies flat and shielded from direct sunlight to prevent fading or yellowing, which can compromise opacity.
By meticulously following these guidelines, you’ll ensure that your transparencies are perfectly opaque, paving the way for crisp, clear, and professional screen prints. Whether you’re working on intricate designs or bold statements, these tips guarantee a flawless translation of your vision onto your chosen material.
