Last Updates Published: June 01, 2024
What is Screen Printing?
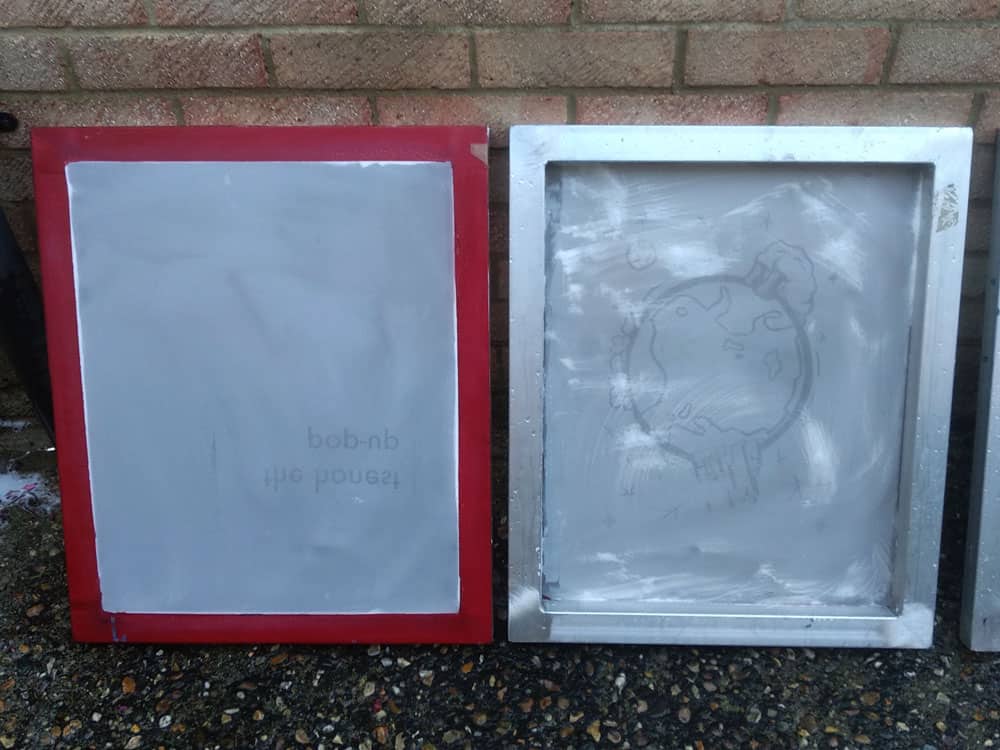
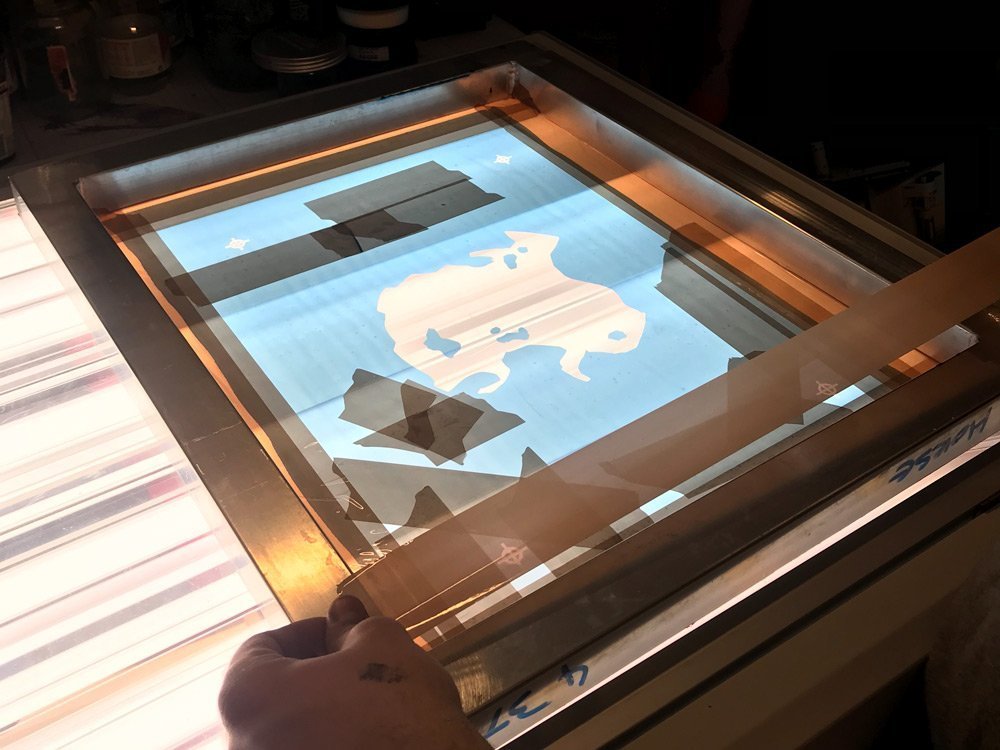
Screen printing is a technique where a mesh transfers ink or dye onto a surface, except in areas blocked by a stencil. This method is often used for t-shirts and posters.
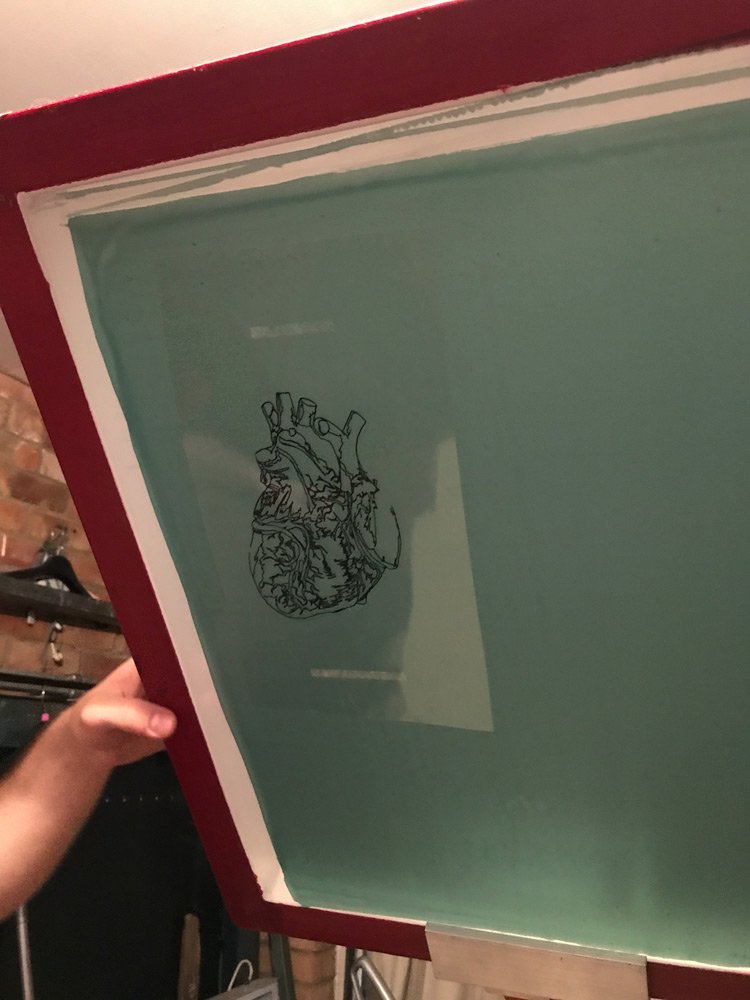
The stencil defines the shape of the design, ensuring that only the desired areas are printed. This process is particularly efficient when replicating a design multiple times, ensuring consistency across all prints.
Commonly Used Materials in Screen Printing
Screen printing isn’t just limited to fabric. The process can be applied to a variety of materials, including but not limited to:
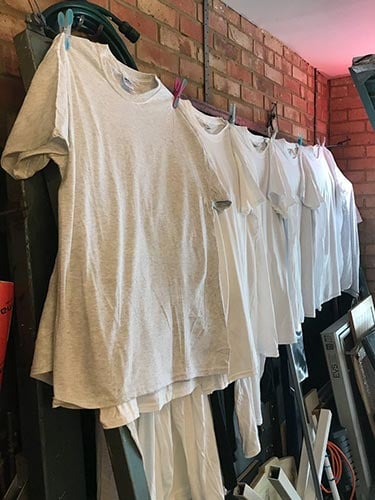
- Fabric: From cotton T-shirts to silk scarves.
- Paper: Used for posters, artwork, and stationery.
- Plastic: For items like promotional materials and decals.
- Glass and Ceramics: For decorative purposes.
- Metal: Often used in industrial applications.
A Glimpse into the Past: The History of Screen Printing
Screen printing, also known as silk screening, has its roots in ancient China, where it was used as a method of transferring designs onto fabrics. Over the centuries, this art form travelled across Asia and eventually reached Europe in the late 18th century. Initially, it was a technique reserved for the elite, but with the advent of new materials and technologies, it became more accessible to the masses.
Screen Printing in the Modern Era
Today, screen printing holds a significant place in the world of design and manufacturing. From bespoke T-shirt designs to intricate artworks and even industrial applications, its versatility is evident. One of its standout advantages is the ability to produce multiple copies of the same design efficiently, making it ideal for bulk orders and mass production. In an age dominated by digital technology, the tactile and unique nature of screen printed items offers a refreshing contrast, making it a sought-after printmaking technique for many.
Table of Contents
The Science Behind Screen Printing
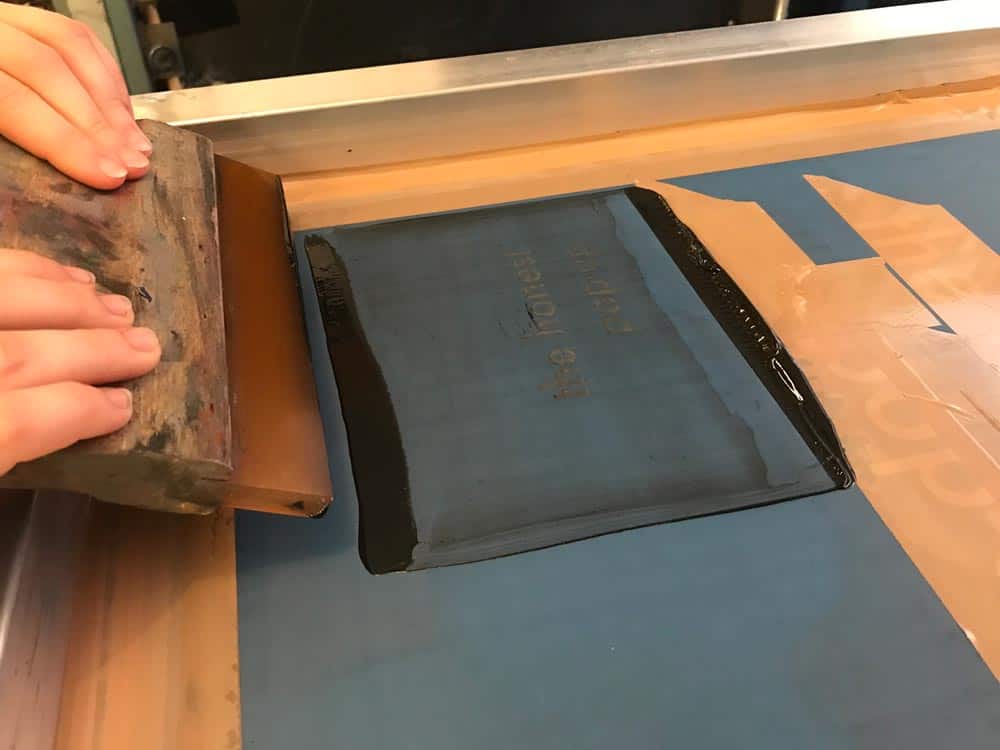
The Magic of Ink Adhesion
The success of screen printing lies in the way ink adheres to materials. Different inks are formulated to bond with specific substrates. For instance, water-based inks are often used for fabrics, while solvent-based inks might be chosen for plastics or metals. The ink, once applied, needs to be cured, either through air drying or by using heat, ensuring it becomes a permanent part of the substrate.
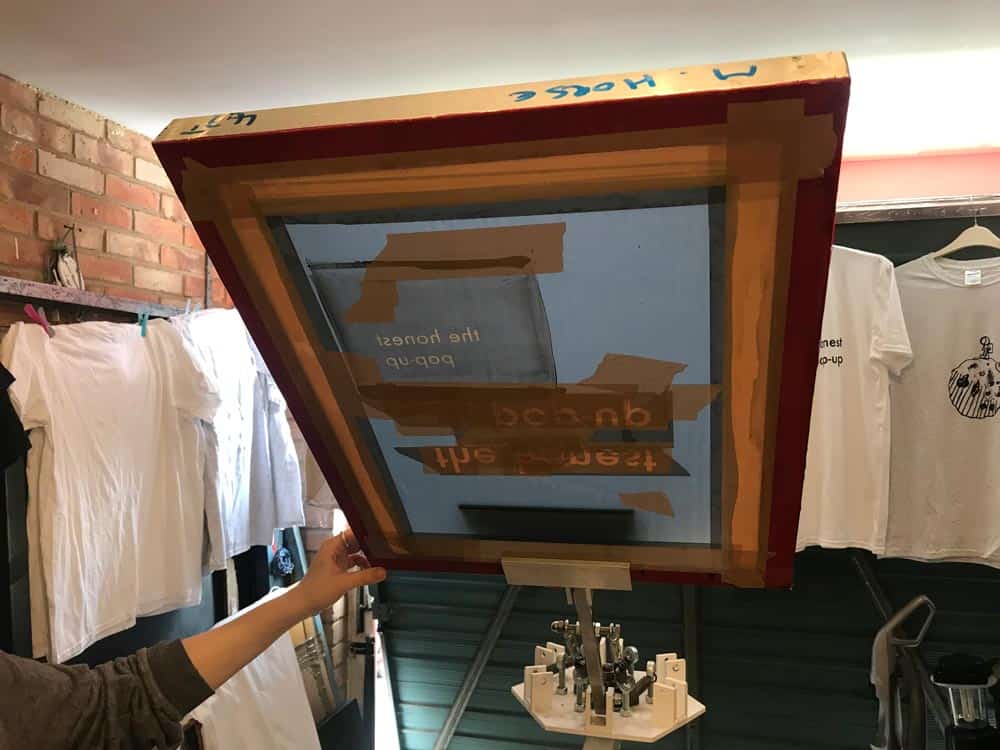
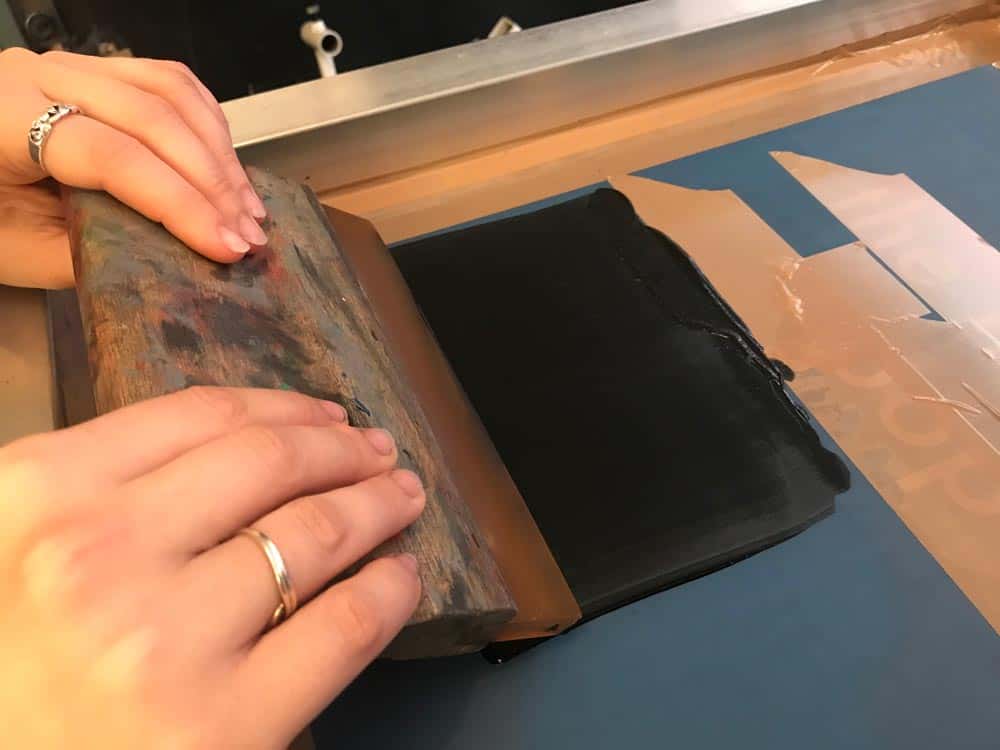
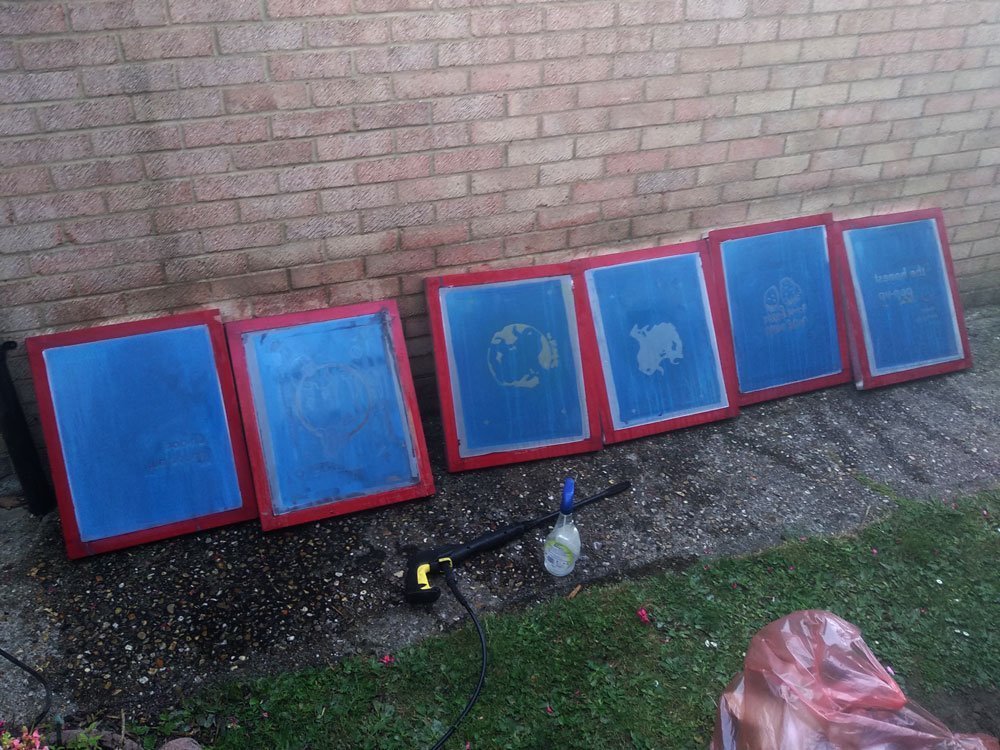
The Crucial Role of the Mesh
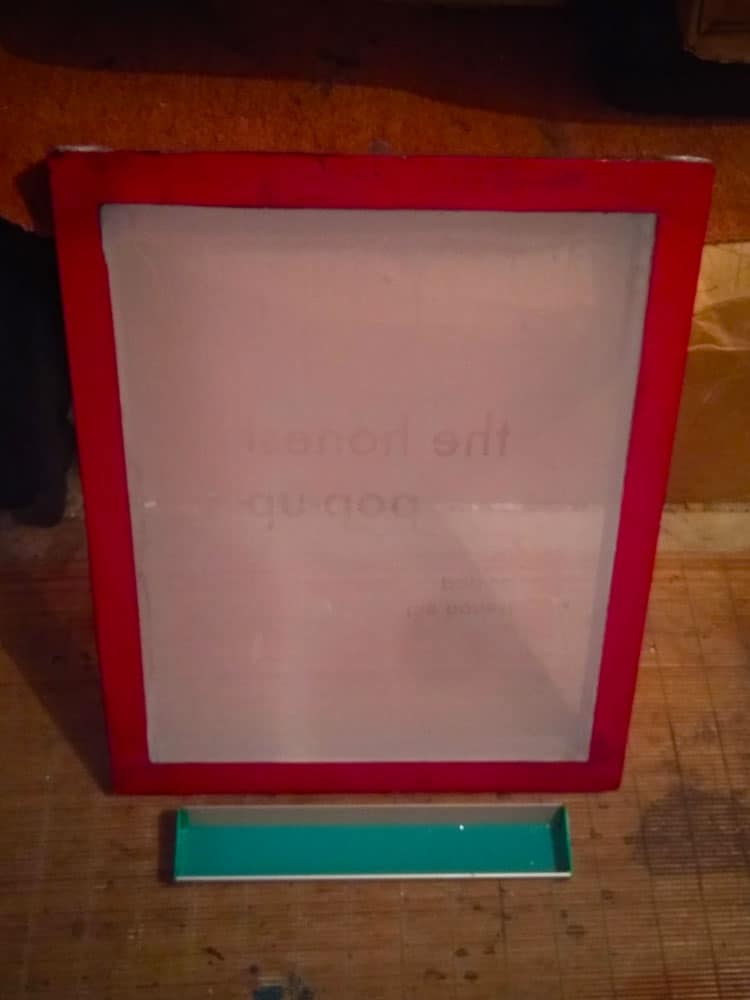
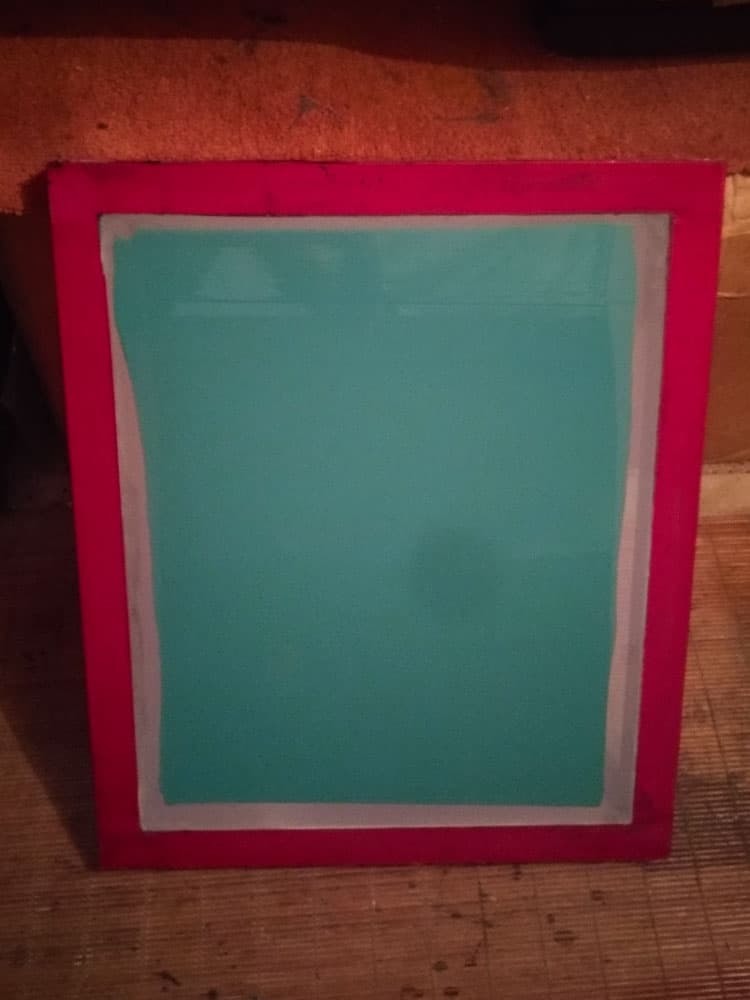
The mesh screen, often made of polyester or silk, is pivotal in the screen printing process. It acts as a barrier, ensuring that ink is only transferred where the stencil permits. The fineness of the mesh can be adjusted depending on the intricacy of the design and the viscosity of the ink. A tighter mesh is used for detailed designs, while a looser mesh might be chosen for bolder prints. The tension of the mesh, it’s cleanliness, and the evenness of ink application all play a role in achieving a flawless print.
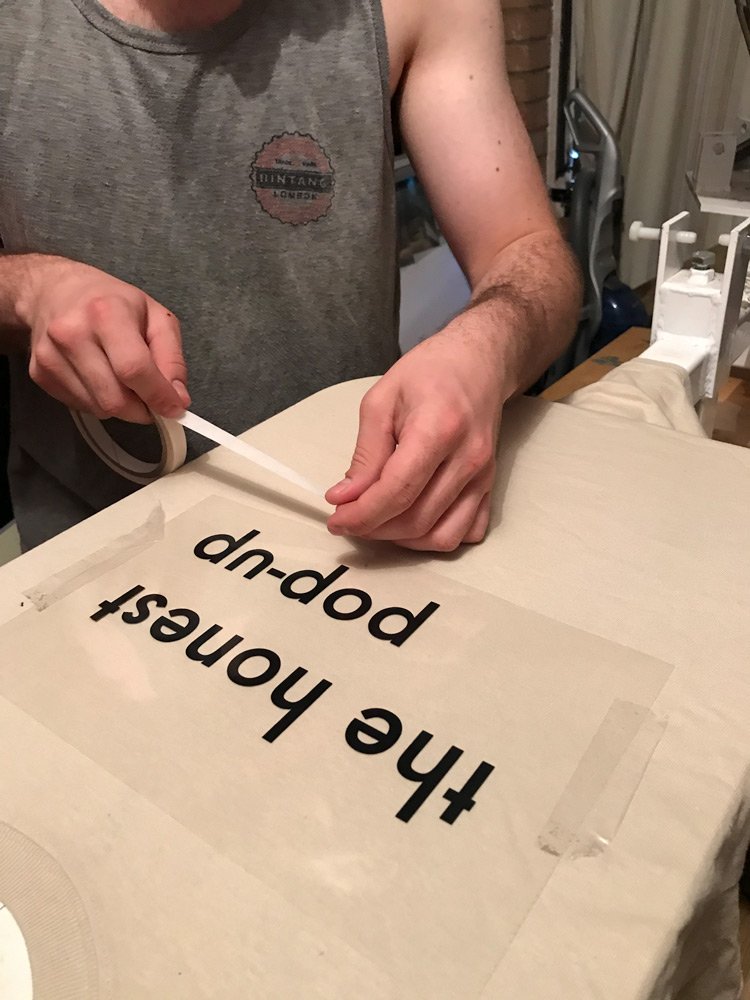
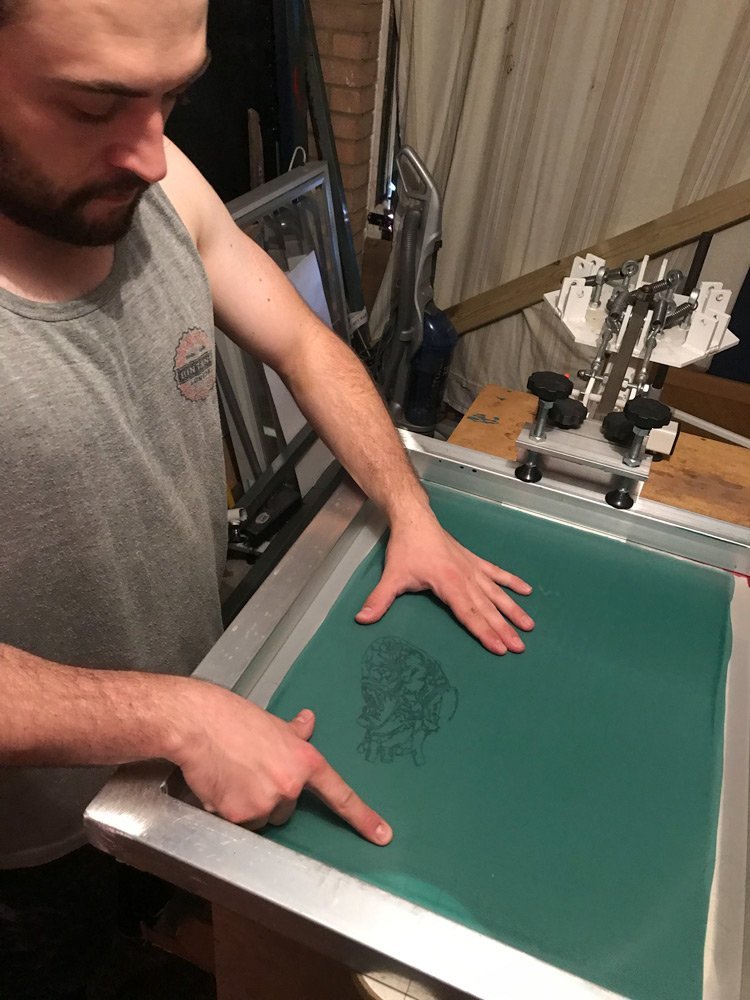
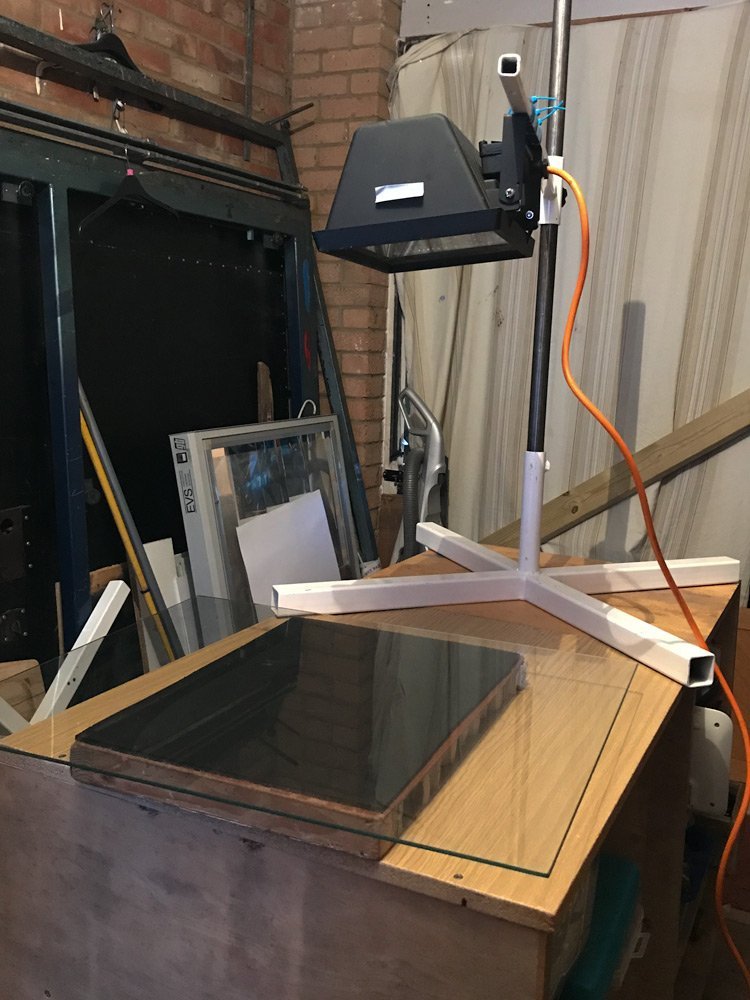
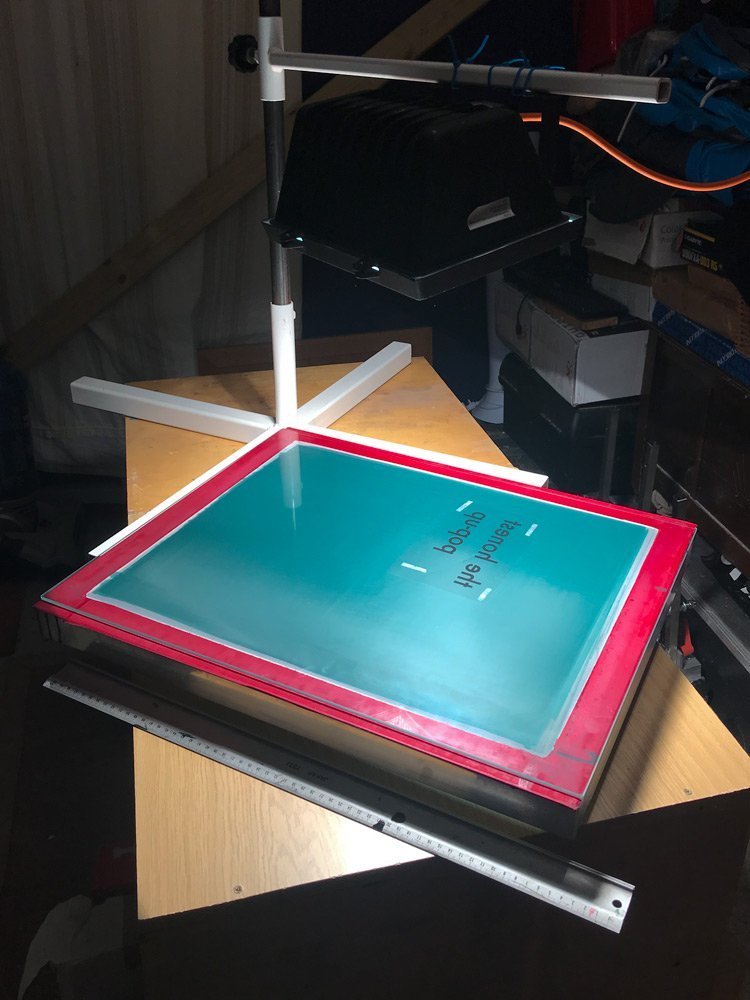
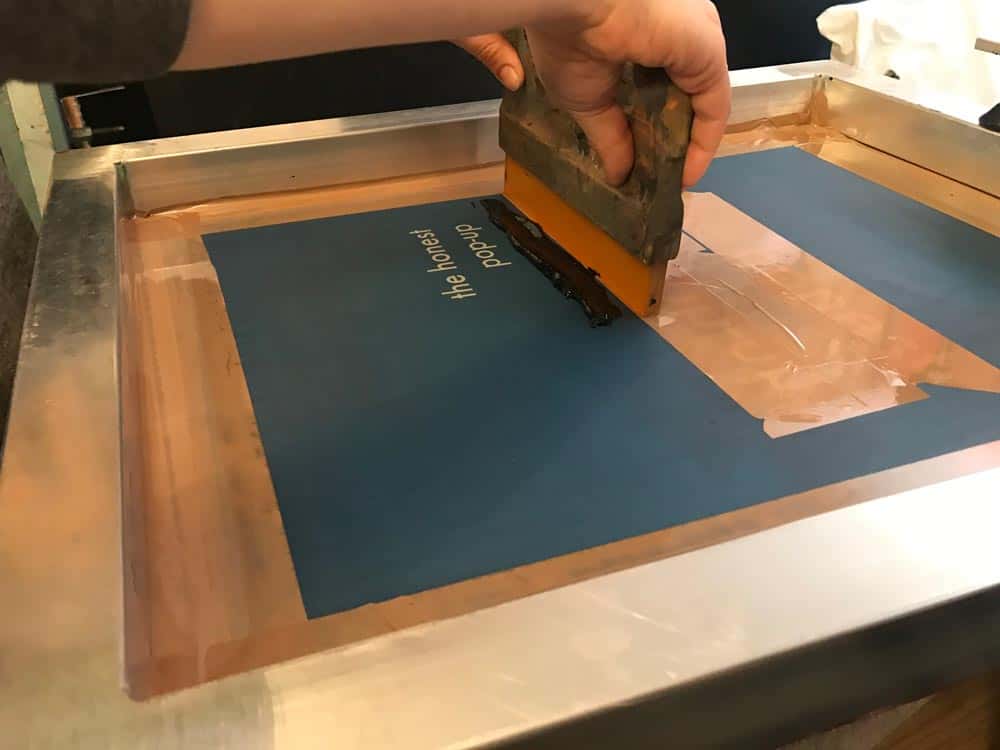
This screen printing process guide will walk you through how to silk screen print at home, even if you are a complete beginner.


Comments & Notes