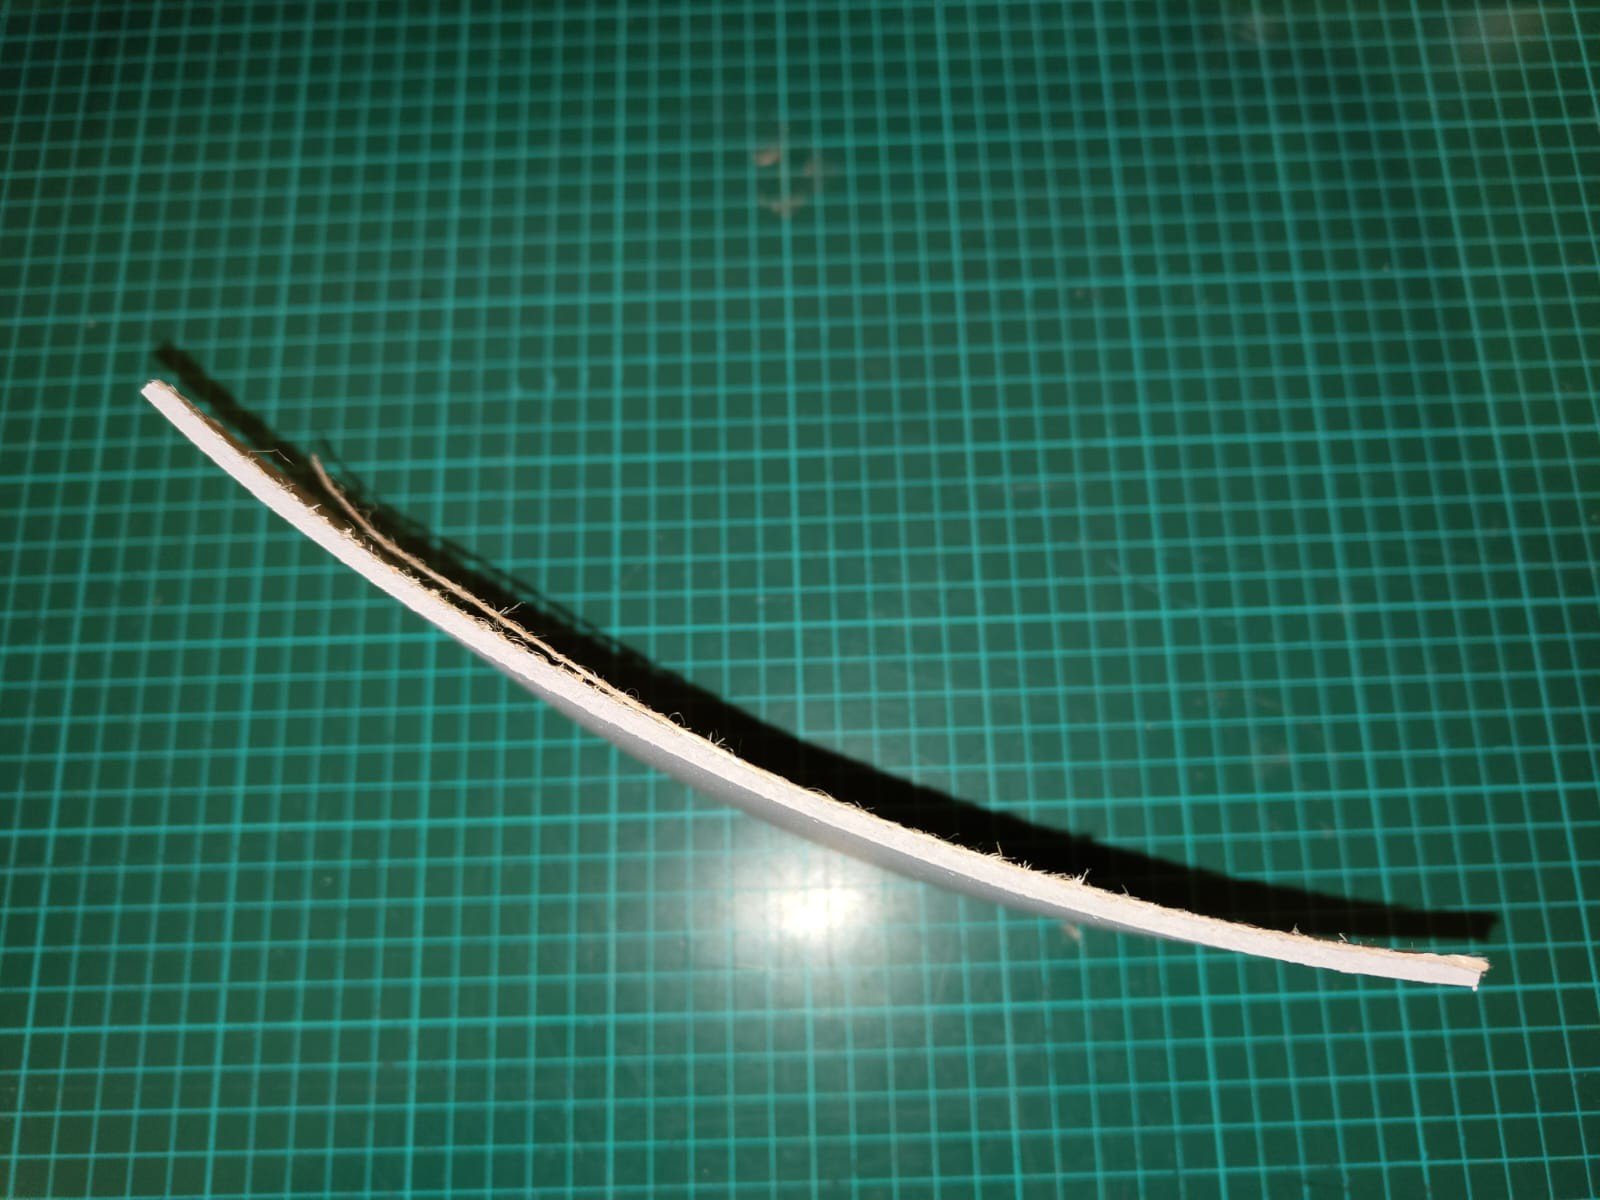
Dealing with curved or bowed lino blocks for printing is a common challenge when lino printing. Properly flattening the lino before mounting is crucial for achieving high-quality prints. Here are several effective methods to straighten warped linoleum.
Table of Contents
1. Gentle Heating Method:
- Application: This method involves gently heating the linoleum to make it more pliable and easy to flatten.
- Tools Needed: A hairdryer or heat gun, and a flat surface.
- Process:
- Lay the lino on a flat surface.
- Apply heat evenly across the surface of the lino using a hairdryer or heat gun. Keep the heat source moving to avoid overheating any specific area.
- Once the lino becomes soft and pliable, gently flatten it by hand or with a roller.
- Leave the lino under a flat, heavy object until it cools and sets flat.
2. Sunlight Exposure:
- Application: This is a natural method using the warmth of sunlight.
- Tools Needed: A sunny spot and flat, heavy objects.
- Process:
- Place the lino in a sunny area where it will receive direct sunlight.
- Let the lino warm up until it becomes flexible.
- Flatten the lino by placing it under heavy objects or by pressing it manually.
- Leave the lino in the sun until it cools and retains a flat shape.
3. Reverse Rolling:
- Application: Useful for linoleum that has been stored in a roll and has taken on a curved shape.
- Tools Needed: None.
- Process:
- Unroll the linoleum.
- Gently roll it in the opposite direction to the curve.
- Leave the linoleum rolled in this reverse position for some time to counteract the original curvature.
4. Moisture and Weight Method:
- Application: This method involves adding moisture to make the lino more malleable.
- Tools Needed: A clean, damp cloth and heavy, flat objects.
- Process:
- Lay the lino flat and cover it with a slightly damp cloth.
- Let the moisture soften the lino slightly.
- Remove the cloth and place heavy objects on top of the lino.
- Leave it overnight to allow the lino to flatten under the weight.
5. Storage and Preventive Measures:
- Long-Term Care: Proper storage can prevent warping. Store linoleum flat, away from extreme temperatures and humidity.
- Regular Checks: Regularly check the flatness of stored lino, especially before starting a new project.
Introduction to Mounting Linoleum for Printmaking
Printmaking is a traditional and versatile art form, offering a wide range of creative possibilities. Central to this craft is the preparation of your printing surface, especially when working with linoleum, commonly known as lino. Linoleum printmaking, a form of relief printing, is highly favoured for its accessibility and the distinct results it can achieve. However, one challenge frequently encountered by artists is the curving or warping of the lino, which can significantly impact the quality of the prints.
This guide aims to provide a comprehensive approach to properly mount linoleum on a stable base, such as plywood or MDF board. By doing so, not only can we mitigate issues related to curving or warping, but also enhance the overall ease of carving and printing. The process of mounting linoleum, while straightforward, requires attention to detail and a few key steps to ensure the longevity and flatness of the material.
From gathering the right materials to the final adjustments and maintenance, each step in this guide is designed to help both novice and experienced printmakers. Whether you’re looking to create detailed illustrations, abstract designs, or anything in between, a well-prepared linoleum surface is fundamental. Follow along as we delve into the intricacies of mounting linoleum, setting the stage for your artistic expression in printmaking.
Detailed Guide for Mounting Linoleum for Printmaking
1. Materials Gathering:
- Linoleum Sheet: Select the appropriate size for your project.
- Plywood or MDF Board: Choose a board slightly larger than your linoleum sheet. This provides a sturdy base and allows for easier handling.
- Wood Glue or PVA Adhesive: Ensure it’s suitable for bonding linoleum to wood.
- Roller or Brush: For applying the adhesive evenly.
- Clamps or Heavy Objects: To apply pressure while the adhesive dries.
- Sandpaper (Fine Grit): To smooth the board surface.
- Clean Cloth: For cleaning the board.
2. Preparation of Materials:
- Lightly sand the plywood or MDF board to create a smooth, even surface. This helps in better adhesion.
- Wipe the board with a clean cloth to remove dust and debris.
3. Linoleum Preparation:
- If your linoleum is curved or warped, use a gentle heat source like a hairdryer. Warm the lino evenly until it becomes pliable.
- Press the linoleum under a heavy, flat object until it cools and remains flat. This step is crucial for preventing future warping.
4. Adhesive Application:
- Apply a consistent, thin layer of wood glue or PVA adhesive to the board. Use a roller or brush for an even spread.
- Cover the entire surface, but avoid excessive glue as it can seep out the sides and create an uneven surface.
5. Mounting the Linoleum:
- Carefully align and place the linoleum onto the glued surface of the board.
- Starting from the centre, press down firmly and move outwards to eliminate air bubbles and ensure good contact.
6. Securing the Linoleum:
- Clamp the edges or place heavy objects across the surface to maintain even pressure.
- Allow the adhesive to dry completely, typically for about 24 hours, depending on the adhesive used.
7. Final Checks and Adjustments:
- After drying, inspect for any loose edges or air bubbles.
- If necessary, lift the affected area slightly, apply more glue, and reapply pressure.
8. Trimming (If Necessary):
- Trim any excess linoleum or board for a clean, finished look.
9. Storage and Maintenance Tips:
- Store the mounted linoleum flat in a cool, dry environment.
- Regularly check the linoleum’s adhesion to the board before use to avoid any surprises during your printmaking process.
By following these steps, you should be able to mount your linoleum effectively, minimising issues with curving and ensuring a stable base for your printmaking endeavours. Remember, the key to successful mounting is in the preparation and ensuring a flat, even surface to work on. Happy printmaking!
Conclusion
Each of these methods offers a viable solution to un-curve or straighten warped linoleum, catering to different situations and available resources. It’s important to approach this process with patience and care to avoid damaging the lino. Once your linoleum is successfully flattened, it’s ready for mounting and subsequent printmaking, paving the way for a smoother and more satisfying artistic experience.
If you’ve bought a lino printing kit, most come with softcut lino, which doesn’t suffer from the problem of curving. This makes it a great option for beginners as it’s easier to handle and avoids the challenges that can come with traditional linoleum.
Other Guides on Curved Lino
Featured Linocut Guides
Check Out Our In Depth Lino Printing Guides
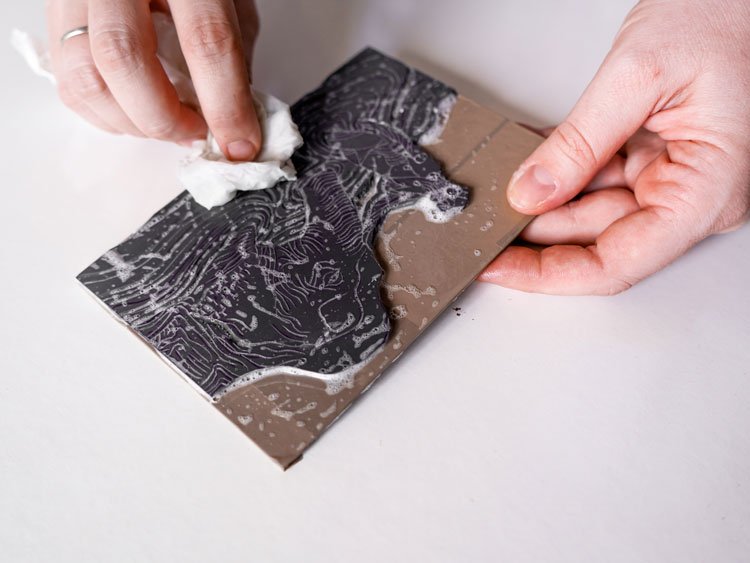
Cleaning Your Linocut
Read More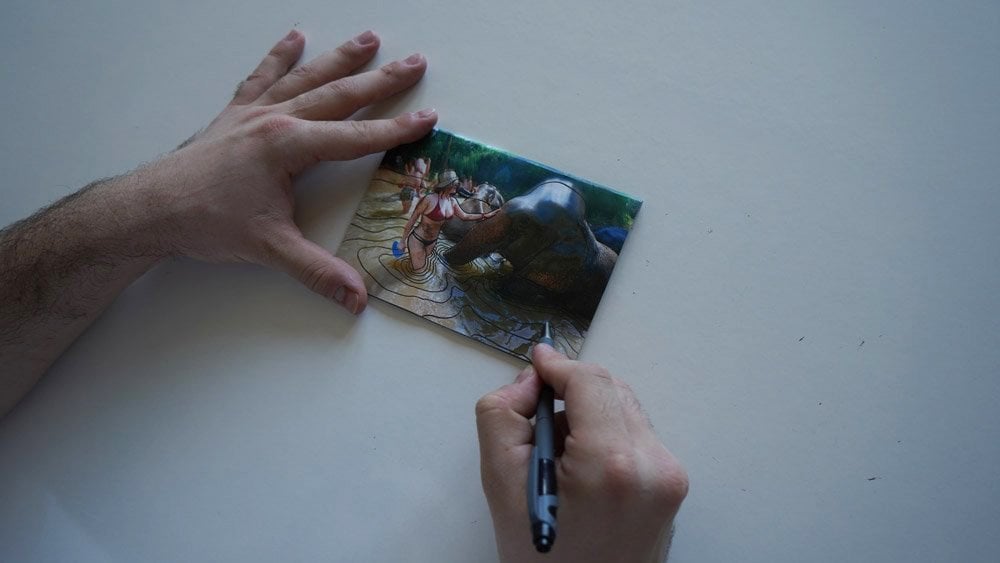
Designing Your Lino Print
Read More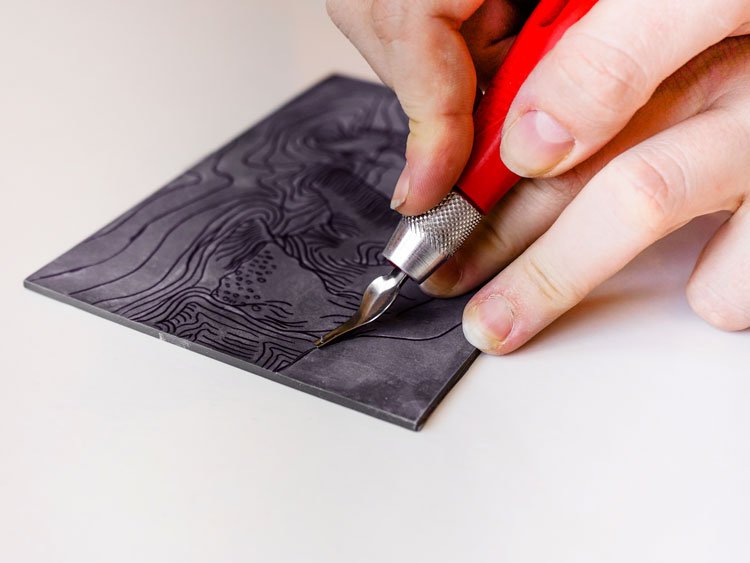
How to Cut and Carve Your Linocut
Read More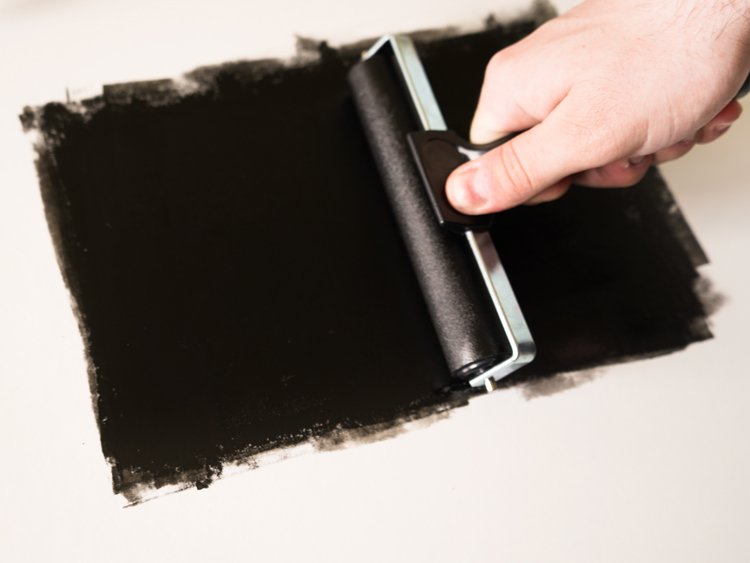
Inking Your Linocut Block
Read More
Lino Printing Multiple Colours With A Paper Mask
Read More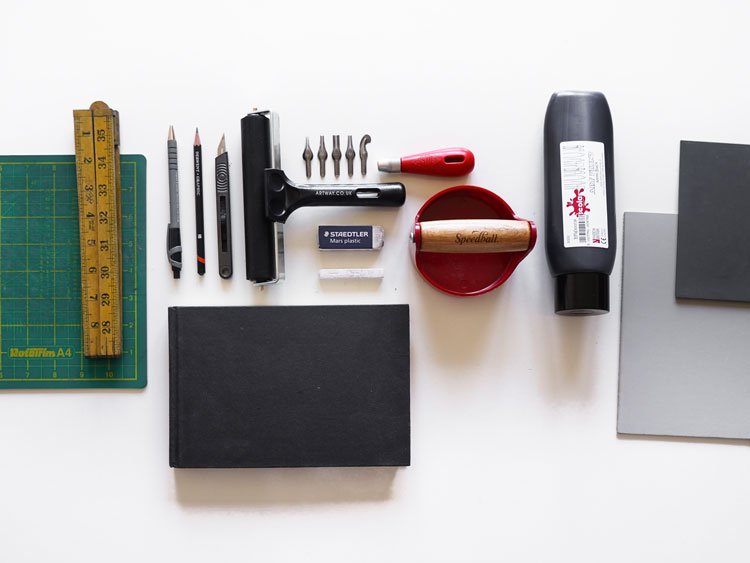
Lino Printing Workspace and Equipment Setup
Read More
Printing Your Linocut
Read More