Equipment Needed
For beginners, it’s advisable to opt for a straightforward design that can be effectively executed in a single colour. You might consider crafting an image of an entity, such as an animal, or perhaps a subtle repetitive pattern. Additionally, you can lino print from a photograph, tracing over it once its back is coated in chalk or graphite – a method we’ll explore in the subsequent step. Some artists even prefer to sketch their lino cutting ideas directly onto the lino using a brush and ink. If you’re starting out, using a linocut kit can be particularly helpful as it provides all the essential tools needed for designing, carving, and printing in one convenient package.
Table of Contents
When you’re making linocuts with colours, it’s like putting together a puzzle, each colour needing its own layer which would be carved into a separate lino block. To make it easier, it’s a good idea to start with a simple black and white design. This way, you can get a good grasp of your design’s main parts, where the light and dark spots are, before jumping into the more tricky part of adding colours.
General Tips for Designing Linocuts
- Start with Inspiration: Gather ideas from your surroundings, art books, or online galleries. Inspiration can come from anywhere—nature, architecture, personal experiences, or other artworks.
- Sketch Your Design: Begin with sketches on paper. Experiment with different compositions and concepts. This stage is crucial for refining your idea before transferring it to the lino.
- Consider the Linocut Process: Remember that linocutting involves carving away areas you don’t want to print. Think in reverse; the areas you carve out will not receive ink and thus will not be part of the final print. This is especially important for text, which must be mirrored.
- Simplify Your Design: Linocuts are best suited for bold, graphic designs with clear contrasts between light and dark areas. Simplify your design to its essential forms and lines for a strong visual impact.
- Play with Texture: Linocuts allow for varied textures, from smooth, clean lines to rough, expressive marks. Experiment with different carving tools to achieve a range of textures in your design.
- Use a Limited Colour Palette: While linocut prints can be colourful, starting with a limited palette can help you focus on the design’s form and composition. You can always add more colours with additional layers or blocks.
- Plan for Layering: If you’re working with multiple colours, plan your design in layers. Each colour will likely need its own lino block. Consider how the colours will overlay and interact.
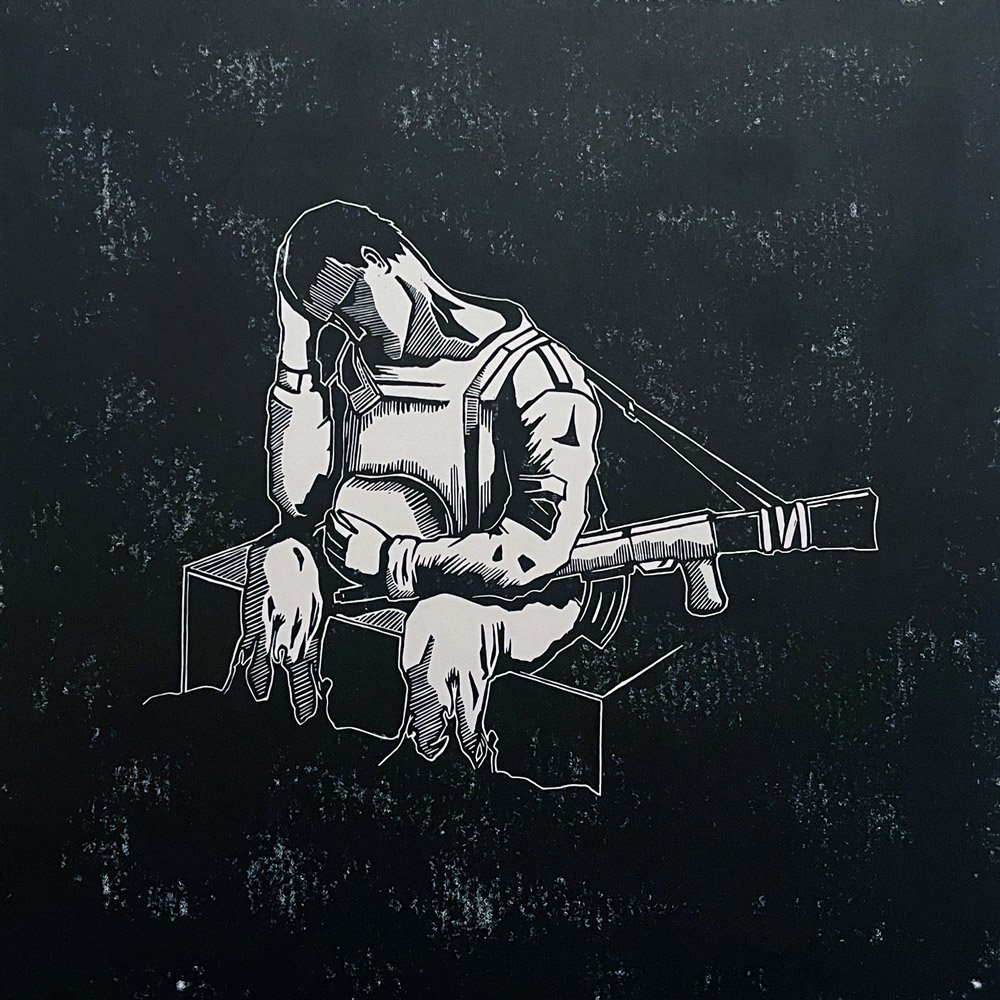
A linocut that uses hatching for the mid tones.
Designing Your Lino with A Drawing / Sketch
- Mirror Image Consideration: Always bear in mind that the final print will be a mirror image of your block. For designs including text, draft it in reverse to ensure accuracy in the final print.
- Initial Sketches: Begin your design with pencil sketches on paper. This allows for easy modifications and correction of errors. Experiment with different grades of pencils to explore various textures and shades, which can translate into intriguing carving depths and textures in your linocut.
- Utilise Tracing Paper: Employ tracing paper to refine your design and facilitate the transfer onto the lino. This is especially helpful for reversing your image to match the mirrored print outcome.
- Black Out Non-Cutting Areas: On your lino, black out areas that you do not plan to cut. This visual aid helps to clearly define the areas that will receive ink and contribute to the final print, aiding in visualising the printable area effectively.
- Incorporate a Margin: Include a margin around your design sketch. This not only helps in framing but also provides a safety zone for carving, minimising the risk of unwanted marks.
- Digital Design Tools: Consider using digital tools for drafting or refining your design. Digital platforms can offer flexibility in editing, especially useful for mirroring your design accurately.
- Photocopier for Reversing Design: Utilise a photocopier to reverse your sketch, particularly useful for designs with text or specific directional elements. This simplifies the process and minimises errors in reversing the design manually.
- Create a Tonal Guide: Alongside your main sketch, create a tonal guide focusing on the light and shade within your design. This can act as a reference for carving depths, enhancing the dynamism of your print.
- Highlight with Coloured Pencils: Use coloured pencils to accentuate key areas or details within your sketch. This method helps in planning which parts of the design to carve for depth or colour differentiation.
- Plan for Registration Marks: If your print involves multiple colours, incorporate registration marks in your sketch to ensure precise alignment of each colour layer during the printing process.
- Embrace Flexibility and Adjustments: While a detailed sketch is crucial, be open to adjustments during the carving process. The characteristics of the lino and the carving experience might inspire beneficial changes to your design.
- Consider Negative Space: Actively plan the use of negative space in your sketch. This element can significantly enhance the visual impact of your print by adding depth and contrast.
- Utilise Hatching for Mid-Tones: Given the nature of linocut shading, traditional gradients and subtle shades can be challenging to achieve. Instead, employ hatching techniques to represent mid-tones. This method involves creating closely spaced parallel lines to simulate different tones. The density and spacing of the lines can vary to suggest lighter or darker areas, offering a practical solution for incorporating gradations of tone within your linocut design. This approach not only enhances the depth and dimensionality of your print but also aligns well with the graphic qualities intrinsic to linocut artwork.
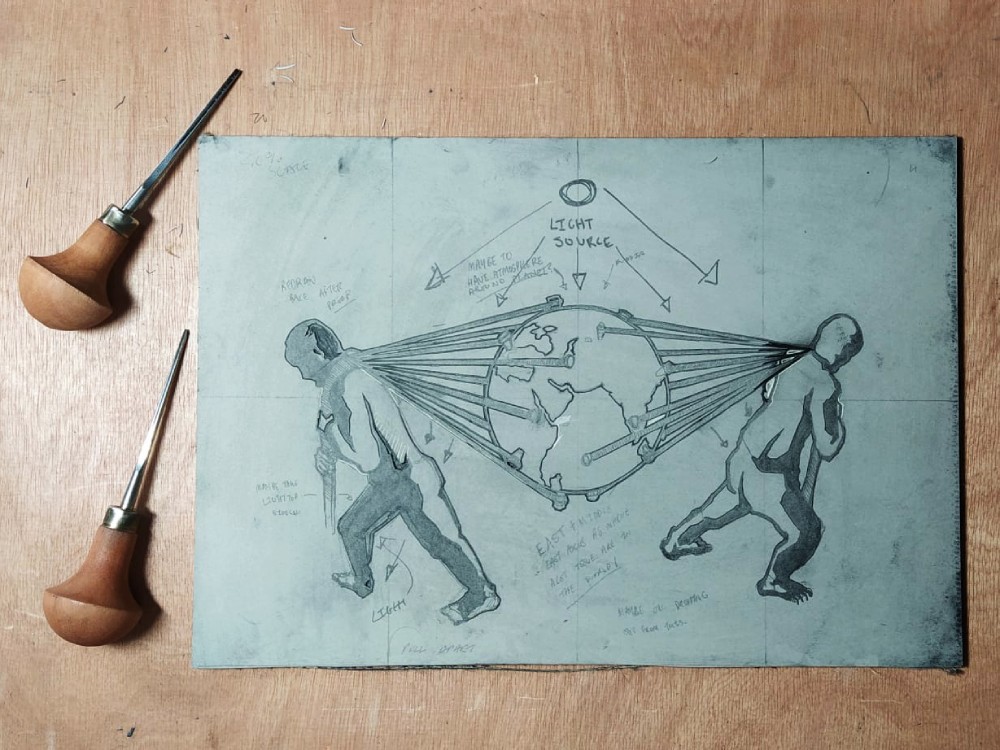
Designing and cutting linocut.
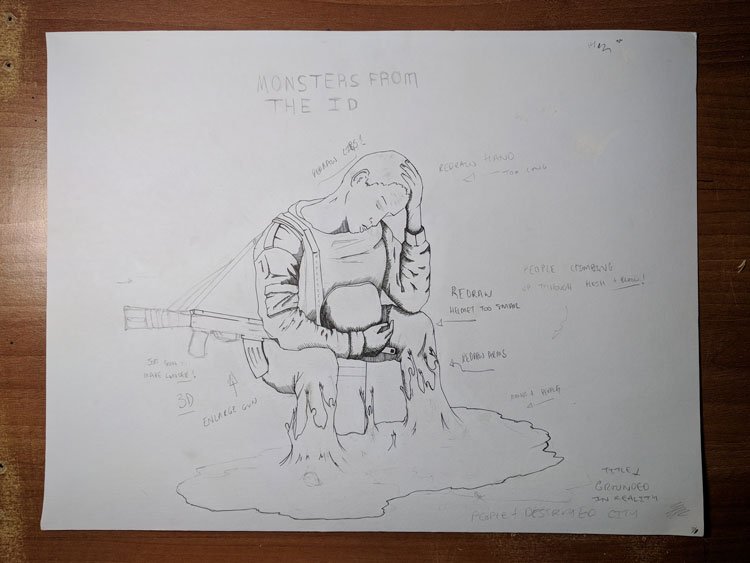
You can sketch a more complex design for Lino printing.
Hand drawn design transferred with carbon paper with detail redrawn.
Using a Photo to Help with Your Design
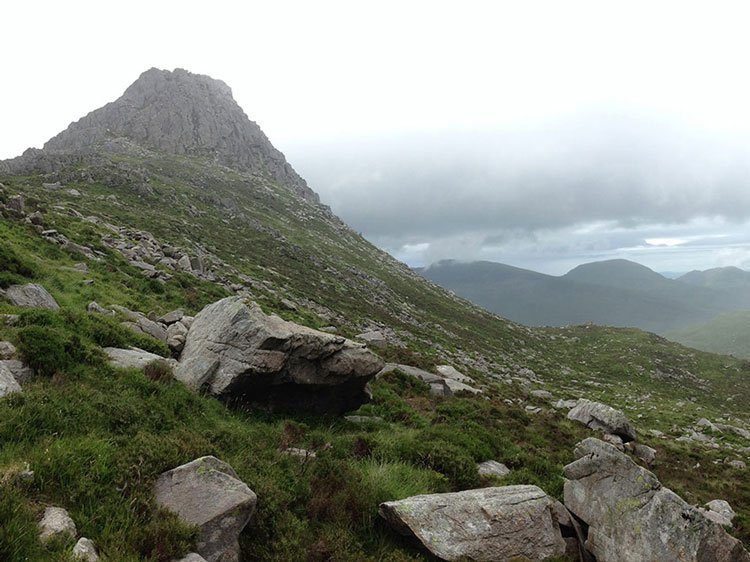
To help with your design, you can use a photo. This is a neat trick to figure out where the shadows and highlights are in your picture. Let’s say you have a photo of a pretty place, like a mountain. Here’s how you can use your phone to turn it into a black and white guide for your linocut.
Step 1 – Open Your Photo: First, open your chosen photo in your phone’s photo editor. Don’t worry if you don’t have an iPhone; most phones can do what you need.
Step 2 – Make It Black and White: Next, put a black and white filter on your photo. This makes it easier to see the dark and light parts, which are important for your linocut.
Step 3 – Tweak the Picture: Now, play with the settings like brightness and contrast. You want to make the blacks really black and the whites really white, getting rid of grey areas. This helps you see clearly what parts of your picture are in the light and what parts are in the shadow.
Remember, this isn’t going to solve everything for your linocut, but it’s a great starting point. A lot of the magic happens when you’re actually cutting the lino. Sometimes, you might need to think hard and squint at your photo to decide what to cut and what to leave. If you’re not sure, it’s better to leave it and not cut it out. You can’t undo the cuts, but you can always make a test print to see if it looks right. If you need to make changes after your test print, then go ahead and make those cuts. And don’t worry if it’s not perfect – it’s all part of the learning process!
You can read this great guide on designing black and white linocuts for a good idea about planning and designing linocuts.
Use a photograph for your design with blacks enhanced, print it off and then trace over it.
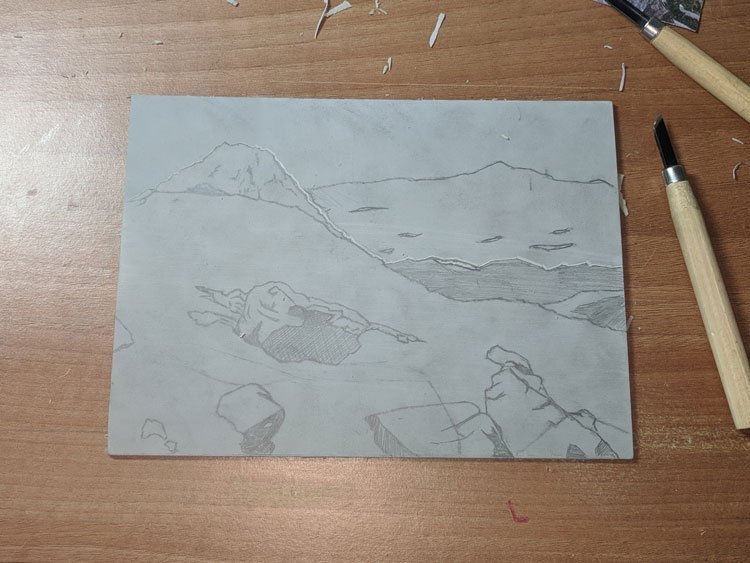
Outlined design on Lino after drawing over image with graphite.
Find Inspiration for Creating Your Linocut Design
- Research and inspiration: Before starting, spend some time looking at existing lino prints. This can help you explore different styles, spot what works well in relief printmaking, and gather ideas for your own design.
- Simplification: Especially for beginners, intricate detail can be difficult to carve cleanly. Try simplifying your subject into clearer shapes and lines so the design works with the medium rather than against it.
- Tonal studies: Do a quick tonal sketch to understand the light and dark areas of your image. Lino prints often rely on contrast, so it helps to know where your darkest darks and lightest lights will be.
- Scale test: Experiment with the size of your design. Some ideas work better small and graphic, while others need more space to have impact.
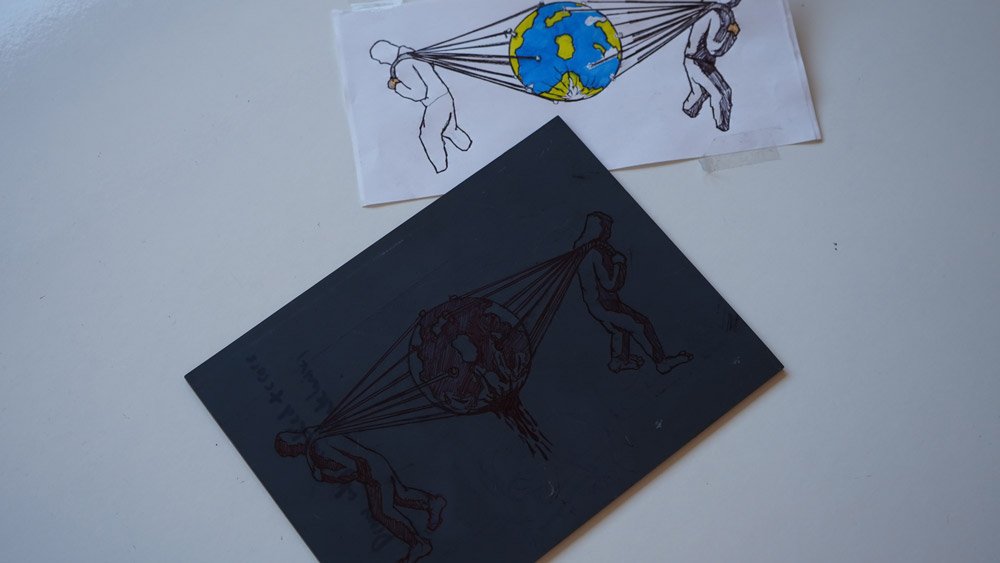
- Mock prints: Before transferring your design to the lino, try a rough paper version or sketch it as a print. This can help you visualise the final result and spot weak areas before carving begins.
- Feedback: If possible, show your design to someone else. A fresh pair of eyes can often spot areas that need simplifying, balancing, or refining.
- Consider the negative space: In lino printing, the areas you carve away will not print, so they become the negative space or colour of the paper. Think carefully about how those carved areas will interact with the printed parts of the image.
Staring at a blank lino block can feel intimidating, but a strong design usually starts with simple, bold ideas. Lino printing often works best when you focus on clear shapes rather than too much fine detail. Nature, architecture, patterns, and everyday objects can all make excellent starting points because they often translate well into graphic forms.
It also helps to think in terms of positive and negative space from the start. The areas you leave will hold the ink, while the parts you cut away will stay blank. Sketching your idea first and shading the parts you want to print can make this much easier to visualise before you commit it to the block.
You can also build more interest into a simple design by thinking about texture. Different tools create different marks, so even a straightforward subject can become more engaging through varied lines, patterns, and carved surfaces.
By taking a little extra time at the design stage, you can create a more thoughtful linocut that is easier to carve and more successful when printed. Check out our short guide for 10 ideas to help get you started with lino printing.
Once you’ve finalised your design, it’s important to follow the remaining steps in the process. For a detailed overview, discover the entire lino printing process in our comprehensive guide.
Featured Linocut Guides
Check Out Our In Depth Lino Printing Guides
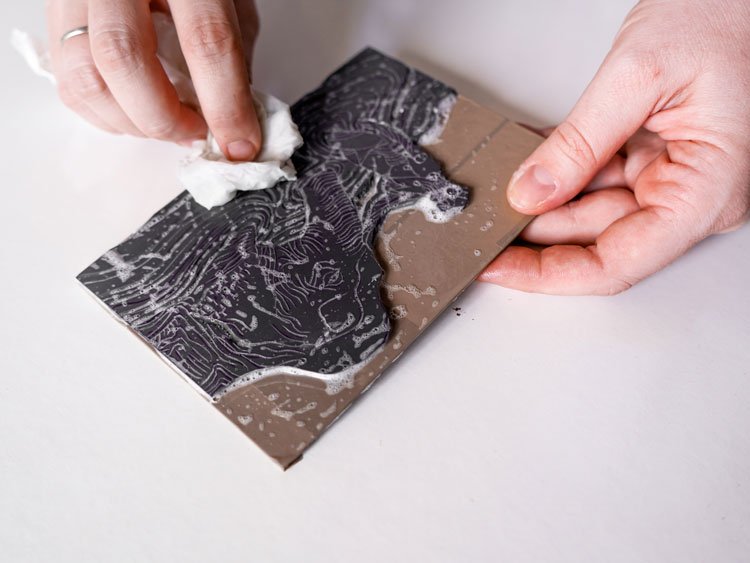
Cleaning Your Linocut
Cleaning Your Linocut
Read More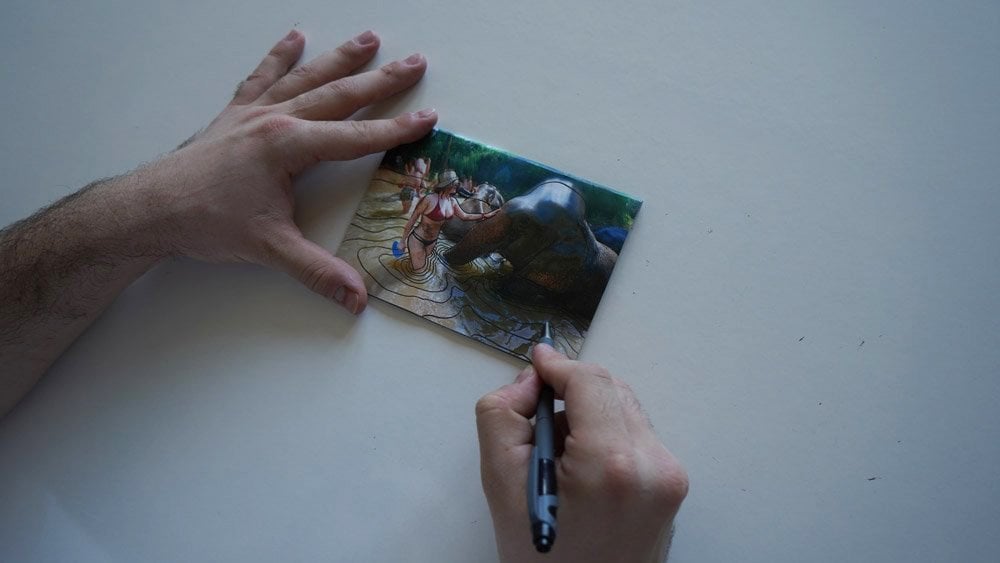
Designing Your Lino Print
Designing Your Lino Print
Read More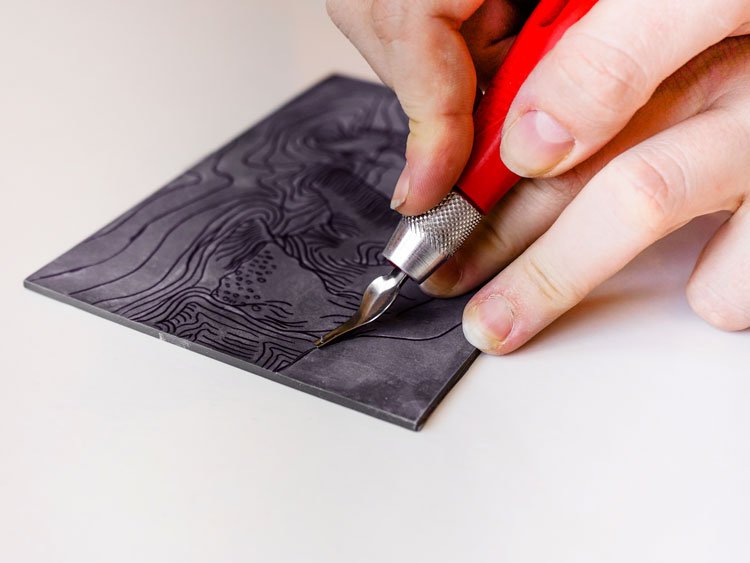
How to Cut and Carve Your Linocut
How to Cut and Carve Your Linocut
Read More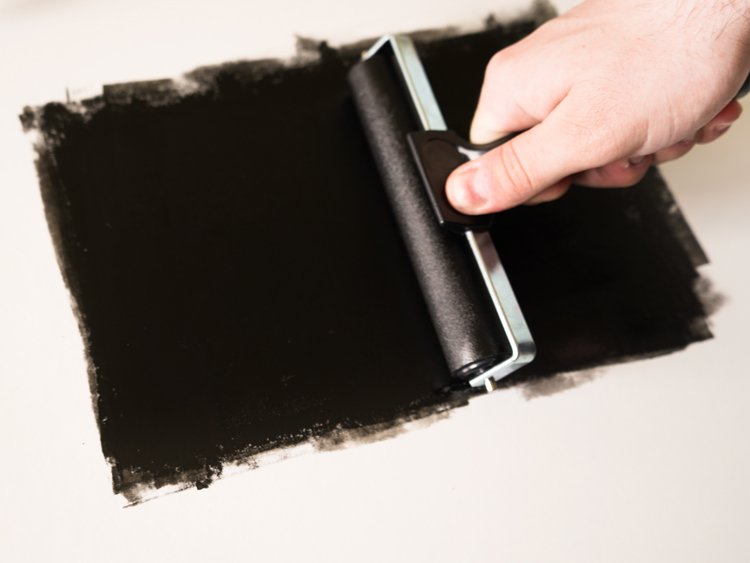
Inking Your Linocut Block
Inking Your Linocut Block
Read More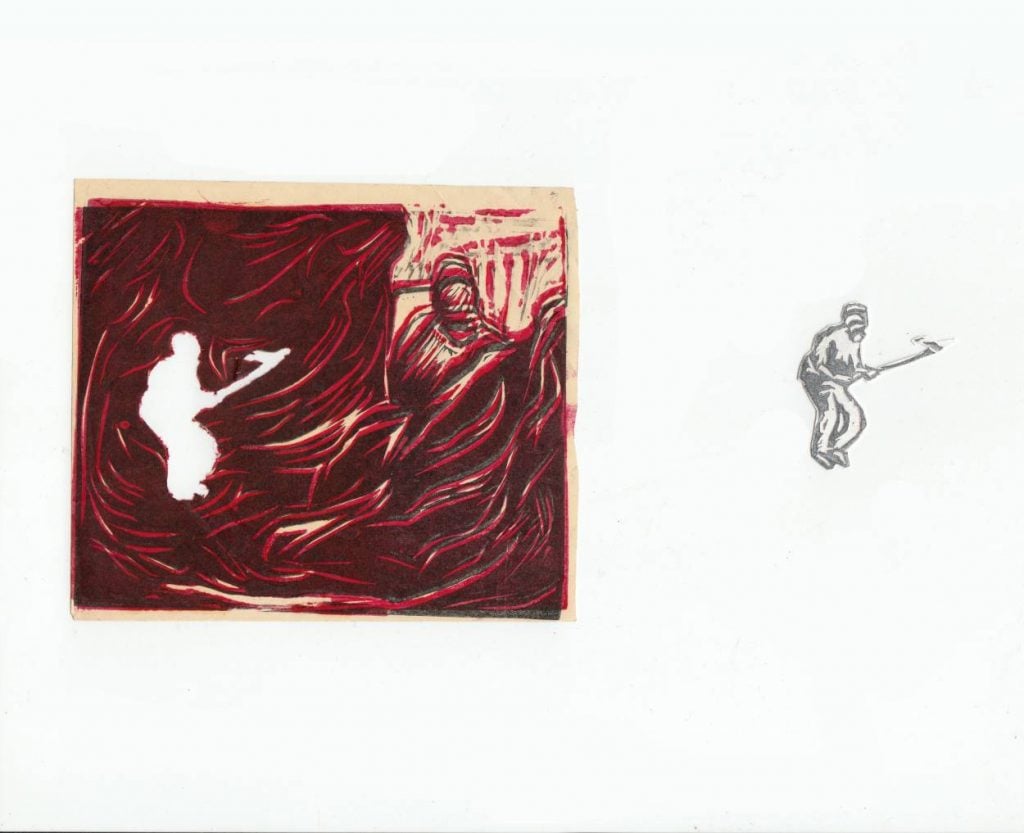
Lino Printing Multiple Colours With A Paper Mask
Lino Printing Multiple Colours With A Paper Mask
Read More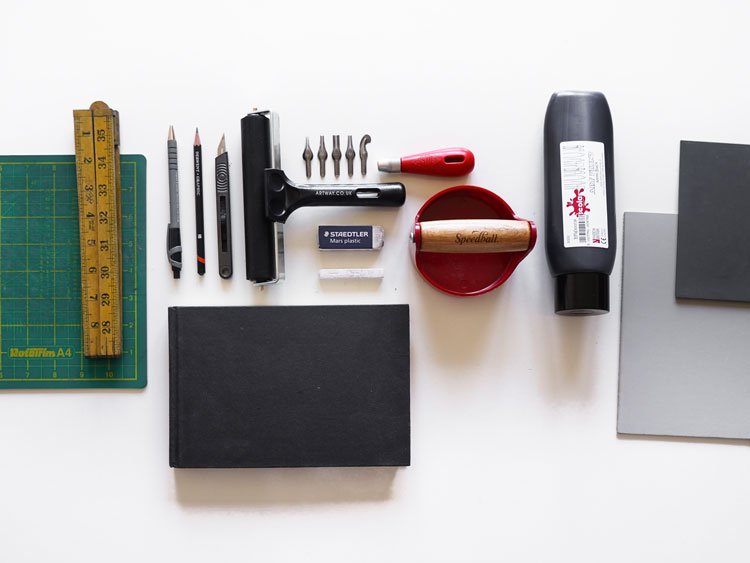
Lino Printing Workspace and Equipment Setup
Lino Printing Workspace and Equipment Setup
Read More
Printing Your Linocut
Printing Your Linocut
Read MoreTransferring Your Image or Design onto Lino
