Equipment Needed
Now you’re prepared to carve the lino. Please note, art-grade lino is easier to work with compared to floor lino. The process of linocutting, an essential step in creating a linocut print, involves a few key techniques and considerations.
Table of Contents
Firstly, you need to ensure your design is already transferred onto the linoleum block. Then, using specialised tools like gouges and linocut chisels, you begin the meticulous process of carving out your design. The aim is to remove the areas of the linoleum that you don’t want to receive ink (known as the ‘negative space’ or white areas of your design where the paper is not printed with ink).
Different Lino Cutting Tools Compared
It’s important to carve in the direction away from your body for safety, and to maintain a steady hand for precision. The depth and angle of your cuts will influence the texture and detail in your final print. This step requires a blend of artistic vision and careful craftsmanship, as every cut will directly affect how your design will appear once inked and pressed onto paper. Remember, the uncarved, raised areas will form the printed image, so it’s crucial to consider carefully which parts of your linoleum to carve away.
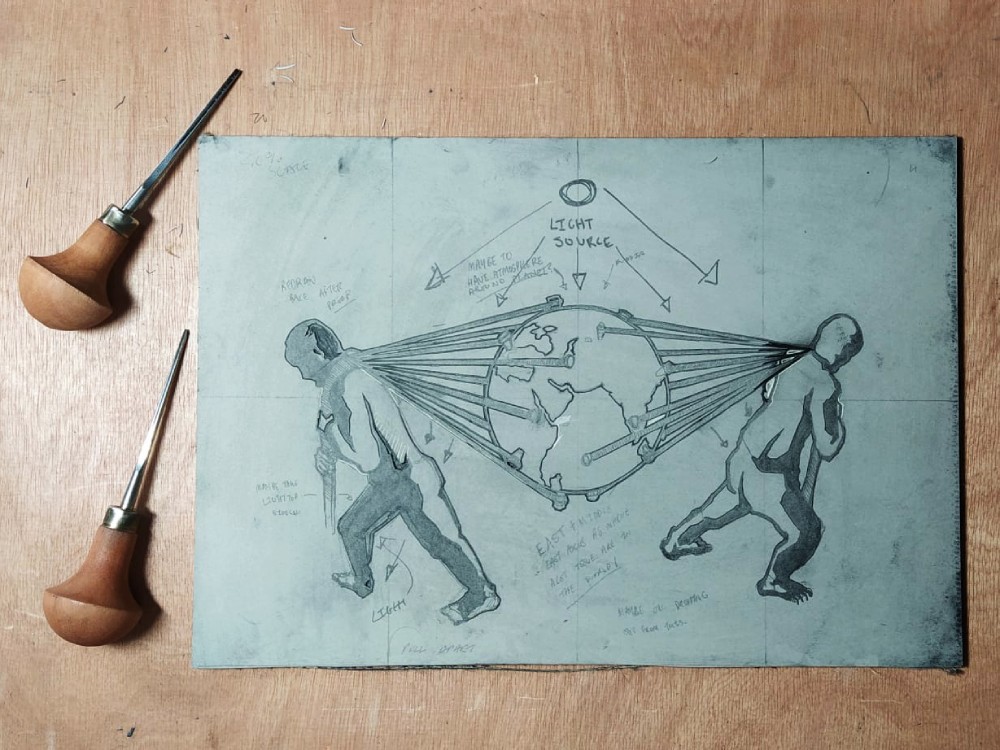
Designing and cutting linocut with Pfeil Lino Cutting Tools
What is the best way to cut lino? Tips for Carving Your Lino:
- Always carve away from yourself when working on your lino print. This helps prevent accidents should the tool slip. It’s prudent to have a first aid kit nearby, just in case.
- Begin with small, shallow incisions until you become more accustomed to the carving process.
- Lino varies in type: while some are soft and malleable, others can be tougher and may require heating before carving.
- Ensure all the carved-out lino bits are thoroughly cleared away.
Additional Tips for Carving Your Lino:
- Sharp Tools are Essential: Ensure your cutting tools are always sharp. A dull tool requires more force, making it harder to control and increasing the risk of accidents.
- Test Cuts: Before diving into your main design, make some test cuts on a scrap piece of lino. This allows you to understand the material’s resistance and how your tools interact with it.
- Use a Bench Hook: A bench hook is a tool that can help secure the lino block while you carve, preventing it from slipping.
- Lino Quality: Always invest in good quality lino. Cheaper alternatives may crumble or be inconsistent in texture, making them difficult to carve.
- Varying Tool Sizes: Different parts of your design may require different tool sizes. It’s beneficial to have a variety of cutting tools on hand to accommodate both large areas and fine details.
- Avoid Over-Carving: Be cautious not to carve too deeply, as this can go all the way through the lino and affect how it prints.
- Clean As You Go: Regularly brushing away the lino shavings helps keep your workspace clear and gives you a better view of your progress.
- Practice Makes Perfect: Like all artistic processes, the more you practice lino cutting, the better you’ll become. Over time, you’ll develop a steadier hand and a more intuitive understanding of how deep to cut.
Remember, safety first! While lino cutting can be enjoyable and rewarding, it’s crucial to always be aware of where your hands and fingers are in relation to the cutting tools.
Watch Our Video on Cutting Lino Blocks
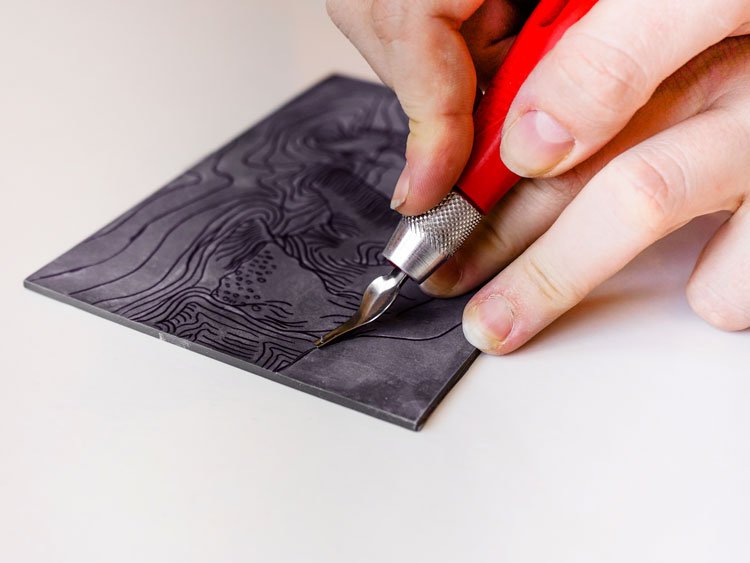
Make sure to use the correct sized blade when cutting your Lino.

You can use a utility knife/stanley knife to today up rough edges.
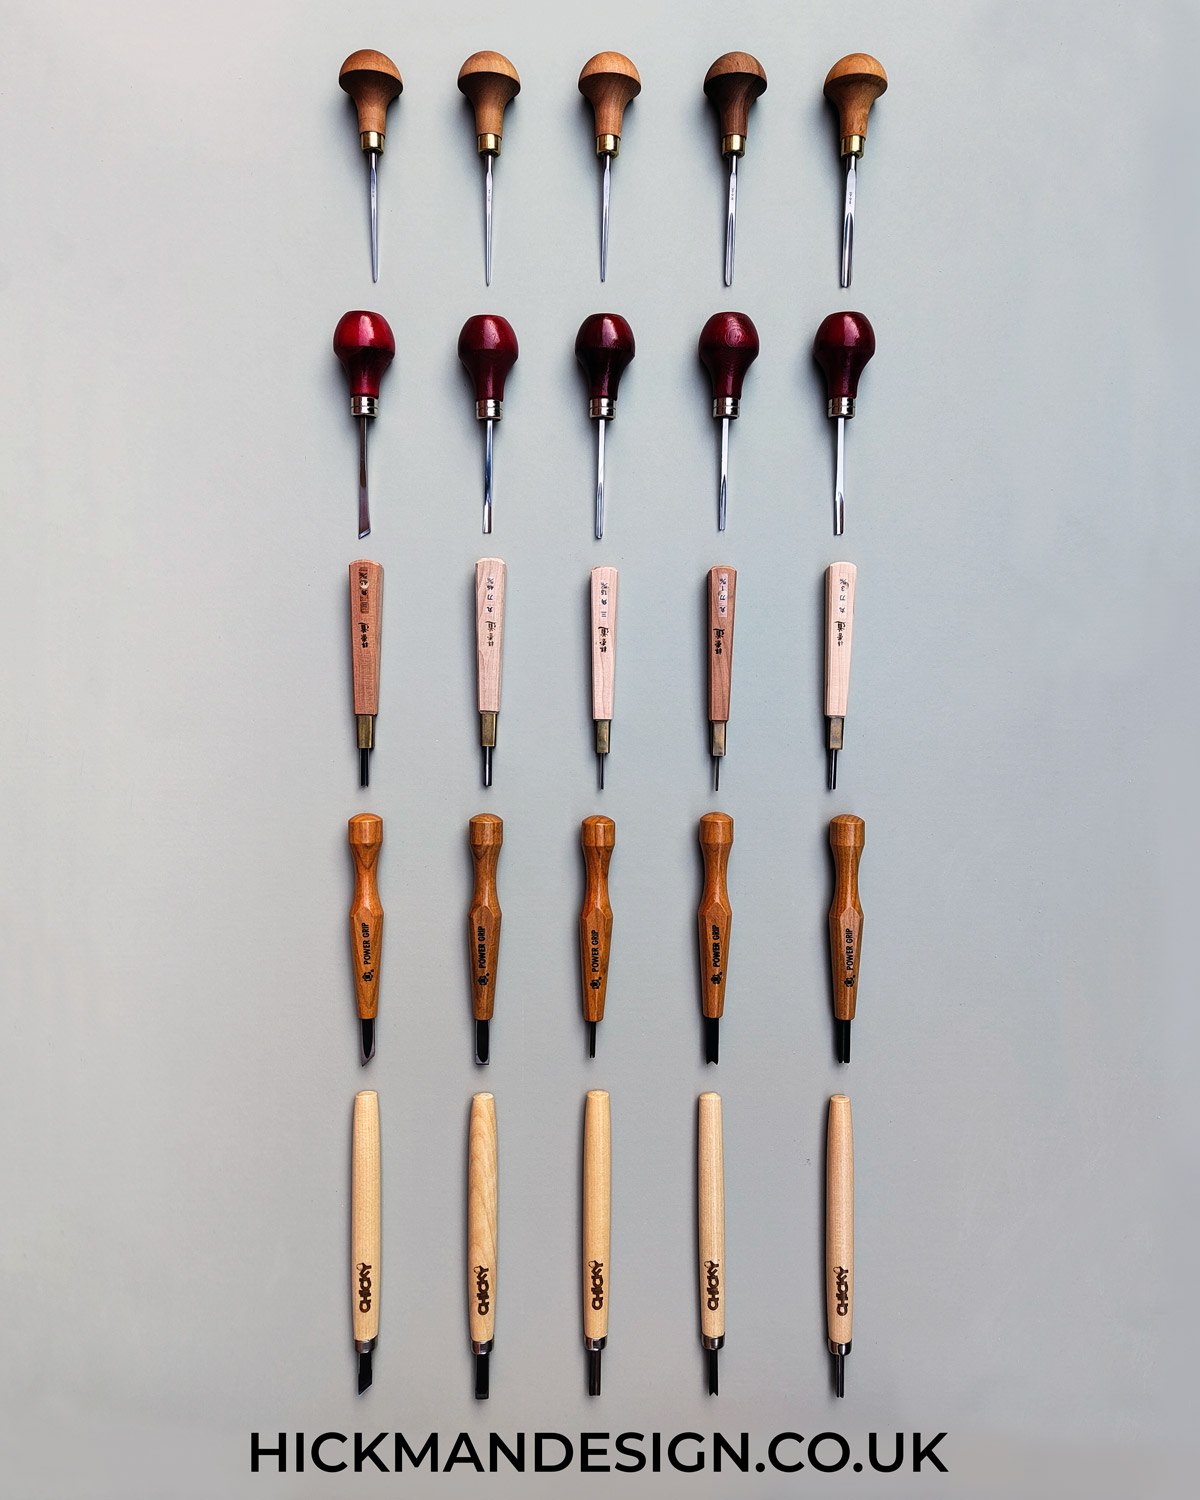
Types of Cutting Tools For Lino Printing
Depending on how much money you can spare to buy tools for lino printing determines the quality of the tools available. Shown are a mixture of cheaper and more expensive tools, if you are a beginner I would advise looking for the red handled lino tools which allow you to change the size of the cutting tool. Read the lino cutting tools review to get a better idea of what may be best suited for you.
Linocutting involves a variety of specialised tools, each designed for specific purposes. Understanding the shapes and uses of these tools is essential for effective carving and achieving the desired effects in your linocut prints. Here’s a list of common lino cutting tool shapes and their uses:
- V-Shaped Gouge (V-Tool):
- Use: Ideal for cutting fine lines and adding detail. The ‘V’ shape creates a clean, sharp line in the lino. It comes in various sizes for different line widths.
- U-Shaped Gouge (U-Tool or Gouge):
- Use: Perfect for scooping out larger areas. The ‘U’ shape allows for smooth, curved cuts and is great for creating texture. Available in different sizes for varying widths of cuts.
- Knife (Cutting Tool):
- Use: Used for straight cuts and for trimming the edges of the lino block. It’s also useful for clearing out large areas and creating sharp, defined edges.
- Chisel (Flat Tool):
- Use: Best for removing large areas of lino quickly. The flat edge is perfect for creating straight lines and can be used to smooth or flatten surfaces.
- Rounded Gouge:
- Use: Similar to the U-gouge but with a more rounded edge. It’s useful for creating softer, more rounded lines and textures.
- Micro Tools:
- Use: These are smaller tools used for adding fine details. They are essential for intricate designs where precision is key.
- Spoon Gouge:
- Use: This tool has a deeper, spoon-like shape, ideal for scooping out broader areas. It’s great for creating large, smooth curves or clearing big sections.
- Bent Neck Tools:
- Use: The bent neck allows for a different angle of attack, providing more control and comfort, especially when working on detailed or complex areas.
- Skew Knife:
- Use: A tool with an angled blade, used for cutting precise, angled lines or for reaching tight corners. It’s also useful for carving around detailed areas.
- Texture Tools:
- Use: These tools come in various shapes and are used to create different textures within the lino. They can produce effects like cross-hatching, stippling, or other patterned backgrounds.
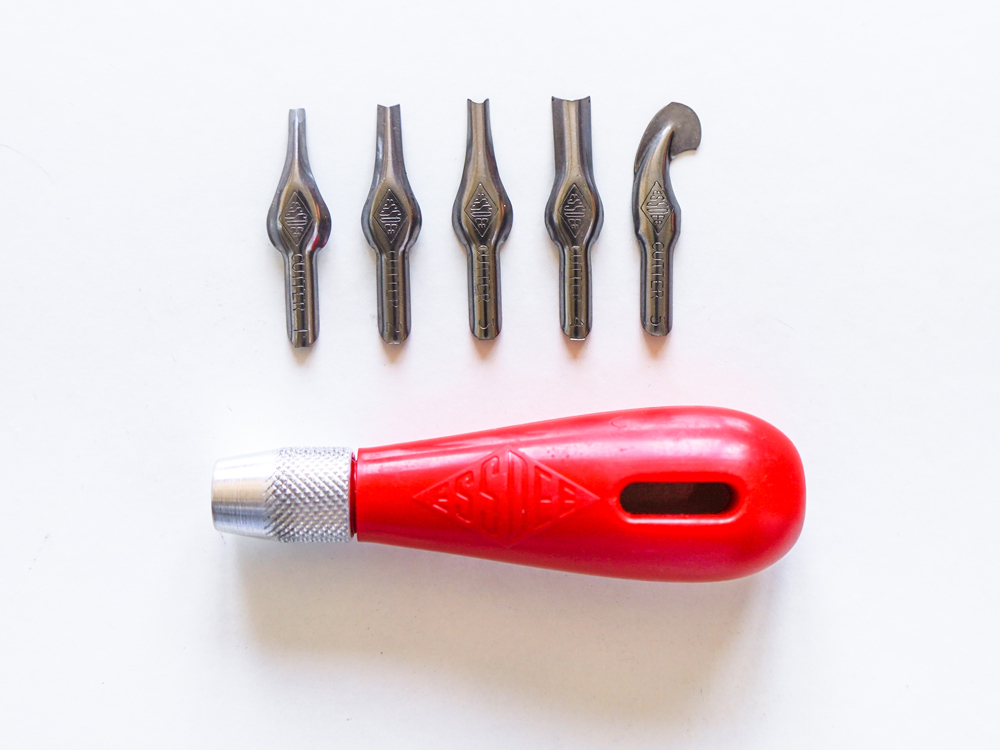
Essdee Lino Cutting Tool With Interchangeable Blades
Each of these tools can be used in different combinations and techniques to achieve a wide variety of effects in linocut printing. The choice of tool often depends on the specific requirements of your design and the style you wish to achieve. Experimentation with these tools is a great way to understand their capabilities and how they can enhance your linocut artwork.
Most lino printing starter kit will come with a tool that features adjustable blades, allowing you to use a single handle with interchangeable blades. This makes it easy to switch between different blade types and achieve a range of cuts and effects without needing multiple separate tools, providing both convenience and flexibility for beginners.
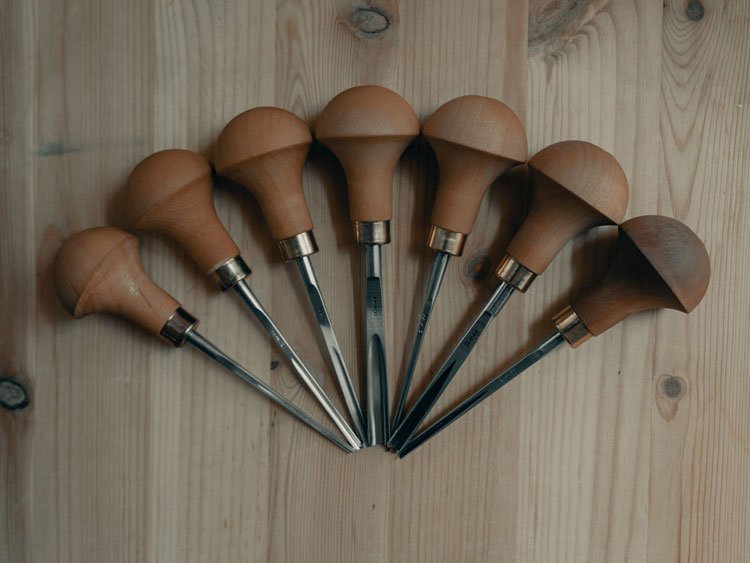

Various Lino cutting tools.
Lino Printing Carving Techniques
Lino printing is an engaging and highly satisfying artistic process, but like any form of printmaking, the carving stage requires precision and care. The carving process allows you to create unique, expressive designs that stand out on paper, fabric, or other surfaces. Here, I’ll guide you through several key carving techniques, each offering distinct artistic advantages, to help you refine your skills.
1. Outlining Technique
Outlining is one of the most fundamental approaches in lino printing, where you trace or draw your design onto the linoleum surface and carve around the outlines. This technique creates bold, clean designs, defining the shapes in your composition. It is particularly useful for beginners as it focuses on carving clear boundaries around each design element.
- How to do it:
- Start by sketching or transferring your design onto the lino block using carbon paper or a light pencil.
- Use a small V-gouge to carefully carve around the lines, leaving the primary shapes raised.
- For larger sections, switch to a U-gouge to remove more material efficiently.
- Tip: Begin with shallow cuts to allow room for adjustments. Keep your lines steady and avoid angling the tool too deeply, as this could create uneven surfaces.
2. Cross-Hatching for Shading
Hatching Technique Used For Tones
Cross-hatching is a technique that involves making a series of intersecting lines to create texture and shading, adding depth to your prints. This technique is particularly effective for more advanced printmakers, as it allows for a wide tonal range.
- How to do it:
- Use a small V-gouge to carve parallel lines across your design.
- Add a second set of parallel lines that intersect the first at a diagonal angle, creating a grid-like pattern. The closer the lines, the darker the area will appear.
- Increase the density of the lines for greater shading and depth.
- Tip: Adjust the pressure to create thinner or thicker lines, allowing you to control the intensity of the shading.
3. Stippling for Texture
Stippling is the process of creating small dots on your linoleum to develop a textured or shaded area. This technique is perfect for adding subtle texture and detail, such as creating patterns on fabrics or adding fine details like skin tones.
- How to do it:
- Use a fine V-gouge or a sharp tool to carve tiny, evenly spaced dots where you want texture.
- For darker, more textured areas, group the dots closely together; for lighter areas, space them out more widely.
- Tip: Play with dot size by changing the depth of your cuts, adding dimension and variety to your design.
4. Broad Removal for Negative Space
This technique focuses on carving away large areas of the lino to create negative space, leaving only the main subject raised. It’s a brilliant method for high-contrast designs, as it makes the subject of your print stand out dramatically.
- How to do it:
- Use a wide U-gouge to remove large sections of the lino, especially in the background.
- The goal is to carve out the areas around your design, leaving the key features raised.
- Tip: Use consistent pressure and angle to keep the carved areas smooth and the transitions between positive and negative space sharp.
5. Feathering for Soft Effects
Feathering is a technique used to create soft, tapering edges and transitions, ideal for blending areas and producing a sense of movement. It works well for representing soft textures like hair, grass, or water.
- How to do it:
- Using a small V-gouge, make fine, tapering cuts that follow the natural flow of your design.
- Repeat these strokes, gradually building up layers of fine lines to create a soft, feathered effect.
- Tip: Rotate the lino block rather than your hand to keep the lines smooth and consistent. Feathering works well in areas that require more subtle transitions or gradation.
6. Sgraffito for Intricate Detailing
Sgraffito, derived from an Italian term meaning “to scratch,” is a method where you scratch fine lines or textures into the surface. It is perfect for detailed areas like hair, leaves, or delicate background patterns.
- How to do it:
- Use a small, fine-point tool or V-gouge to etch fine lines or marks into your linoleum.
- This works well for creating patterns, fine textures, or intricate detailing in complex areas of your design.
- Tip: Slow, careful work is essential for sgraffito. Fine detailing requires patience, as rushing may lead to accidental gouges or unwanted marks.
7. Directional Carving
Directional carving is an expressive technique that follows the natural flow or direction of the elements in your design. It is especially useful for creating movement, such as the flow of water, wind, or waves.
- How to do it:
- Identify the direction of movement in your design, such as the curves of water or the flow of fabric.
- Carve in that direction using the appropriate size of gouge, allowing the lines to suggest movement and flow.
- Tip: Vary the width and depth of your lines to enhance the sense of motion. For example, use wider cuts for slower-moving elements and finer cuts for faster, more dynamic movements.
8. Inversion Carving
Inversion carving is a technique where you focus on the negative space rather than the positive shapes, reversing the usual process. This is effective for creating high-contrast designs where the background is as important as the subject.
- How to do it:
- Plan your design carefully so that the subject is formed by uncarved areas, while the background is carved away.
- Use a combination of gouge sizes to carve out large areas of background or to introduce subtle textural elements.
- Tip: Pair this technique with stippling or cross-hatching for added interest in the background, balancing detail with open negative space.
Carving is an essential part of lino printing, allowing artists to convey depth, texture, and movement. Whether you’re new to printmaking or looking to expand your skill set, experimenting with these techniques will elevate your artwork. Each method brings a different dimension to your prints, from bold outlines to intricate detailing.
Don’t be afraid to try different approaches and combine techniques to achieve the desired effect. And if you’re looking for high-quality tools and kits to help you on your lino printing journey, take a look at our lino printing supplies.
Cutting your lino block is just one step in creating beautiful prints. To continue your journey, explore the full lino printing process in our complete guide.
Caring For Your Lino Printing Tools
Your tools are an investment. With proper care, they can last a lifetime.
- Clean Immediately After Use: Don’t let ink dry on your brayers or carving tools. For water-soluble inks, warm soapy water and a soft cloth are all you need.
- Dry Thoroughly: Moisture is the enemy of metal tools. After washing, dry your cutter blades completely to prevent rust.
- The Importance of Sharpening: Over time, your carving tools will become dull. A dull tool is harder to use, less safe, and produces messy lines. Learning to sharpen your tools with a sharpening stone and leather strop is a key skill for any serious printmaker. It will make your carving experience much more enjoyable and your results more professional.
Lino Cutting Tools Questions
What tool is used to cut lino?
The standard tool set is a lino-cutting handle fitted with interchangeable V- and U-shaped gouges; for straight edges, add a sharp craft knife or scalpel with a fresh blade.
What is the best way to cut lino?
Warm the lino slightly, secure it on a bench hook, and make shallow, controlled passes with a sharp gouge, always carving away from your body to maintain accuracy and safety.
Can I use wood carving tools for linocut?
Small palm-sized wood-carving gouges can work if they are razor-sharp, but larger chisels are usually too bulky and cut at the wrong angle for the finer detail needed in linocut.
How do you cut hard lino?
Soften the block first—30 seconds with a hairdryer or a few minutes in a very low oven—then use sharp tools and take multiple light passes rather than forcing a single deep cut.
How do you cut a straight line in lino?
Place a metal ruler along the line, score lightly with a craft knife to set the path, then repeat with firmer pressure until the blade reaches the desired depth.
How do you soften lino for cutting?
Gently warm the sheet with a hairdryer, lay it on a hot-water bottle, or pop it in an oven pre-heated to about 50 °C for two to three minutes; the surface will become noticeably more pliable.
Can you cut lino with scissors?
Only very thin, soft vinyl linoleum can be rough-trimmed with heavy-duty scissors; traditional grey battleship lino is too dense and should be trimmed with a knife instead.
How deep should a lino cut be?
A clean channel of 1–2 mm is usually sufficient—deep enough to hold ink-free recesses yet shallow enough to keep the block strong and flat.
Featured Linocut Guides
Check Out Our In Depth Lino Printing Guides
Cleaning Your Linocut
Cleaning Your Linocut
Read More
Designing Your Lino Print
Designing Your Lino Print
Read MoreHow to Cut and Carve Your Linocut
How to Cut and Carve Your Linocut
Read More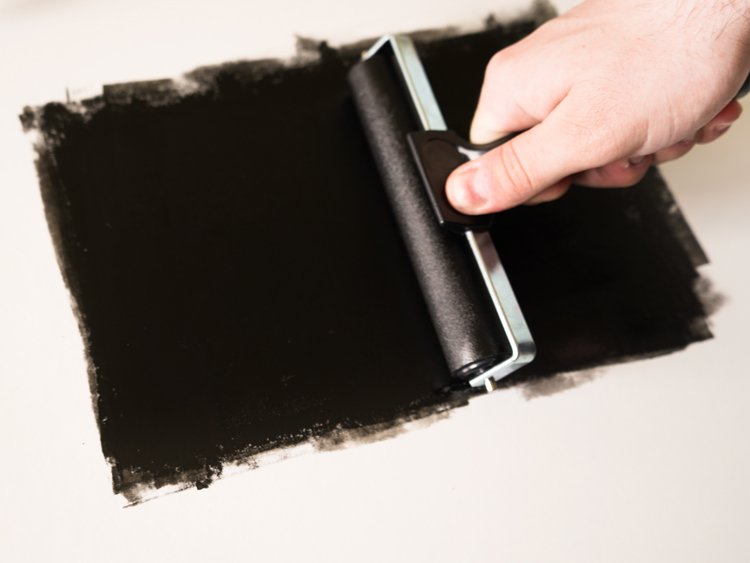
Inking Your Linocut Block
Inking Your Linocut Block
Read More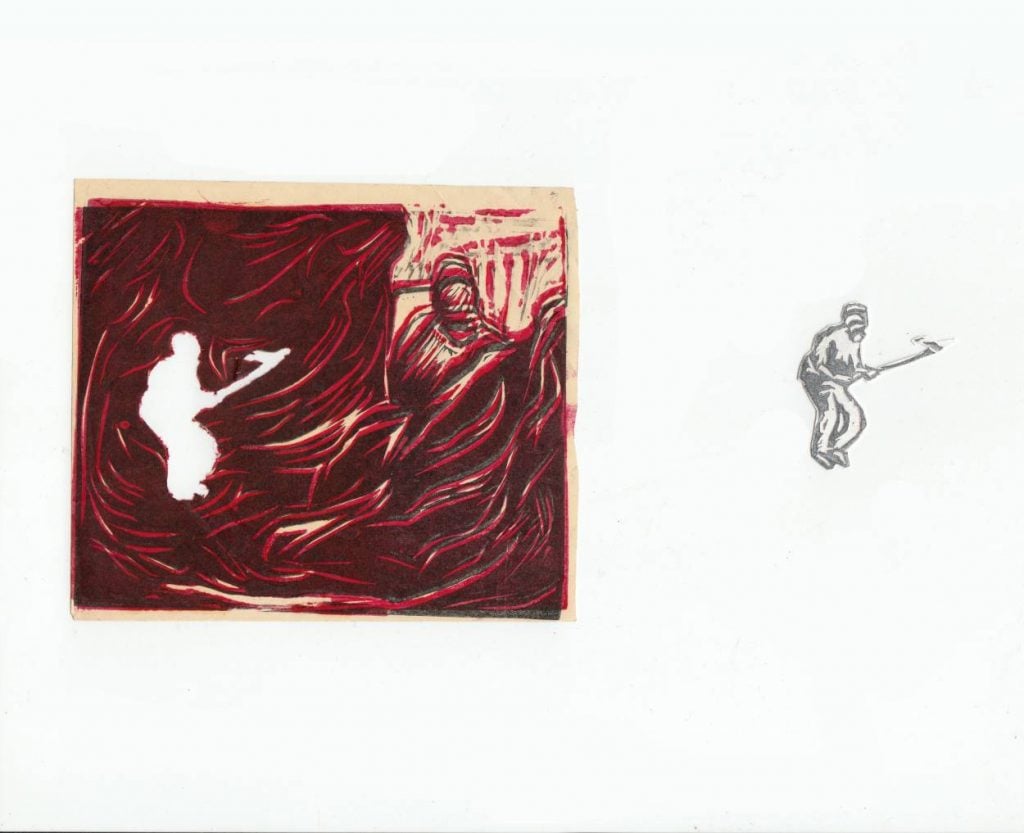
Lino Printing Multiple Colours With A Paper Mask
Lino Printing Multiple Colours With A Paper Mask
Read More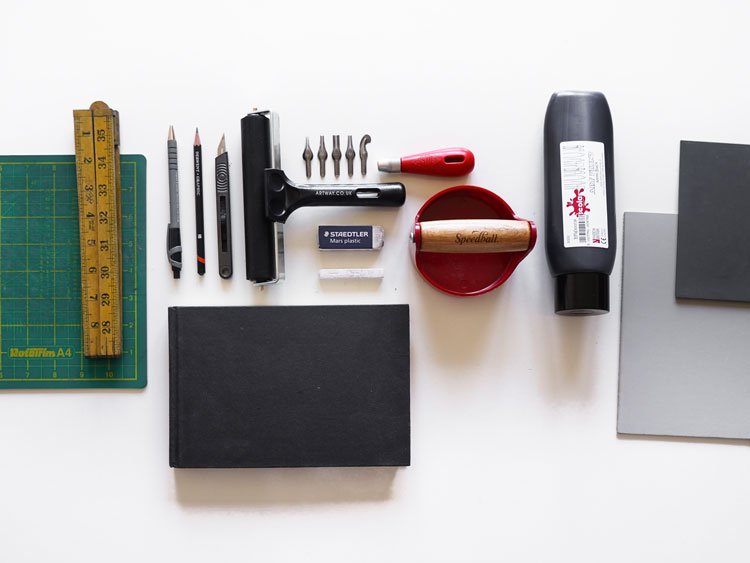
Lino Printing Workspace and Equipment Setup
Lino Printing Workspace and Equipment Setup
Read More
Printing Your Linocut
Printing Your Linocut
Read MoreTransferring Your Image or Design onto Lino
