Equipment Needed
Should you wish to print in multiple colours, please refer to this step first.
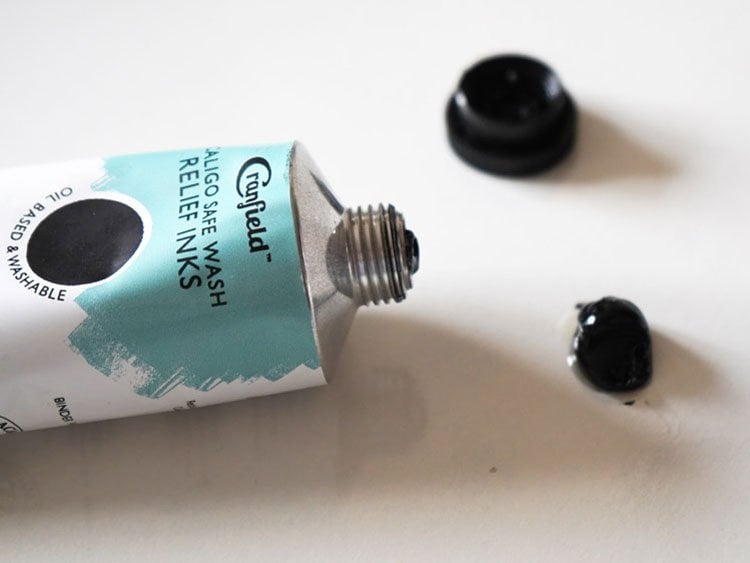
Now, gear up for the thrilling segment of the lino printing journey – the actual printing! Establish a well-organised workspace, acknowledging the propensity of lino printing ink to stain. It might be prudent to don an apron. Numerous varieties of block printing ink are available for linoleum printing: while oil-based inks have the advantage of a slower drying time, their clean-up can be somewhat cumbersome. Caligo Safewash inks, however, are oil-based, deliver a splendid print, and can be conveniently washed off with soapy water.
A lino printing kit will usually contain water-based inks, as these are the easiest to use for beginners and clean up with minimal fuss. Additionally, most kits include a 100mm or 150mm brayer for applying ink evenly across the lino block, ensuring smooth and consistent prints.
Table of Contents
Preparing Your Lino for Printing:
- Stabilise the Lino: Adhere the lino to a wooden or plastic board (like Foamex) to guarantee a uniform printing surface.
- Degreasing: Cleanse the lino block with white spirit or warm soapy water to ensure consistent ink application.
- Tidy the Edges: Purge the edges of the lino and trim any dangling fragments to prevent their interference with the ink.
- Mask the Cut Areas: If there’s unwanted ink in the carved sections, design a mask for those areas using thin paper, ideally around 80gsm or lighter.
- Correctional Measures: Utilise a cotton bud doused in water or white spirit to eliminate any undesired lino ink from the carved areas.
- Edge Support: Craft a border using surplus lino around your current print’s edges. This acts as a ledge for the roller, preventing it from dipping into carved sections, which could inadvertently introduce ink to unwanted zones of the print, such as the white paper backdrop.
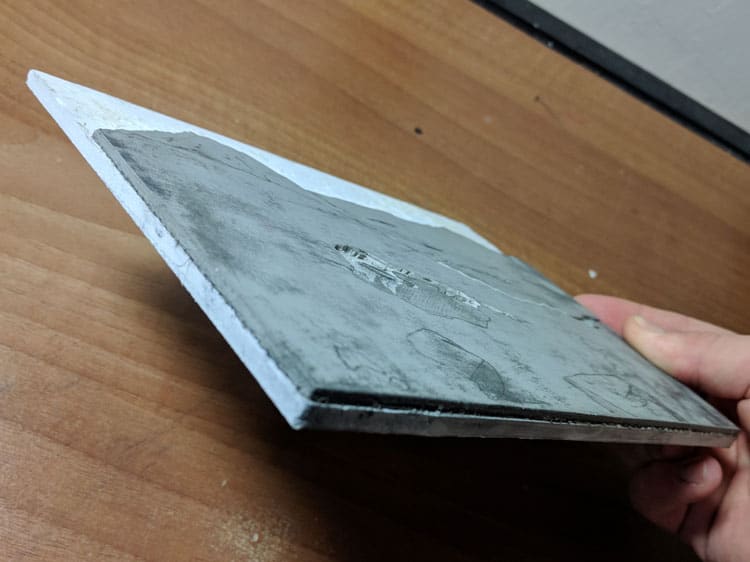
Lino print backed with foamex plastic to make sure the plate does not warp.
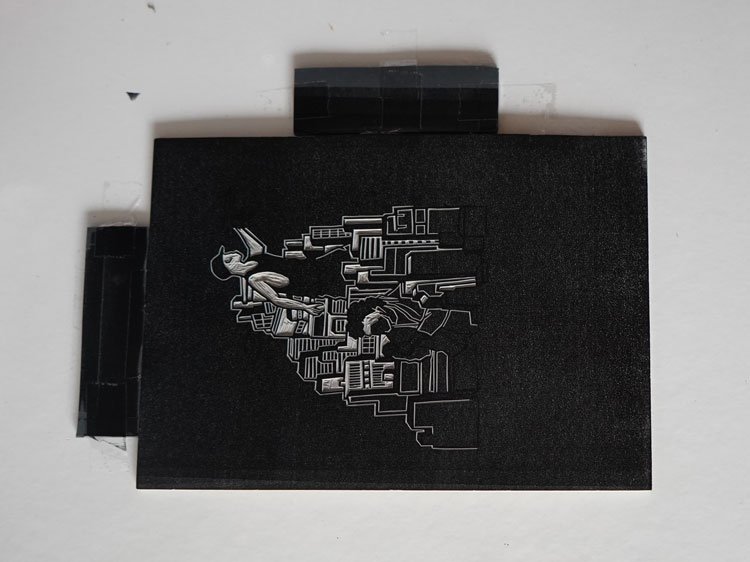
Lino print backed with card and tape to make sure the plate does not warp.
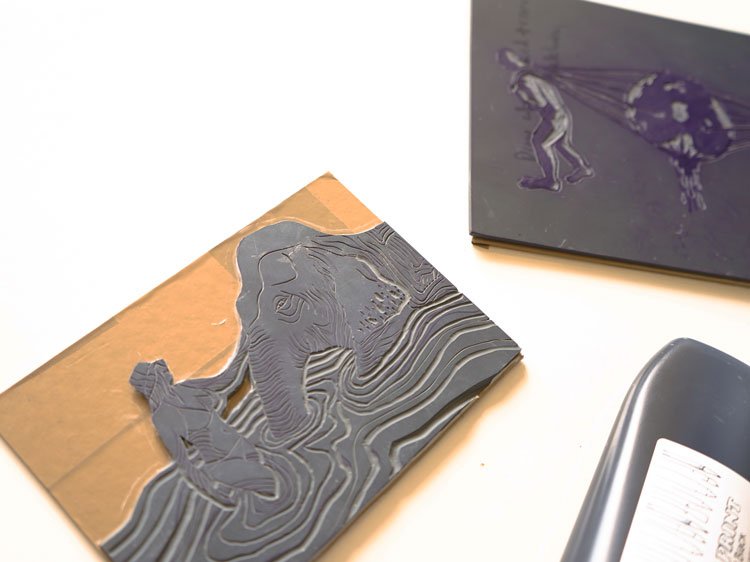
Create frame from old Lino around your Lino print stops roller from slipping off edge when rolling ink.
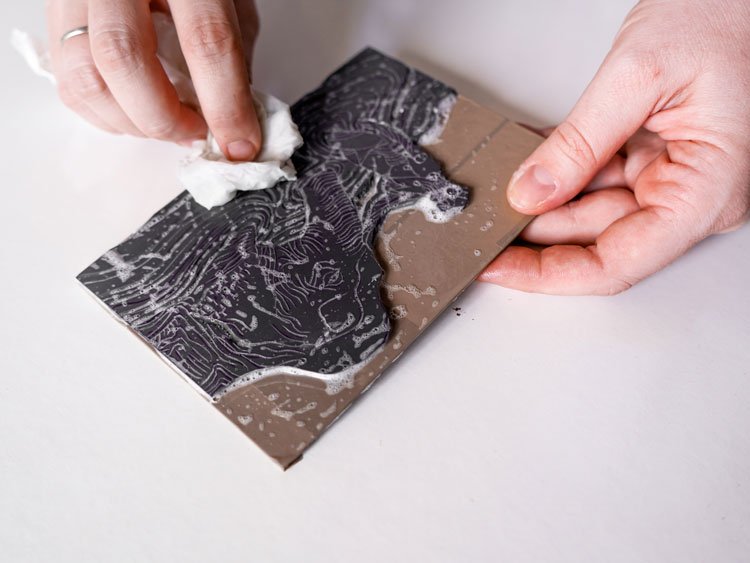
Clean Lino plate before printing with warm soapy water to remove any grease as this can stop ink printing correctly.
Additional Steps for Preparing Your Lino for Printing:
- Test Printing: Before committing to your final paper or fabric, do a few test prints on scrap material. This allows you to understand how the ink transfers and if there are any areas of your lino that need further refinement.
- Temperature Considerations: Remember that the room temperature can affect the consistency of the ink. If you find your ink too thick and it’s a cool day, you might want to gently warm it. Conversely, on hot days, ink might become too runny; consider working in a cooler environment or adding a retarder.
- Ink Mixing: If you’re looking to achieve a specific shade, mix your inks in advance and make sure you mix a sufficient quantity for your entire print run to ensure consistency.
- Keep Your Hands Clean: Ensure your hands are clean when handling both the lino and paper. Oils and dirt from your hands can affect the ink’s adhesion.
- Brayer Maintenance: Ensure your brayer (roller) is clean before application and rolls smoothly. An uneven or dirty brayer can lead to inconsistent ink application.
- Dry the Lino: If you’ve washed or degreased the lino, ensure it’s thoroughly dry before applying ink. Any moisture can interfere with the ink application.
- Backing Material: Consider placing a piece of non-slip material beneath your lino while printing, especially if not mounted on a board. This will prevent it from moving and ensure even pressure when printing. Check out this guide for mounting tips to stop your lino from curving / bowing, which can happen after printing multiple times or cleaning the lino.
- Register Marks: If you’re planning a multi-layered print or doing multiple prints, consider using registration marks or Ternes Burton Registration Marks. These will help you align your paper consistently for each print.
Remember, lino printing is as much about the process and learning as it is about the final product. Taking these extra precautions will set you up for a smoother experience and a better result.
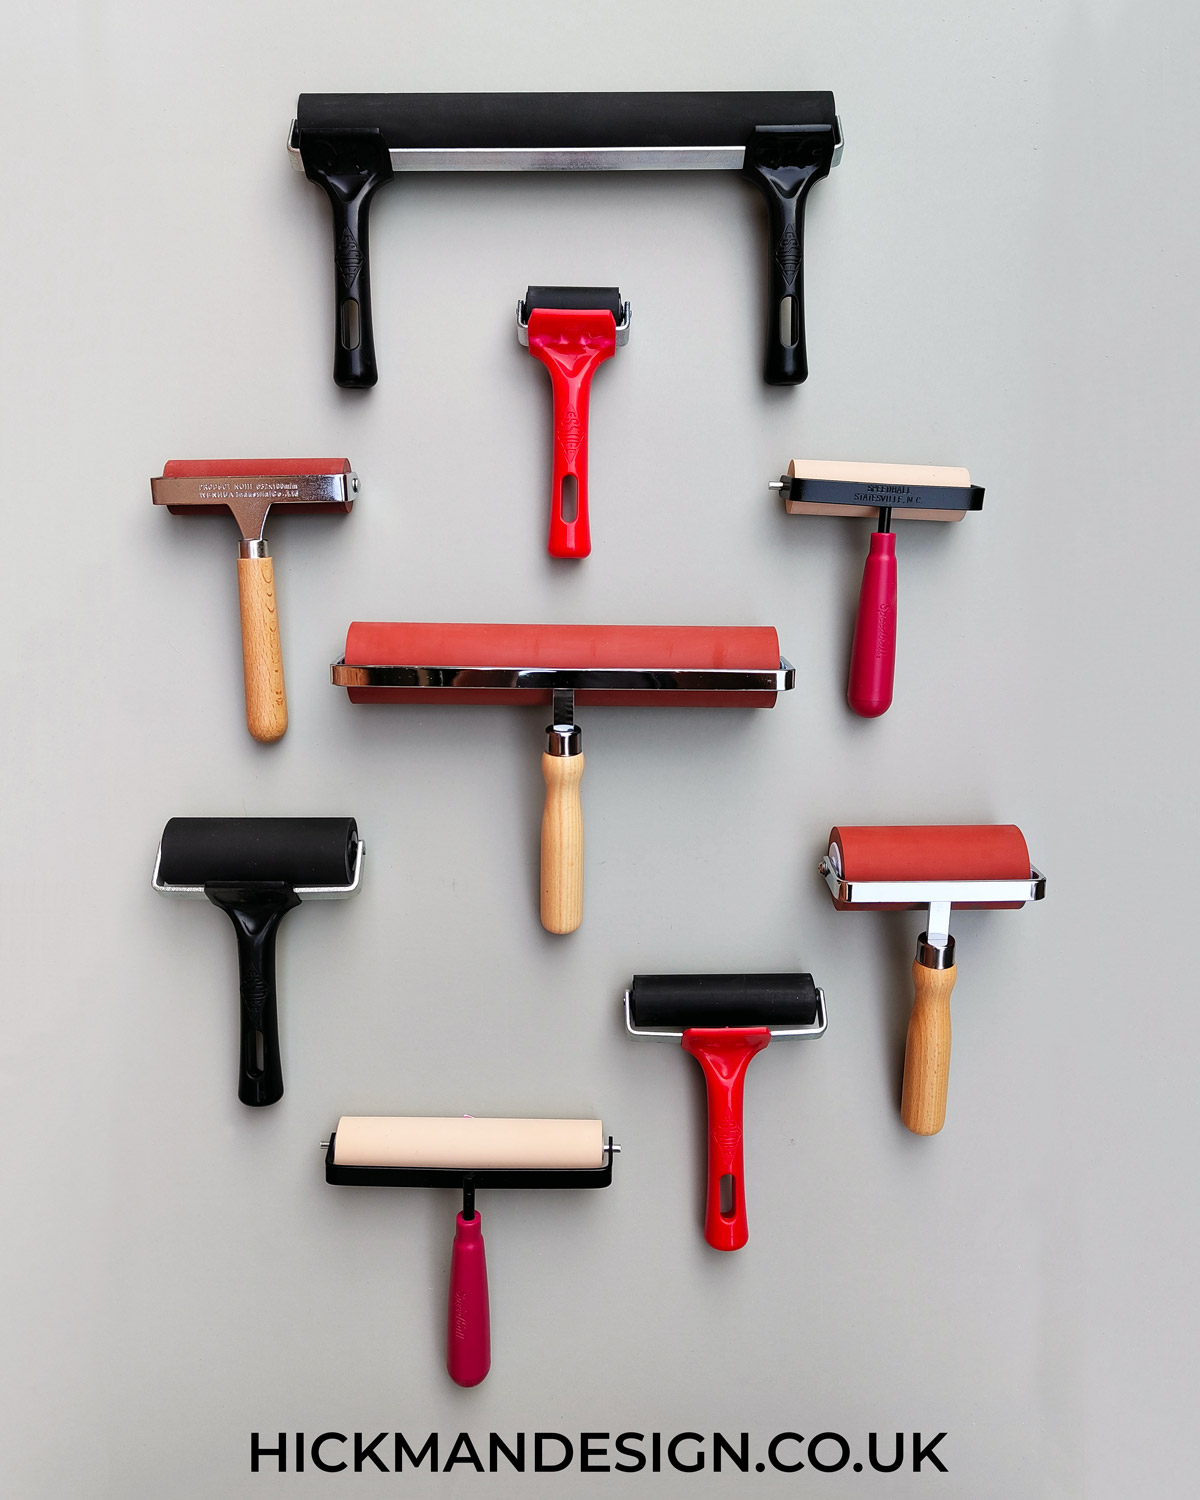
Different Lino Printing Rollers & Brayers Compared
Inking Your Lino Cut
- Ink Consistency: The perfect ink for lino printing should have a certain tactile texture. It’s worth noting that printer’s ink is significantly denser than the likes of fountain pen ink.
- Quantity of Ink: Begin with a minimal amount of ink — roughly the size of your fingertip should suffice for starters. It’s easier to add more ink than to manage an excess.
- Preparing the Surface: Place a modest dollop of ink onto your glass or Perspex sheet. Utilise the roller to distribute the ink, aiming for an even layer on both the sheet and the roller. As you manoeuvre the ink, it will develop a luxurious, velvety consistency.
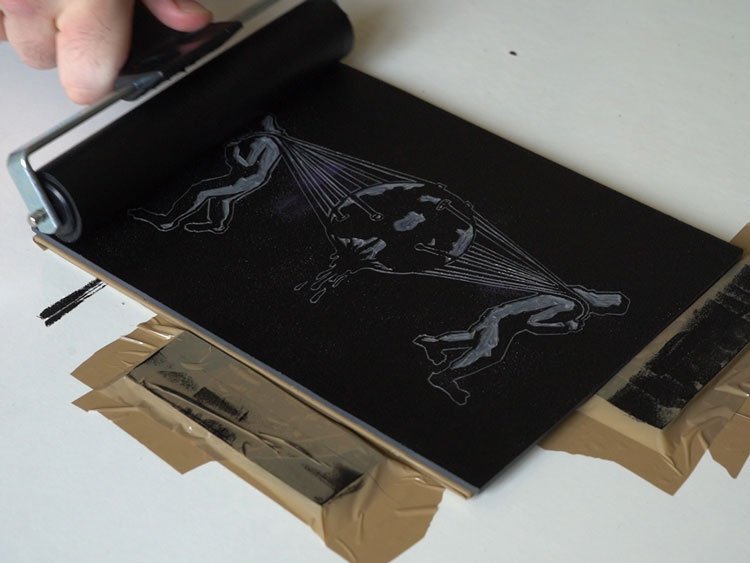
- Rolling Technique: Roll out the ink on the sheet, then shift the block by 90 degrees. Continue to roll ink onto the block, rotating it after each application. This rotation ensures an evenly inked surface across the entire block.
- Inking the Lino: With your roller laden with ink, apply it to your carved lino block, ensuring uniformity across the design. Remember, consistency is key for sharp, vivid prints.
Use a small amount of ink about the size of a pea.
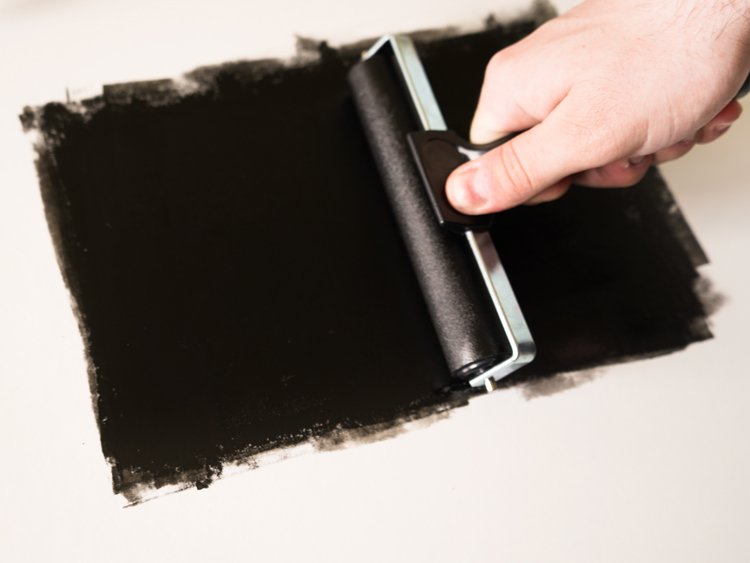
Roll ink until smooth and velvety.
Roll ink onto plate, rotate the plate 90° and then repeat until the plate has been rolled from all angles giving a smooth layer of ink.
Inked lino plate.
Watch Our Video On Inking Lino Blocks
Lino Printing Rollers & Brayers
One of the key tools for lino printing are the rollers and brayers, they are used to roll ink ink onto your lino printing plate to enable you to print. You can get a variety of lino printing rollers online or please check out our guide on lino printing rollers for more information.
Types Of Inks For Lino Printing
When you create your lino print you need to consider one of the most essential & important materials, which is the ink. You can use waterbased or oil based ink for block & lino printing, each have there own pros and cons which have been listed below to help you make a decision of what you need.
Out of personal choice I would recommend using Caligo Safewash inks that are oil based and can be cleaned with warm soapy water, offering the best of both worlds.
| Pros of Oil Based Inks | Cons of Oil Based Inks |
| Ink is rich in colour | Clean up uses chemicals |
| Does not dry quickly on rollers or plate/block | More expensive & costly |
| Less flecking (Paper showing through ink) | Can cause a mess if on clothing or shoes |
| Waterproof inks don’t run when wet | Longer drying times |
| Pros of Water Based Inks | Cons of Water Based Inks |
| Cheaper than oil based ink | Dry quickly on your plate |
| Easy cleanup with warm soapy water | Colour is not as dense |
| Quick drying time of prints | Not all ink is of great quality/density |
Inking is an essential part of bringing your design to life. To follow the next steps in the process, learn more about the complete lino printing process in our detailed guide.
Featured Linocut Guides
Check Out Our In Depth Lino Printing Guides
Cleaning Your Linocut
Cleaning Your Linocut
Read More
Designing Your Lino Print
Designing Your Lino Print
Read More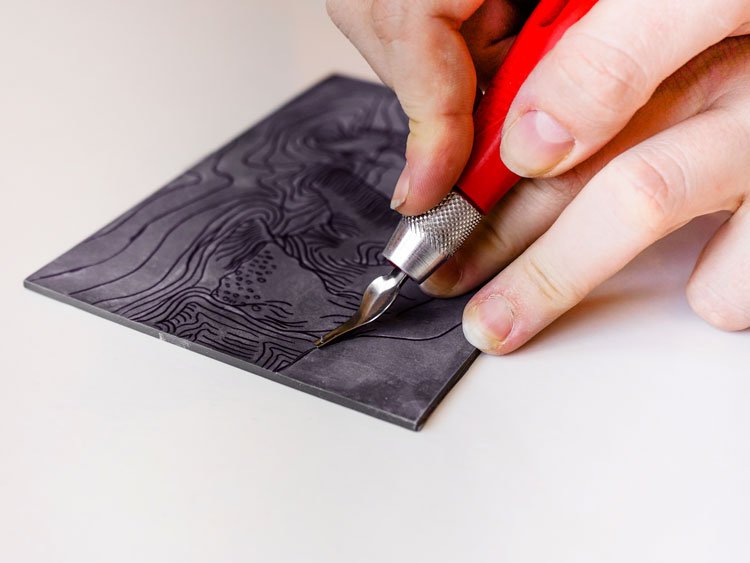
How to Cut and Carve Your Linocut
How to Cut and Carve Your Linocut
Read MoreInking Your Linocut Block
Inking Your Linocut Block
Read More
Lino Printing Multiple Colours With A Paper Mask
Lino Printing Multiple Colours With A Paper Mask
Read More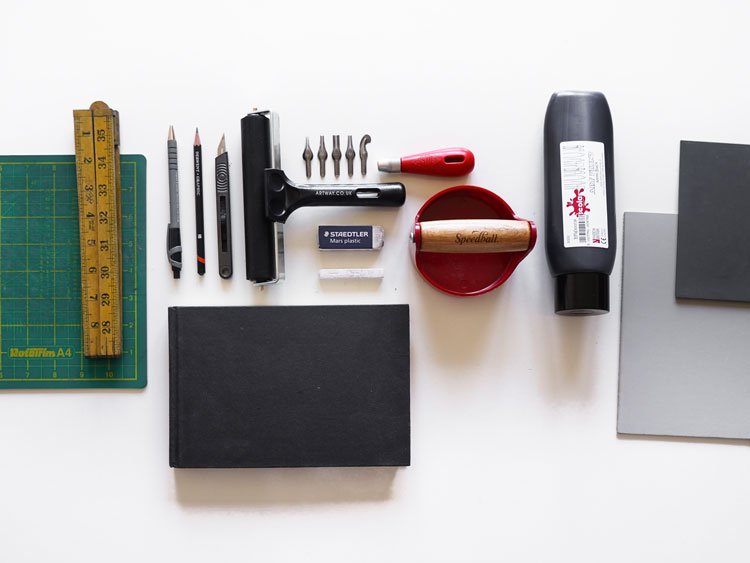
Lino Printing Workspace and Equipment Setup
Lino Printing Workspace and Equipment Setup
Read More
Printing Your Linocut
Printing Your Linocut
Read MoreTransferring Your Image or Design onto Lino
