Table of Contents
What’s Needed For Screen Printing with a Paper Stencil?
If you are new to printmaking and want to try out screen printing for the first time, but you don’t have the right studio space, printing your design using a paper stencil is a great way to start. A paper stencil will also lower your chances of ruining your screen, and it’s a helpful alternative if you are too afraid to work with emulsions. You will, however, need some patience and creativity to create your stencil, as well as some basic materials:
- Some freezer paper (or similar waxy, waterproof paper) to draw on,
- A sharp scalpel or scissors,
- A cutting board or wooden pad that can be used for cutting
- A screen (slightly larger than your sketch)
- Screen printing ink (water-based is preferable because it’s easier to clean up once you’re done printing)
- A squeegee
- An iron
- Tape
- Paper or fabric to print on (T-shirts, tote bags, etc. work great for screen printing but it helps to have some papers around for test prints)
The Process for Screen Printing with a Paper Stencil
Step 1 – Design Your Screen Print Stencil
Screen printing with a paper stencil works best when you:
- Use simple shapes with bold contrast that are easy to cut out with a scalpel or scissors
- Instead of trying to adapt a detailed drawing to your future print, try to make a new design with the intention of using it for stencil screen printing
- Make use of wide brush strokes, bold shapes, or thick markers!
- Make sure your sketch is the right size for your screen and the surface you are planning to print it on, and trace the outlines onto the rougher side of the freezer paper
- If your design has many details, make sure you know exactly which part you need to cut out (that’s where the colour will come out) and which part needs to stay and protect the mesh (that surface will remain the same colour as your background)
- You can use a pencil to shade mark or shade parts of your design so you don’t make a mistake while cutting
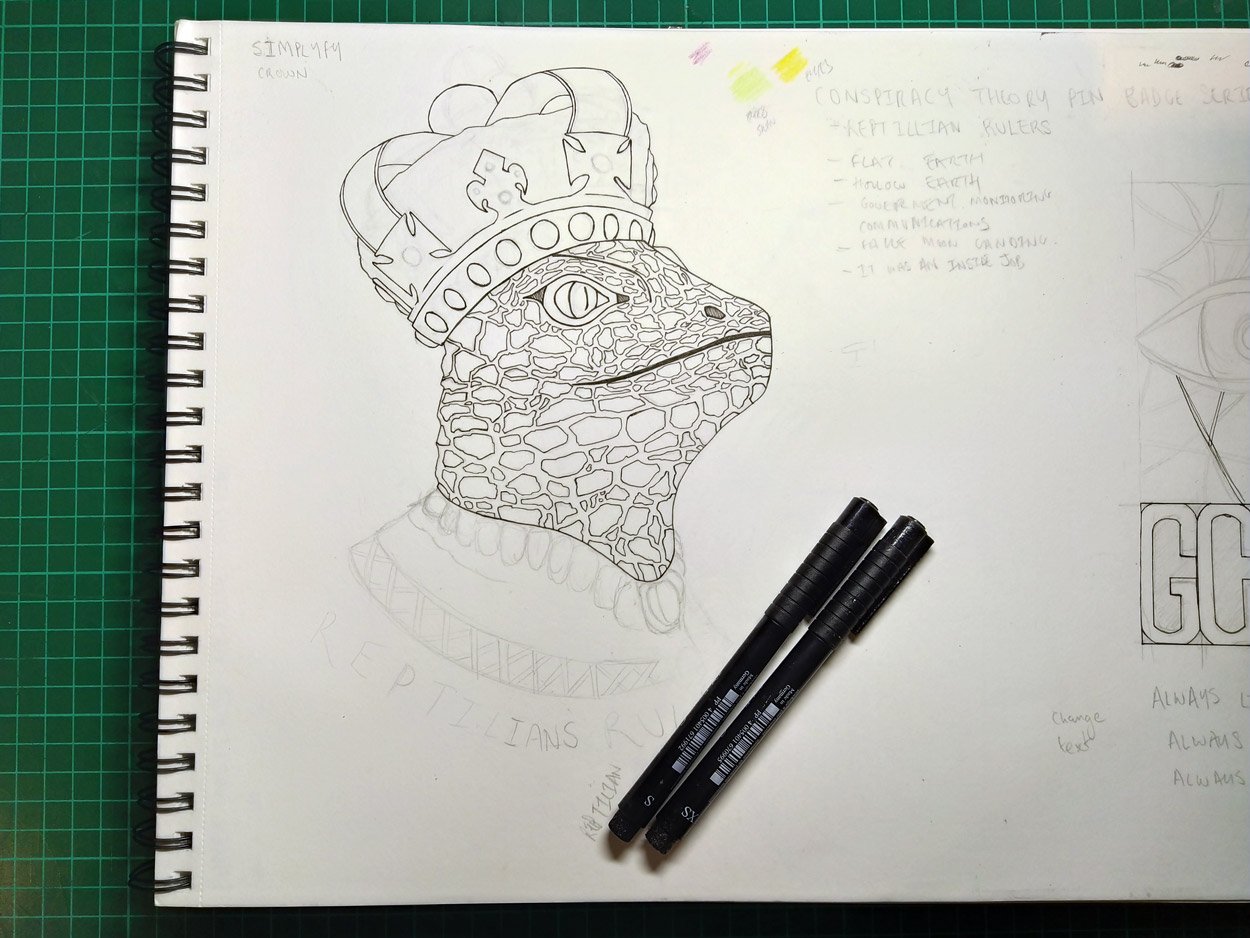
This sort of design would be too complex.
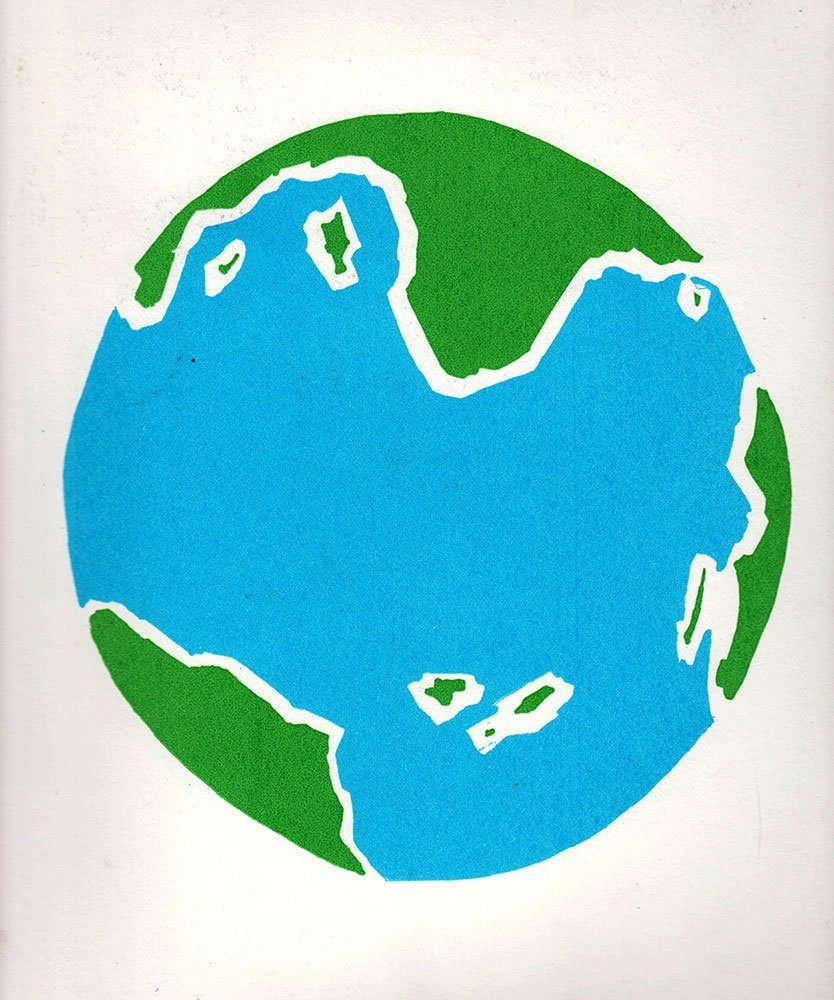
A design like this simple to make with a screen print.

Step 2 – Cutting the Paper Stencil
Once you have finished transferring the outlines of your design onto the freezer paper, you can begin cutting out the areas that you want printed. Remember, whatever you cut out will become the design, and the areas you leave will become the background, as they will prevent your ink from being pushed through the mesh.
Be careful while cutting, but even if you make a mistake, you can fix it by using a small piece of tape on the back side of your stencil. Just make sure the tape doesn’t ‘bleed’ into the area you need cut out, as it might appear later in your print.
Cut design / stencil out of thick paper, freezer paper or card.
Step 3 – Printing Screen Print With Stencil
When your paper stencil is ready, you can place it over the surface you want to print on (your T-shirt, or a paper in case you want to make a test print), making sure the rough, front side is facing up and that it’s placed exactly where you intend to print it. In case you are printing on textile, you can press the freezer paper onto the surface with a cold iron to ensure it stays in place.
Once the stencil is in position, carefully put the screen on top, paying attention not to make any creases or rip the parts that stand out. Cover the sides of the screen with paper tape so that leftover ink doesn’t leak outside of the stencil.
Once you’ve secured the edges, add your ink of choice onto one side of your screen. You will want to add enough ink because some of it will be absorbed by the threads of the screen (also in case you want to make more than one print).
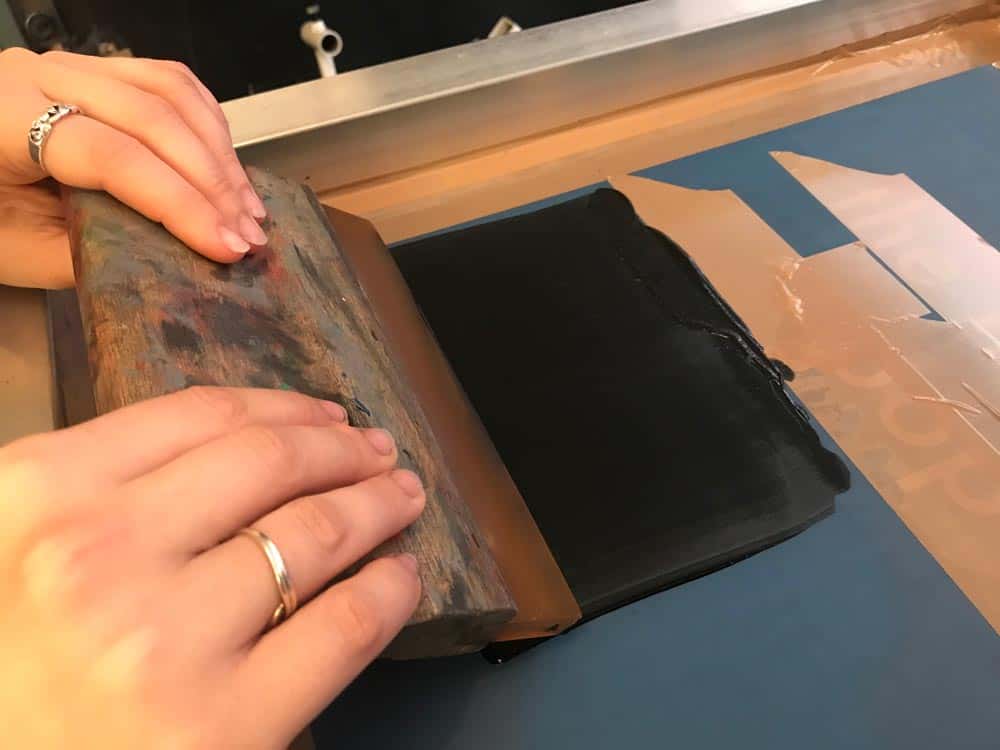
Make sure to charge the ink in the screen before printing, then apply pressure when printing ink.
Use the squeegee to press down the screen firmly and pull the ink from one part to the other, coating the entire surface. You can repeat this a few times, and it helps to have another person holding down the frame of the screen so it doesn’t move while you’re printing, you can also get screen clamps online.
After you’ve finished your first print and lifted the screen off, the freezer paper (stencil) will stick firmly to the screen allowing for multiple attempts. You can print many copies and test prints of your design (great opportunity to try out different colours!) – just be careful to pull your squeegee back and coat the screen in between printing so the ink doesn’t dry and ruin your screen. Enjoy the process!