
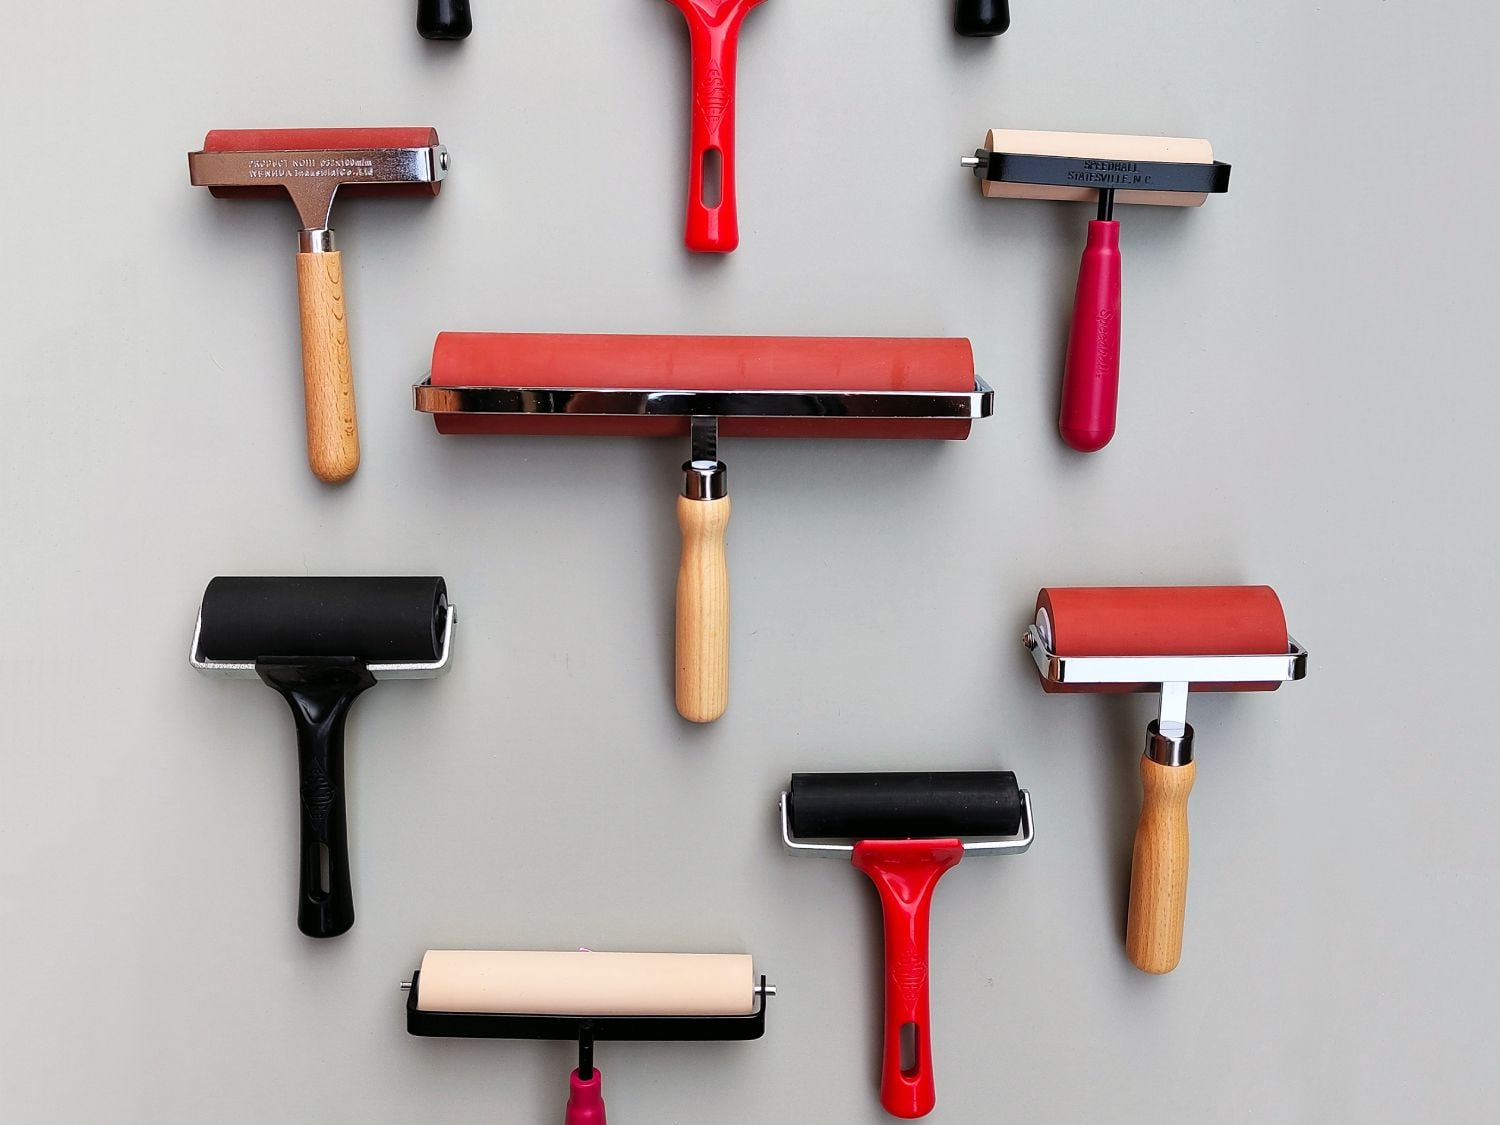

A good printmaking roller or brayer can make a surprisingly big difference to the quality of a print.
Two rollers may look almost identical but behave very differently depending on the material they are made from, their hardness, diameter, width and even the thickness of rubber around the roller core.
One specification that often causes confusion is Shore hardness. You may see rollers described as 25 Shore, 40 Shore, 60 Shore or 70 Shore, but what do those numbers actually mean? And is a softer or harder roller better for lino printing?
In this guide, we look at 12 useful things to know when choosing and using a printmaking roller, including Shore hardness, roller materials, diameter, width, ink coverage, cleaning and storage.
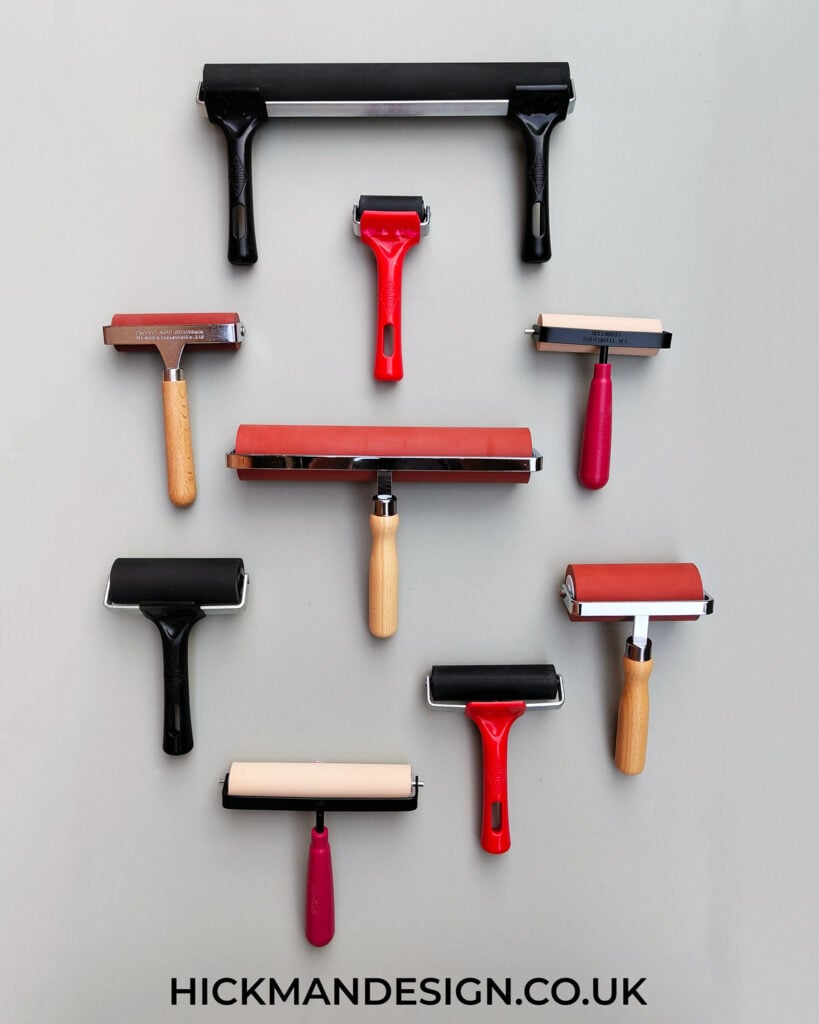
Different Lino Printing Rollers & Brayers Compared
Table of Contents
1. What is a printmaking roller or brayer?
A roller or brayer is used to transfer a thin, controlled film of printing ink from an inking surface onto a printing block or plate.
They are commonly used for:
- Linocut
- Woodcut
- Wood engraving
- Relief printing
- Letterpress
- Lithography
- Applying etching grounds
- Monoprinting and other experimental techniques
The terms roller and brayer are often used interchangeably in printmaking.
In the UK, “roller” tends to be used more frequently, while “brayer” is especially common in the USA.
Whatever you call it, the basic principle is the same: the rotating roller picks up ink and transfers it evenly onto the raised surface of your block.
2. What does Shore hardness mean on a printmaking roller?
One of the most useful specifications to understand is the Shore hardness of the roller.
Shore hardness measures how resistant a material is to indentation. For the rubber and polyurethane-type materials commonly used for printmaking rollers, manufacturers generally quote a Shore A hardness.
The important thing to remember is:
Lower Shore number = softer roller
Higher Shore number = harder roller
As a rough guide:
| Shore hardness | General feel | Typical printmaking characteristics |
|---|---|---|
| 20–30 Shore | Very soft | Highly flexible and conforming |
| 30–40 Shore | Soft | Good general relief printing roller |
| 40–50 Shore | Medium | Balance between conformity and control |
| 50–60 Shore | Medium-firm | Greater control for detailed surfaces |
| 60–70 Shore | Firm/hard | Less deformation and useful for fine detail or specialist applications |
These ranges are only a guide. The material, roller diameter, rubber thickness and construction can all affect how a roller behaves in practice.
3. Why does roller hardness matter?
Imagine rolling ink across a lino block containing raised areas and deeply carved areas.
A very soft roller deforms slightly as you press it against the block. This helps it follow small variations in the surface and can produce excellent coverage.
However, too much pressure with a very soft roller can cause the roller to squash down into areas you have carved away.
This can result in unwanted ink appearing in recessed areas.
A harder roller deforms less. It tends to sit more firmly across the highest parts of the block, which can make it easier to ink extremely fine raised lines without pushing ink into surrounding cuts.
Neither is automatically better.
It depends on the block, ink, image and printing technique.
4. Soft rollers are excellent for uneven surfaces
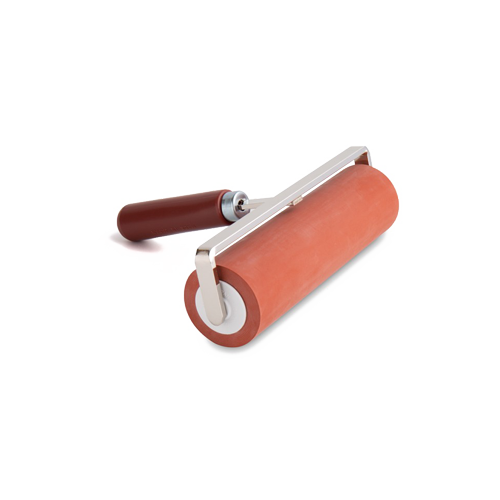
Soft rollers are particularly useful when the printing surface isn’t perfectly flat.
For example, traditional lino, woodblocks and hand-cut surfaces may contain slight variations.
A softer roller can conform to these irregularities rather than simply travelling across the highest points.
This can help give more consistent ink coverage.
Some printmaking rollers are extremely soft. Essdee, for example, produces synthetic rollers around 25 Shore, while Lawrence Durathene rollers are around 25–30 Shore.
These are considerably softer than many standard inexpensive lino rollers.
A soft roller can also require less downward pressure to transfer the ink effectively.
The important part is learning not to compensate by pushing harder than necessary.
5. Harder rollers can help preserve very fine detail
There is an interesting trade-off with roller hardness.
Soft rollers are excellent at following uneven surfaces, but a firmer roller can sometimes be preferable when printing extremely fine detail.
Because the roller doesn’t deform as much, it is less likely to push ink into very narrow carved lines.
This can be useful for:
- Detailed linocuts
- Fine woodcuts
- Wood engraving
- Fine raised lettering
- Very shallow cuts
- Blocks with closely spaced lines
Some Japanese printmaking rollers, for example, use approximately 60 Shore rubber, while harder lino rollers can reach around 70 Shore.
The difference between a 25 Shore and 70 Shore roller is very noticeable when you use them side by side.
6. 25, 40, 60 or 70 Shore – which should you choose?
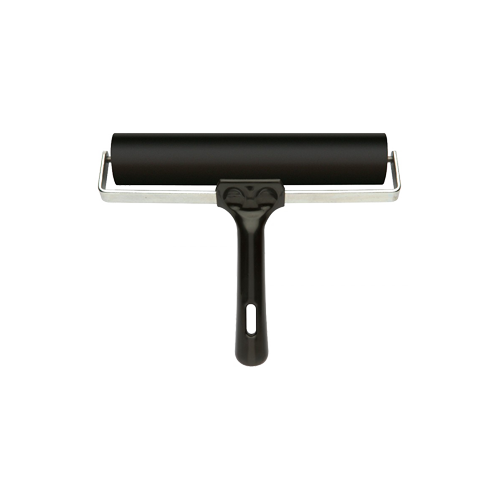
There isn’t one perfect Shore hardness for every printmaker, but the following is a useful starting point.
Around 25–30 Shore
Very soft and flexible.
Useful for:
- Uneven printing blocks
- Textured surfaces
- General relief printing
- Large areas of colour
- Situations where excellent surface contact is required
You need to be careful not to apply excessive pressure, particularly where your block contains shallow cuts.
Around 40 Shore
A good soft-to-medium option.
Useful for:
- General linocut printing
- Traditional lino
- Vinyl blocks
- Soft-cutting blocks
- Everyday relief printing
This hardness provides a useful compromise between conformity and control.
Around 50–60 Shore
A noticeably firmer roller.
Useful for:
- Fine-detail relief printing
- Woodblocks
- Wood engraving
- Precise application of ink
- Printmakers who prefer a firmer roller feel
Around 60–70 Shore
A firm roller that deforms relatively little.
Useful for:
- Very fine raised detail
- Wood engraving
- Lithographic applications
- Applying grounds
- Specialist printmaking techniques
Remember that Shore hardness is only one part of the roller.
A thick layer of 60 Shore rubber can still feel very different from a thin layer of the same hardness wrapped around a rigid core.
7. The roller material matters too
Not every roller is made from the same type of rubber.
Printmaking rollers can be manufactured from materials including:
- Natural rubber
- Synthetic rubber
- Polyurethane
- Durathene-type polyurethane materials
- Other specialist synthetic compounds
Each material can have slightly different characteristics.
Traditional rubber rollers remain extremely popular and are available in a huge variety of hardnesses.
Durathene is a specialist polyurethane material used by Lawrence. Their Durathene rollers are around 25–30 Shore and are designed to provide a very smooth, soft rolling surface.
Material also matters when it comes to cleaning.
Some synthetic or polyurethane rollers can be damaged by petroleum-based solvents. Always check the manufacturer’s cleaning instructions rather than assuming every roller can be cleaned in the same way.
8. Roller diameter is more important than many people realise
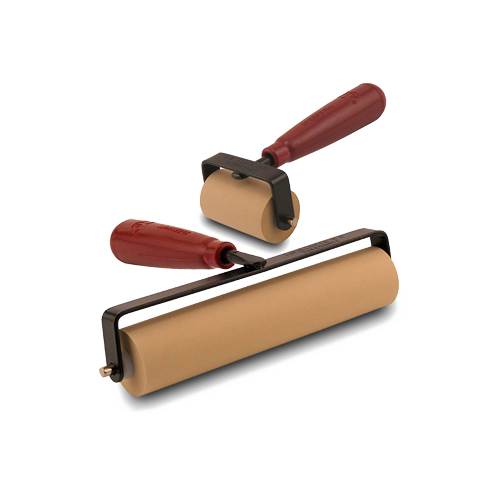
When choosing a brayer, most people immediately look at its width.
But roller diameter is also important.
A larger-diameter roller has a greater circumference, meaning more roller surface comes into contact with the ink before the same section rotates back around.
This has several advantages.
A larger roller can:
- Carry more ink
- Distribute ink over a larger area
- Require fewer rotations across a block
- Make it easier to maintain a consistent ink film
- Reduce repeated roller marks when inking large areas
For example, a roller with a diameter of around 50mm has a circumference of approximately 157mm.
A 64mm diameter roller has a circumference of approximately 201mm.
That means one complete rotation of the larger roller covers considerably more distance.
This is one reason professional studio rollers often have much larger diameters than inexpensive beginner brayers.
9. Choose a roller width to suit your block
Roller width also affects how easy it is to achieve consistent coverage.
For single-colour printing, a roller slightly wider than the block can be extremely useful.
It allows you to cover the printing surface without repeatedly overlapping narrow roller passes.
For example, if you regularly print blocks around 100mm wide, a roller approximately 100–150mm wide may be more convenient than a 50mm roller.
However, smaller rollers still have an important place in the studio.
They are useful for:
- Small blocks
- Multiple colours
- Reduction printing
- Selective inking
- Small areas of colour
- Detail work
Many printmakers therefore eventually own several roller sizes rather than trying to find one roller for everything.
10. Don’t press down too hard
One of the most common problems when learning linocut printing is applying too much pressure while inking.
You normally don’t need to force the roller against the lino.
Instead, allow the roller and ink to do the work.
Excessive pressure can:
- Force ink into carved areas
- Create roller edge marks
- Produce inconsistent ink thickness
- Cause fine details to fill with ink
- Make the block unnecessarily messy
This becomes especially important with a very soft roller.
A 25 Shore roller can deform considerably more than a 60 or 70 Shore roller.
Try reducing your pressure before assuming there is a problem with your ink or roller.
11. More ink isn’t necessarily better
Another common mistake is loading too much ink onto the roller.
For most relief printing, you are trying to create a thin, even film of ink.
Too much ink can cause:
- Filled-in fine lines
- Loss of texture
- Blobby edges
- Ink collecting around carved marks
- Longer drying times
- Uneven printing
Rather than placing a large amount of ink onto your inking plate, start with a small amount and gradually build it up.
Roll the ink repeatedly until you have an even film across both the roller and your inking surface.
Experienced printmakers often learn to judge their ink by its appearance, resistance and even the sound it makes while being rolled.
12. Look after your roller properly
A good quality roller can last for years if it is cleaned and stored correctly.
The most important rule is:
Never leave ink to dry on the roller.
Once dry ink begins accumulating on the surface, the roller can develop irregular areas that interfere with even ink transfer.
You should also avoid storing a soft roller with the rubber resting against a shelf or another object.
Over time, this can create a flat spot or indentation.
Where possible:
- Hang the roller from its handle
- Store it in a purpose-designed holder
- Rest it so the rubber surface isn’t under pressure
- Keep it away from excessive heat
- Keep it away from direct sunlight
- Clean it immediately after printing
Always use a cleaning method appropriate for the roller material.
Water-washable inks may require little more than the recommended soap and water cleaning process, while oil-based inks may require oil or another suitable cleaning agent.
Some polyurethane and synthetic rollers should not be cleaned using strong solvents.
Check the manufacturer’s instructions before using them.
A few extra roller tips for better lino printing
Understanding the specifications is useful, but technique is just as important.
Keep separate rollers for different colours where possible
If you do a lot of multicolour printing, having more than one roller can make life considerably easier.
It also reduces the chance of contaminating lighter colours with darker inks.
Check that the roller turns freely
A roller should rotate smoothly without sticking.
If the bearings or frame restrict its movement, you may create patches of uneven ink.
Ink in more than one direction
When preparing your roller on an inking plate, don’t repeatedly roll over exactly the same narrow path.
Move around the plate to create a consistent film.
Watch the edges
Ink can sometimes accumulate near the ends of a roller.
If you begin seeing unwanted lines appearing on your block, check whether there is a ridge of ink along the roller edge.
Keep the roller surface clean
Small pieces of dried ink, lino, paper fibres or dust can create surprisingly visible marks in a print.
Don’t automatically blame the roller
Poor coverage can also result from:
- Too little ink
- Too much ink
- Ink that is too stiff
- An uneven block
- Too little printing pressure
- Uneven printing pressure
- Contamination on the block
- An unsuitable paper
Printmaking involves several variables working together.
Does an expensive roller make better prints?
Not automatically.
An inexpensive roller can produce excellent lino prints.
However, better-quality rollers often offer improvements in areas such as:
- Roller surface consistency
- Rubber quality
- Roller diameter
- Bearings
- Frame rigidity
- Handle comfort
- Replaceable roller components
- Durability
- Available Shore hardness
For occasional printing, a simple lino roller may be everything you need.
If you print regularly, particularly at larger sizes, investing in a larger professional roller can make the inking process noticeably easier.
What is the best roller hardness for lino printing?
There isn’t a single correct answer.
For general linocut work, many printmakers will be comfortable with a soft or medium roller somewhere around 30–50 Shore.
If your blocks are uneven or textured, you may prefer something softer.
If your work contains extremely fine lines and shallow cuts, you may prefer a firmer roller around 50–70 Shore.
Eventually, you may find that having both a softer and harder roller is more useful than trying to find one roller that does everything.
The important thing is understanding why the rollers behave differently.
Once you understand Shore hardness, material, width and diameter, choosing the right roller becomes much easier.
Quick guide: choosing a printmaking roller
If you’re comparing rollers, look at these five things:
1. Shore hardness
Lower numbers are softer; higher numbers are firmer.
2. Roller material
Natural rubber, synthetic rubber and polyurethane materials can all behave differently.
3. Roller width
Choose a width suitable for the blocks you normally print.
4. Roller diameter
A larger diameter carries more ink and travels further during each rotation.
5. What you’re printing
A roller for large, textured linocuts may require different characteristics from one used for extremely fine wood engraving.
There is no universally “best” printmaking roller.
The best roller is the one that gives you the amount of ink, surface contact and control required for the type of print you are making.