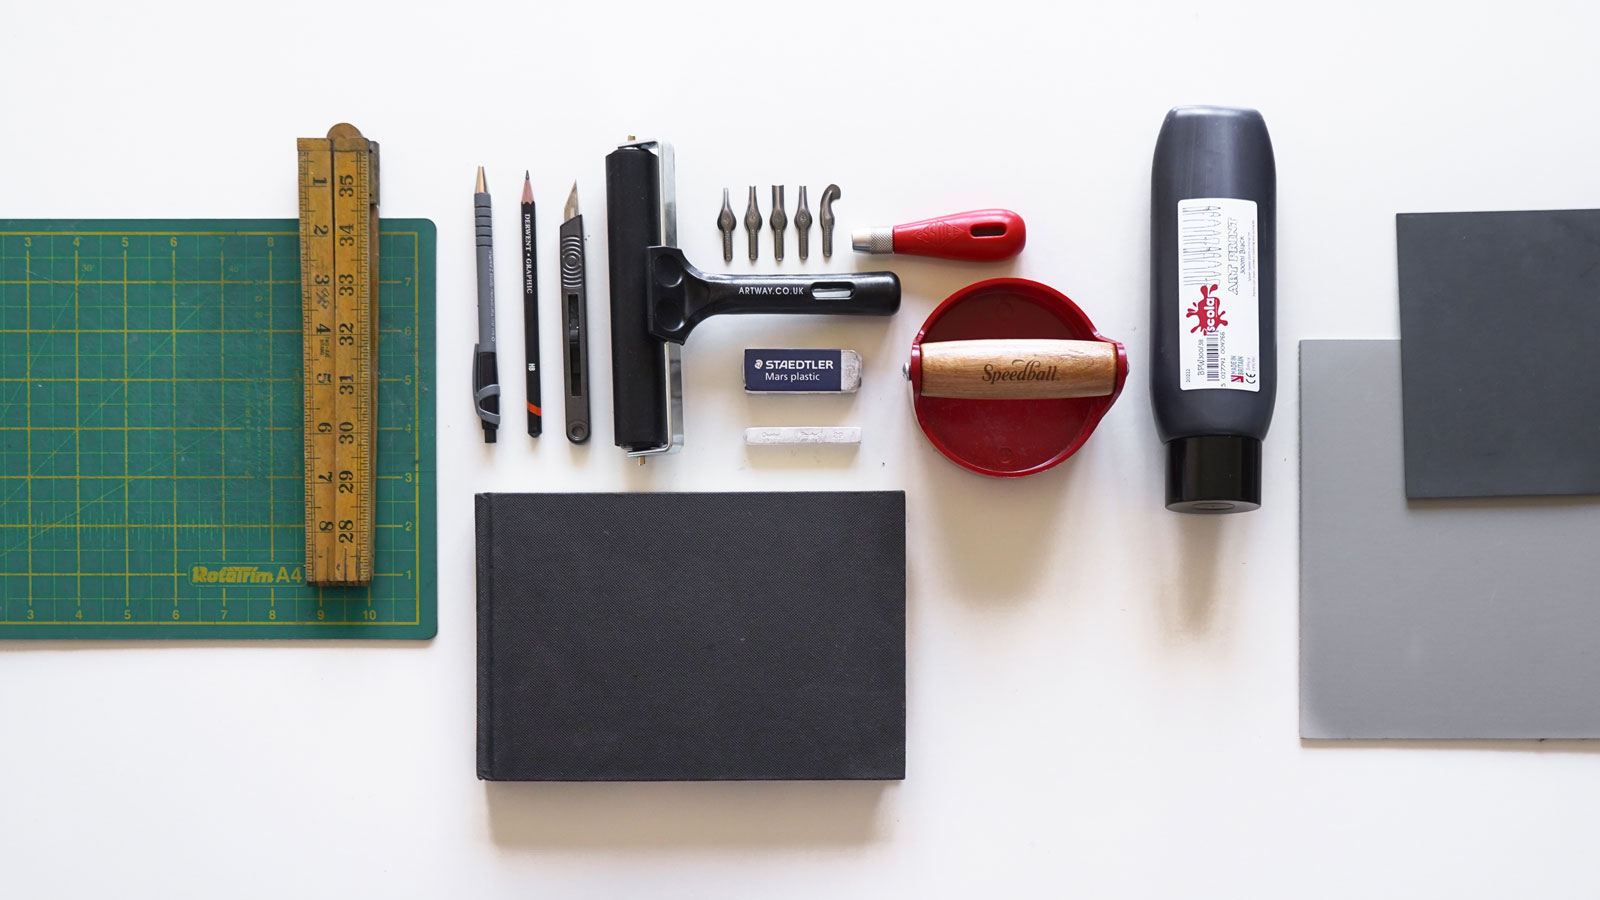
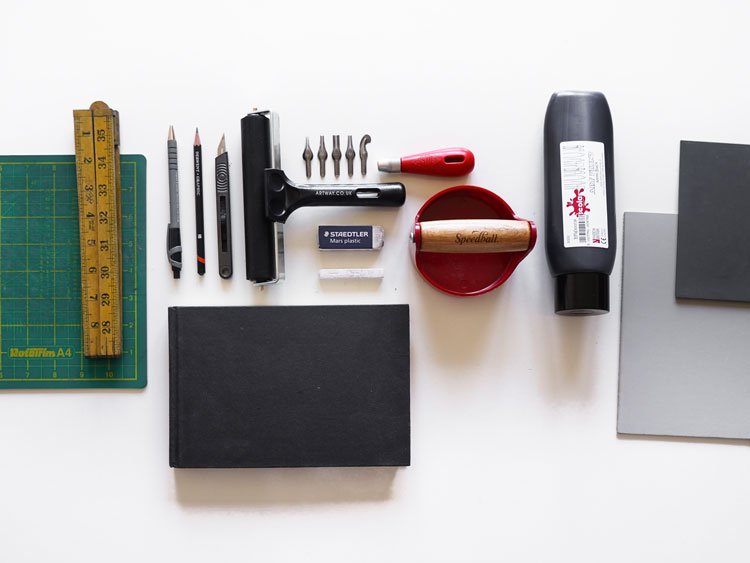
Welcome to our guide on lino printing tools. Here, you will learn about each essential tool and their specific uses, helping you navigate through the fascinating world of lino printing with ease and confidence. Whether you’re a beginner or an experienced printmaker, this guide will provide valuable insights into the variety of tools available and how they contribute to the creation of your lino prints.
For those looking for an all-in-one solution, a linocut starter kit is a perfect choice. It offers a complete set of tools, providing everything you need to get started or enhance your printmaking journey, all conveniently packaged in one kit.
Learn how to create your first print with our step-by-step lino printing process guide.
Table of Contents
Lino Sheets
Description: At the heart of lino printing are the lino sheets. These sheets are traditionally made from a blend of linseed oil mixed with cork or wood powder, creating a versatile surface for artists. The texture of these sheets can vary significantly, offering different levels of resistance to carving tools, which directly affects the outcome of the print. Lino sheets come in various thicknesses with a standard of 3.2mm and sizes. The surface can be smooth or textured, depending on the desired effect.
Use: Artists carve their designs directly into these sheets. The type of lino chosen can influence both the detail achievable in the design and the overall texture of the final print. It’s the canvas on which the artist’s vision comes to life.
Variants:
- Traditional Lino: Known for its durability, traditional lino can be quite tough to carve for beginners. It’s best suited for high quality artwork.
- Soft-Cut Lino: This variant is significantly easier to carve, making it an excellent choice for beginners or those looking to achieve more detailed work.
- Synthetic Lino: Offers a more consistent texture and is generally easier to carve than traditional lino, appealing to a wide range of artists.
Linocut Tools (Carving Tools)
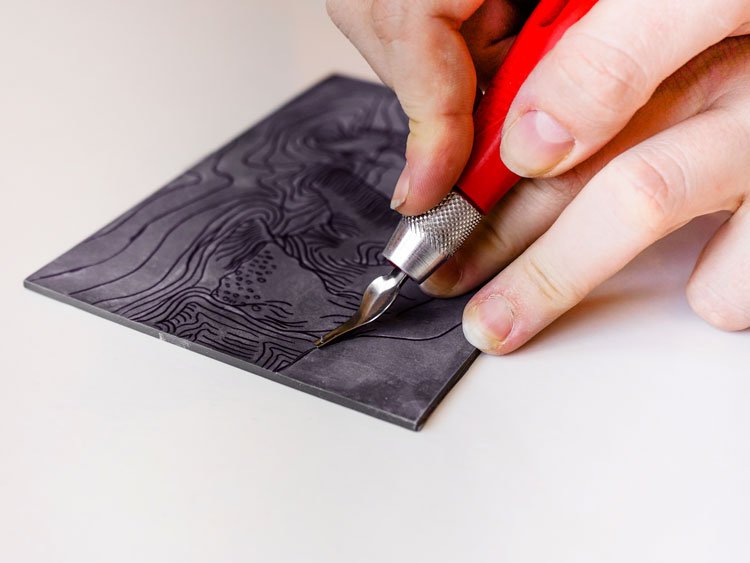
Description: Carving tools are essential for carving the design into the lino sheet. Linocut tools are available in various shapes and sizes, these tools cater to different aspects of the carving process, from creating broad lines to adding fine details. The most common types include V-shaped, U-shaped, and knife-like blades.
Use: The choice of tool has a profound impact on the print’s final appearance, influencing everything from the texture to the line quality. V-shaped gouges are great for fine lines and detail, U-shaped gouges remove larger areas, and knife blades are ideal for cutting straight lines and clearing corners.
Handle Ergonomics: Ergonomic handles can reduce fatigue during long carving sessions. Some handles are designed to fit comfortably in the palm, while others may have a contoured grip for precise control.
Maintaining Your Tools: Regular sharpening is essential for clean cuts. A strop and honing compound can be used to maintain a razor-sharp edge on your carving tools.
Variants:
- Palm Tools: Compact and easy to handle, palm tools are perfect for detailed work, featuring fixed blades.
- Red Handle Tools: These are larger tools with interchangeable blades, offering versatility for different carving needs which are great for beginners.
- Japanese Cutting Tools: Renowned for their sharpness and precision, these tools are ideal for intricate designs.
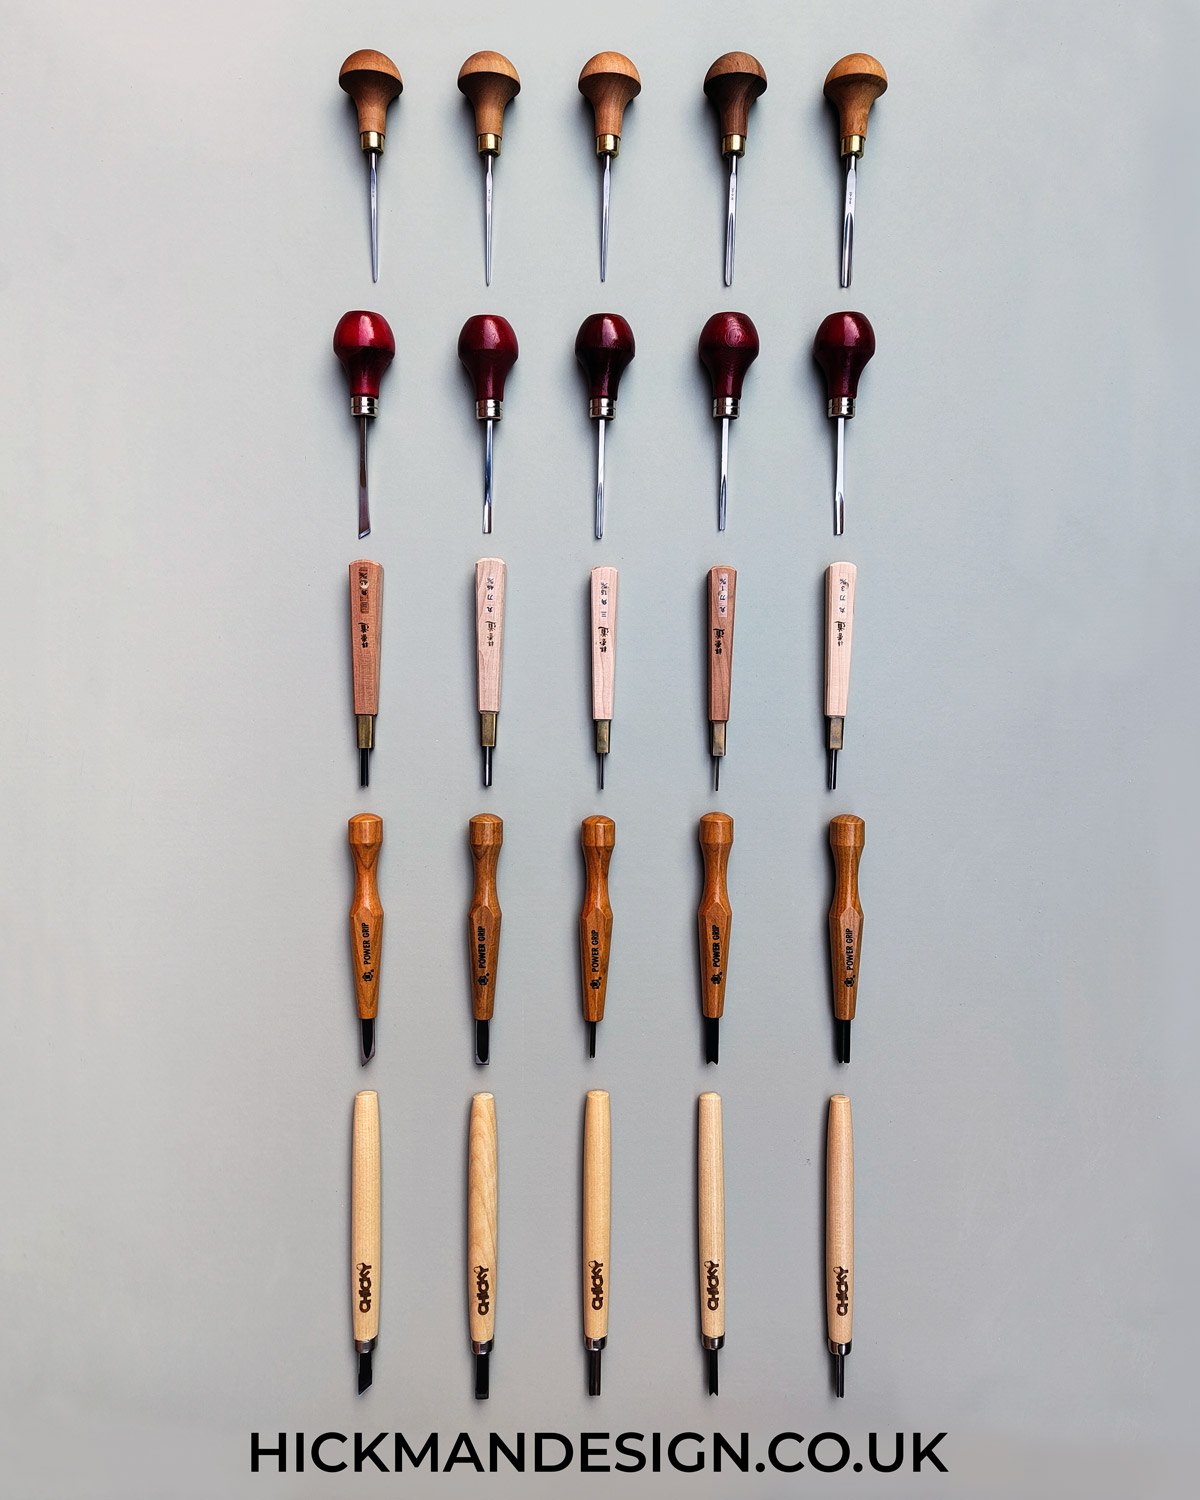
Different Lino Cutting Tools Compared
Inking Roller (Brayer)
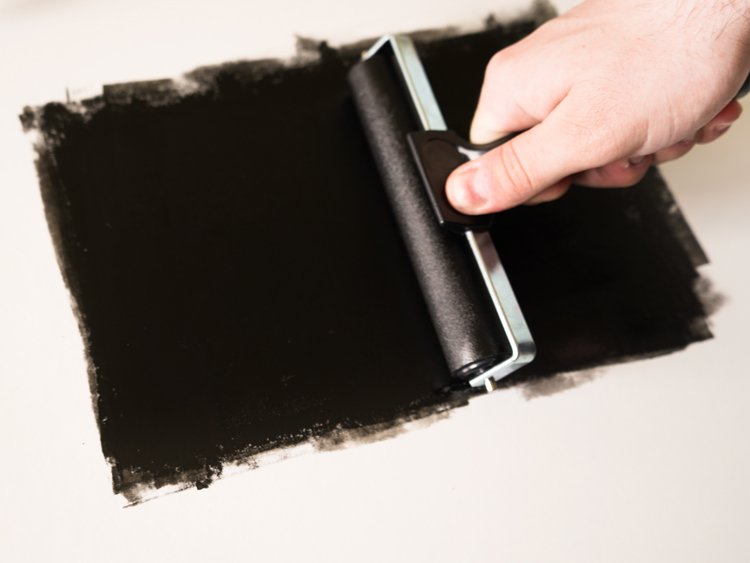
Description: A brayer is a hard rubber roller used to evenly distribute ink over the carved lino sheet, ensuring a uniform application across all areas of the design.
Use: Achieving an even coat of ink on the lino is crucial for a consistent print with a layer of ink that covers all areas not carved away, the brayer is key to this process.
Hardness: Rollers come in different levels of hardness, measured in durometers. Softer rollers (lower durometer) are better for uneven surfaces, while harder rollers (higher durometer) provide a more uniform ink application on smooth surfaces.
Width: The width of the roller should match or exceed the width of your print. This ensures even coverage without needing to overlap passes, which can lead to uneven inking.
Variants:
- Hard Rubber Rollers: Provide precise ink application, especially beneficial for detailed work.
- Soft Rubber Rollers: These are preferable for inking uneven surfaces or for achieving varied textures in the print.
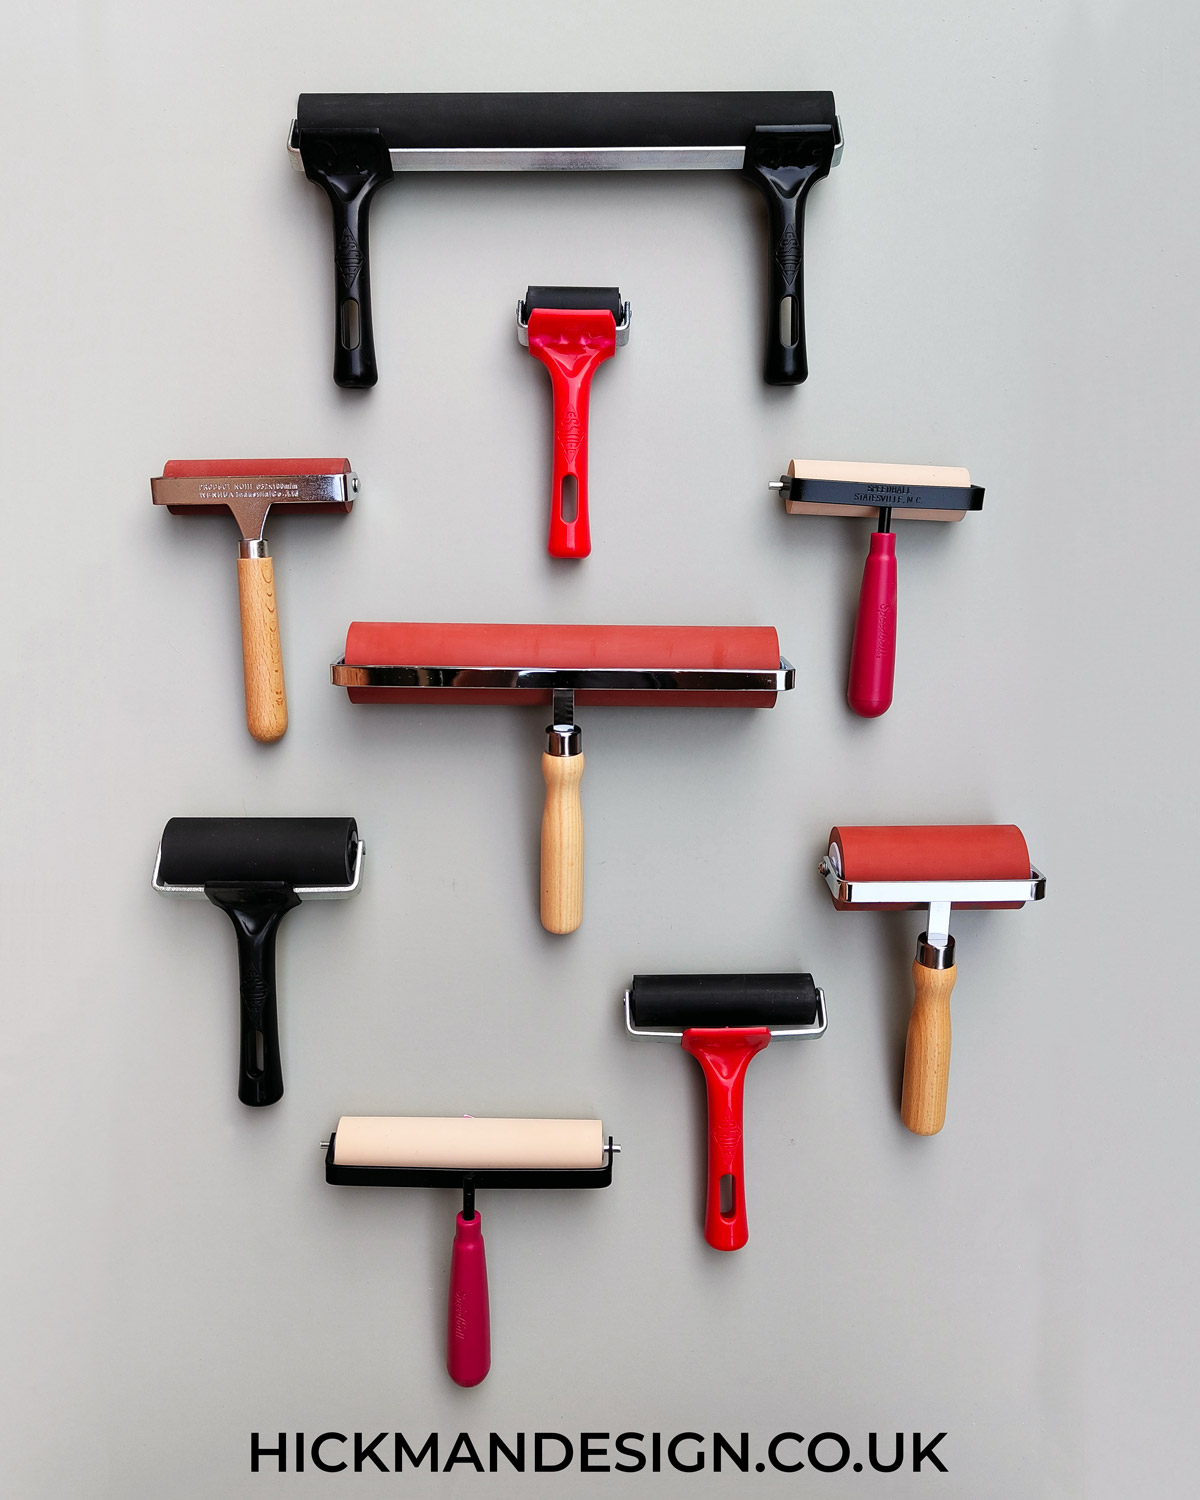
Different Lino Printing Rollers & Brayers Compared
Bench Hook
Description: A bench hook is a simple yet effective tool that anchors the lino sheet to the edge of a workspace, preventing it from moving during the carving process.
Use: It ensures stability of the lino sheet, facilitating safer and more accurate carving.
Variants: Mostly homemade, bench hooks can be crafted from wood or metal and are designed to accommodate various table edges and lino sizes. There are also premade printmaking benchhooks that are built by professional companies.
Baren
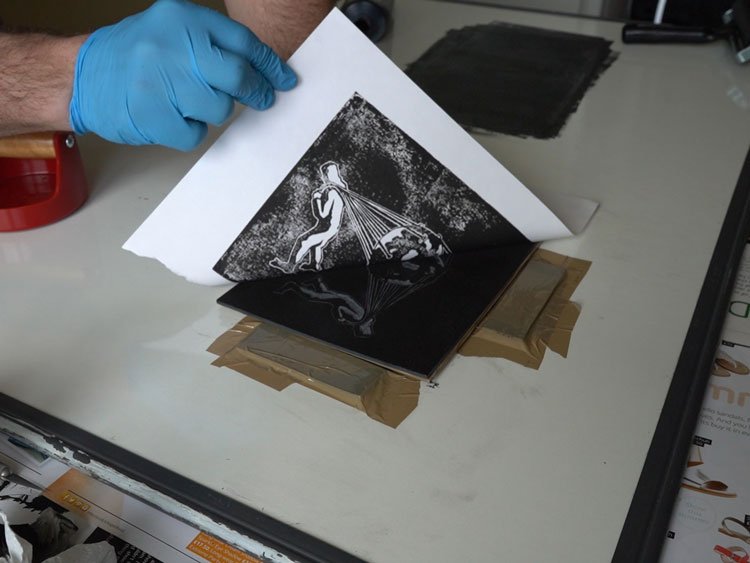
Description: The baren is used during the printing process to apply even pressure across the back of the paper, aiding in the transfer of ink from the lino to the paper. Some artists even use a clean, dry roller to press the paper onto the inked lino. Barrens are great if you dont have access to a printing press and can be used ast home.
Use: Essential for a clean and uniform image transfer, the barren is a critical tool in the lino printing process.
Variants:
- Wooden Barren: Offers traditional firm pressure, suitable for most printing needs.
- Bamboo Barren: Lighter in weight, providing a more flexible pressure for varied effects.
- Glass: Iron Frog Press sell recycled glass Barrens which are great for printing and heavy which make it easier to get a good quality print with.
- Spoon: A readily available alternative for smaller prints or areas requiring detailed work.
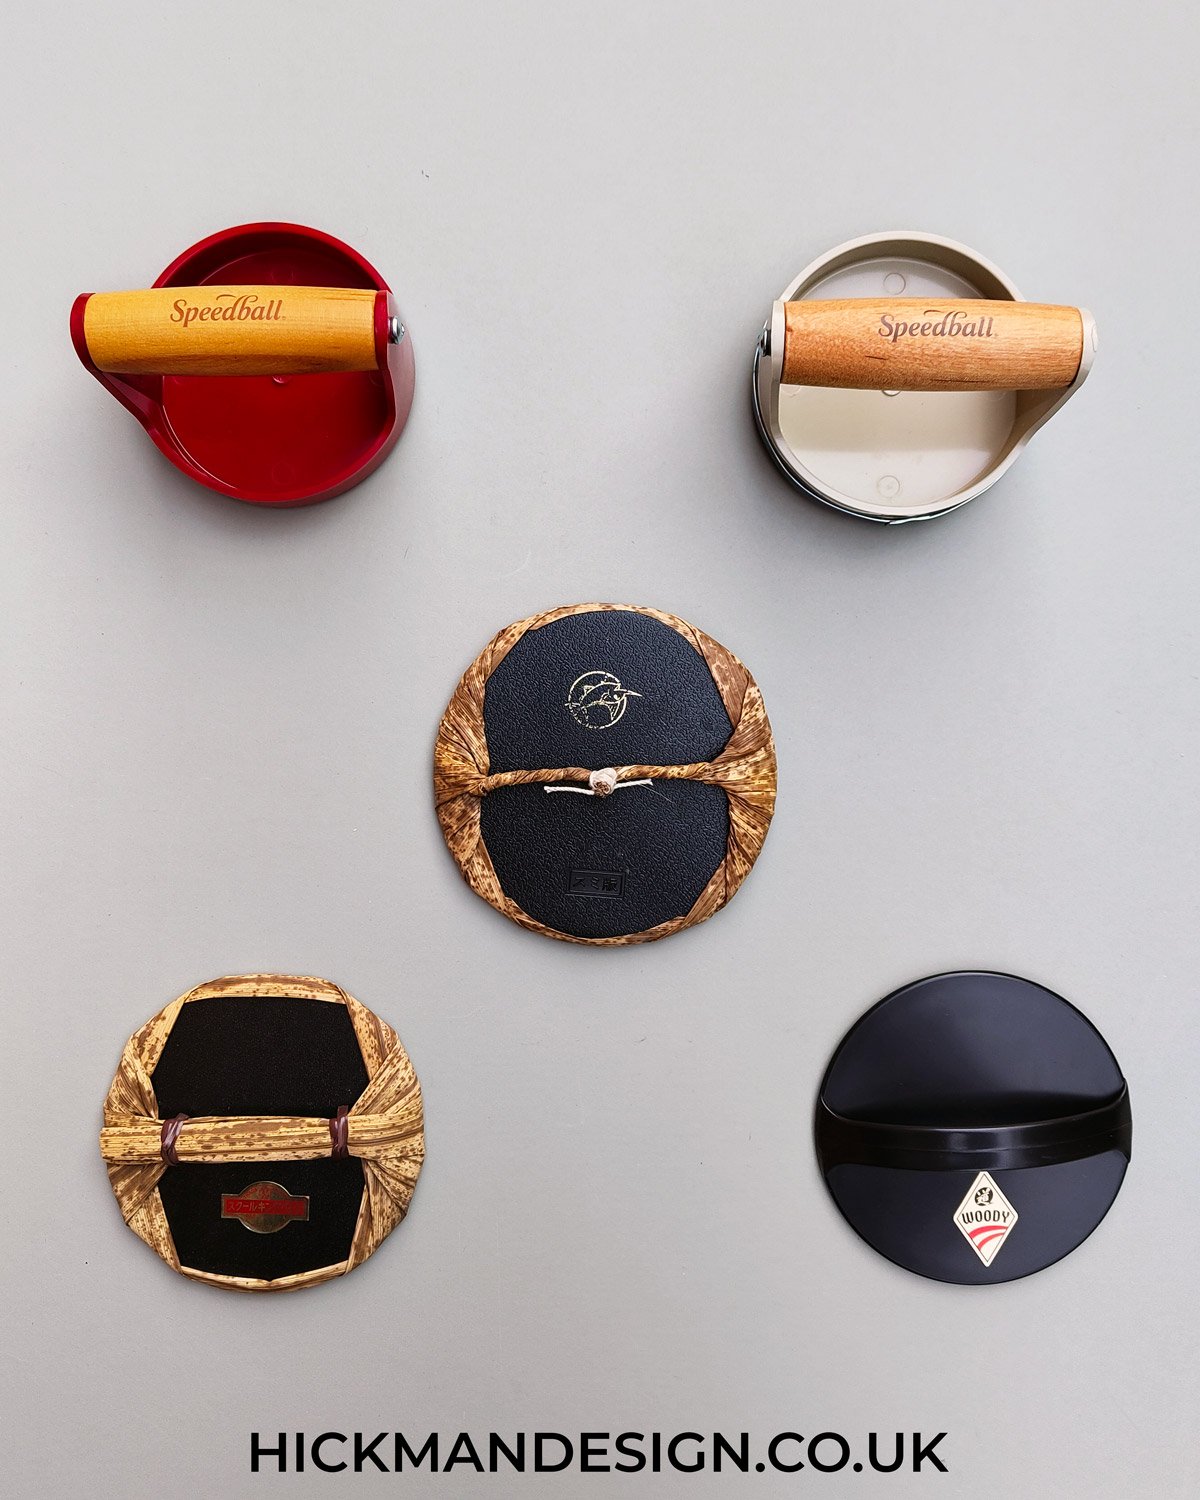
Different Printmaking Barens For Hand-printing Compared
Relief Printing Ink
Description: Specialised ink for lino printing is formulated to have the perfect consistency and drying time for this specific printmaking technique.
Use: The ink is applied thinly to the carved lino sheet with a roller and then transferred to paper or fabric. Water-based inks are easier to clean up, while oil-based inks provide a richer color but require solvents for cleanup.
Oil-Based Inks: Known for their superior quality, oil-based inks are the go-to for professional printmaking. They offer vibrant colors and a durability that makes them ideal for prints meant to last. However, they require solvents for cleanup and have longer drying times, which can be a consideration in your project planning.
Water-Based Inks: These inks are perfect for home printing due to their ease of use and quick drying times. They clean up with water, making them a convenient option for those without access to solvents or those looking for a less toxic printing process. While they may not offer the same richness in color as oil-based inks, they are sufficiently versatile for a wide range of projects.
Hybrid Inks: The introduction of hybrid inks like Cranfield’s to the market has been a game-changer for printmakers who no longer have to choose between the high quality of oil-based inks and the convenience and safety of water-based inks. These inks are specially formulated to offer a high pigment load for exceptional color and detail in prints, while also being environmentally friendly and easier to clean up, making them ideal for use in studios, schools, and home environments.
Drying Time: The drying time of ink is a crucial factor to consider. Fast-drying inks provide quick results, ideal for when time is of the essence. However, they can dry on the roller or screen if not used swiftly, potentially wasting material and effort. Slow-drying inks, conversely, offer more working time, making them suitable for complex prints or editions where precision and detail are paramount.
Transparency: Ink transparency plays a significant role in the layering process, allowing for the creation of new colors and effects. Some inks are more opaque, providing solid coverage, while transparent inks can be overlaid to achieve depth and subtlety in your prints. Experimenting with transparency can lead to unique and visually striking results.
Variants:
- Oil-Based Ink: Known for its deep colors and durability, though it requires solvents for cleanup.
- Water-Based Ink: Easier to clean up and quick-drying, but may not offer the same richness of color.
Paper or Fabric
Description: The choice of printing surface, whether paper or fabric, plays a significant role in the final appearance of the lino print.
Use: Different materials will absorb the ink in various ways, impacting both the texture and overall quality of the finished print.
Variants:
- Texture: The texture of the material can influence the final print. Rough papers can produce a textured print, while smooth papers offer a more detailed image. Fabrics should be flat and tightly woven for the best results.
Absorbency: Highly absorbent papers can soak up ink, leading to blurred lines or bleeding. Test your paper or fabric with your ink to find the ideal combination.
Paper Weight: The weight of the paper is a key consideration in lino printing.
- Lightweight papers are a great starting point for beginners and home printmakers as they are more forgiving and easier to achieve good results with, especially without a press.
- Heavyweight papers, on the other hand, are ideal for use with a printing press. They can handle the pressure and are less likely to tear, offering a solid foundation for high-quality prints. Heavyweight papers also tend to showcase finer details more prominently and can add a luxurious feel to your finished prints.
Whether you’re experimenting at home or producing professional-quality prints, selecting the right paper weight can make a significant difference in the outcome of your project.
Understanding and selecting the right tools for lino printing can significantly affect the quality and character of your prints. Each tool, from the lino sheets to the inking rollers, plays a specific role in bringing your artistic vision to life. Whether you’re experimenting with textures, details, or materials, the right combination of tools can elevate your lino printing to new heights.
Featured Linocut Guides
Check Out Our In Depth Lino Printing Guides


