Multicolour lino printing allows for creative freedom and vibrant designs, but it also requires precision and planning. This guide explores various methods of adding multiple colours to your prints, including an often-overlooked technique: using paper masks. With the right approach, you can achieve rich, layered prints with depth and texture.
If you’ve bought a linocut kit, you should be able to start experimenting with multicolour printing. However, for the best results, you may need to purchase some additional equipment, such as plastic registration pins, which help ensure perfect alignment of your layers and colours.
Table of Contents
Introduction to Multicolour Lino Printing
Lino printing, also known as linocut, is a form of relief printing where an artist carves a design into a linoleum block, inks the raised surface, and presses it onto paper or fabric. Multicolour lino printing adds extra layers of complexity and colour, transforming simple designs into vibrant artworks.
There are several methods for achieving multicolour prints, each with its own benefits and challenges. Whether you are using the reduction method, multiple blocks, or innovative techniques like paper masking, it’s essential to understand the processes and tools involved.
Methods for Multicolour Lino Printing
Reduction Printing
Reduction printing is one of the most common methods for multicolour lino printing. In this technique, you use a single lino block to print multiple colours by carving away more of the design between each layer of lino printing ink. The process is as follows:
- Print the lightest colour first.
- Carve away sections of the block that should remain in the first colour.
- Ink the block with the second colour and print it over the first layer.
- Repeat the process for each additional colour, carving away more of the block each time.
This method creates a striking, layered effect but requires careful planning, as you cannot undo each stage of carving.
Paper Masking
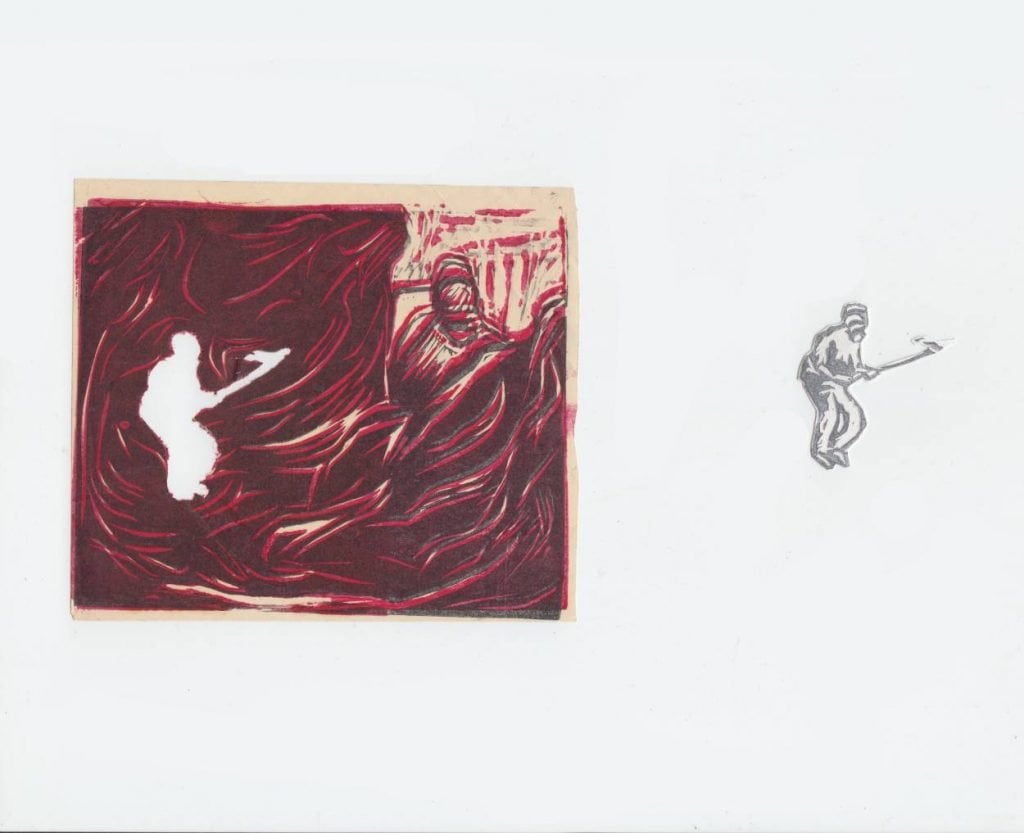
Paper masking is an often-overlooked but highly effective technique for multicolour lino printing. It allows you to add isolated areas of colour without the need for multiple blocks or complex carving. Here’s how paper masking works:
- Cut paper masks that match the shapes where you want to block ink from reaching.
- After inking the lino block, place the paper masks over the areas you want to protect.
- Print your design as normal; the paper mask will prevent ink from transferring to certain sections of the print, leaving them blank or allowing for additional colours to be added later.
Paper masking is particularly useful for adding fine details or bold sections of contrasting colour. It’s a simple way to create clean lines and shapes in multicolour prints without needing to carve separate blocks for every colour.
Multiple Block Printing
Another popular method is using multiple lino blocks, one for each colour. This allows more control over the design, as each block can be inked separately and precisely aligned with the others. Here’s how it works:
- Create a design that can be divided into different colour sections.
- Carve a separate lino block for each colour.
- Ink and print each block one at a time, aligning them carefully to ensure the colours layer correctly.
The multiple block method offers flexibility but can be time-consuming, as you need to carve and ink multiple blocks.
Rainbow Roll (Gradient Blending)
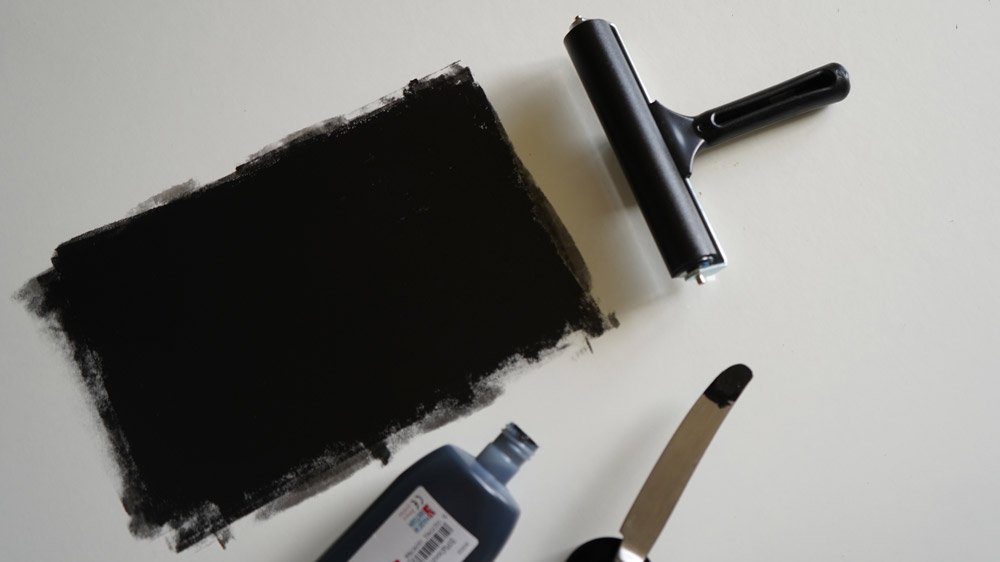
For artists looking to create smooth transitions between colours, the rainbow roll (or gradient blending) technique is ideal. It involves inking the lino block with multiple colours at once and blending them on the block to create a gradient effect. This method requires a brayer to evenly roll out the colours across the block, creating a seamless transition between hues.
- Roll one colour on one side of the block.
- Roll a second colour on the opposite side.
- Use the brayer to blend where the two colours meet, creating a gradient effect.
Rainbow rolls are great for adding dynamic backgrounds or gradient fills to your prints.
Essential Tools and Materials
For any multicolour lino printing project, you’ll need:
- Lino blocks: For carving your design.
- Carving tools: A variety of gouges and blades for intricate cuts.
- Inks: Water-based or oil-based inks in your chosen colours.
- Brayer (roller): For applying ink evenly to your lino block.
- Paper: Printmaking paper suited for lino prints.
- Baren or press: To apply pressure for a clean print.
- Paper masks: Cutouts of paper to cover areas you want to protect from ink when using the masking technique.
- Registration tools: To ensure proper alignment when printing multiple layers (could be pins, tapes, or a dedicated registration jig).
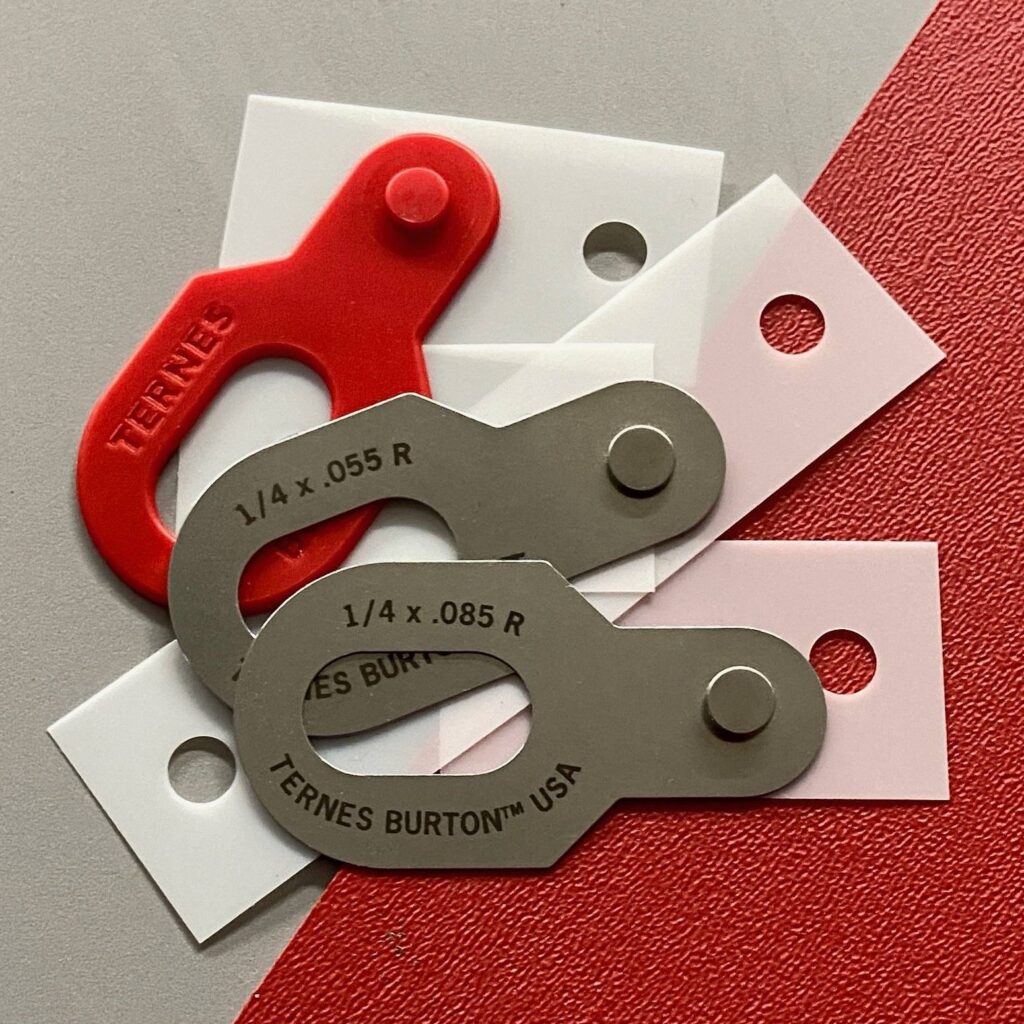
Ternes Burton Registration Pins for Multi Colour Lino Printing
Common Challenges and How to Overcome Them
- Registration Issues: Misalignment between layers can occur, particularly with multiple block or reduction methods. Use registration marks or tools to ensure each layer lines up perfectly.
- Ink Coverage: Achieving even ink coverage can be tricky, especially with gradient or rainbow rolls. Be sure to roll the ink consistently and use a brayer that’s the right size for your block.
- Carving Precision: In reduction printing, it’s easy to accidentally remove too much material. Work slowly and plan each carving stage carefully.
Conclusion
Multicolour lino printing is a rewarding process that allows artists to create vibrant, layered designs with endless potential for creativity. Whether you’re experimenting with reduction printing, multiple blocks, or the simple yet effective paper masking technique, understanding the fundamentals of each method will help you achieve striking, colourful prints.
By mastering these techniques, you can expand your artistic repertoire and bring your lino prints to life with bold, beautiful colours.
Featured Linocut Guides
Check Out Our In Depth Lino Printing Guides
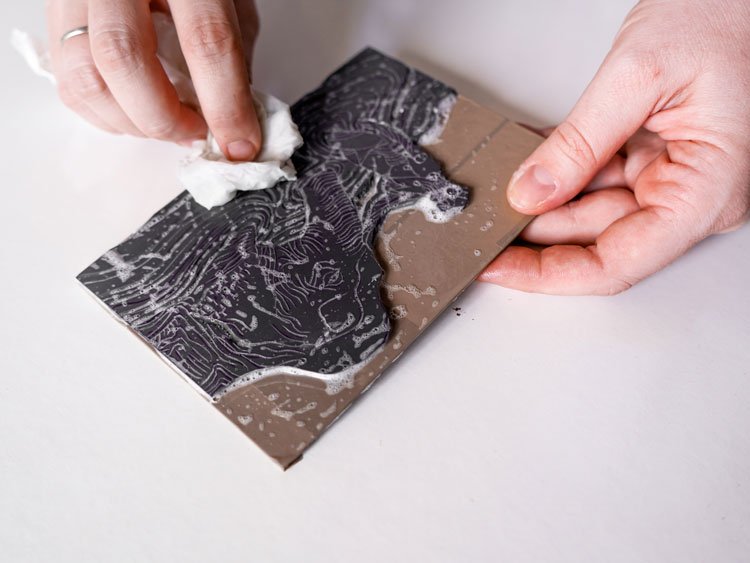
Cleaning Your Linocut
Read More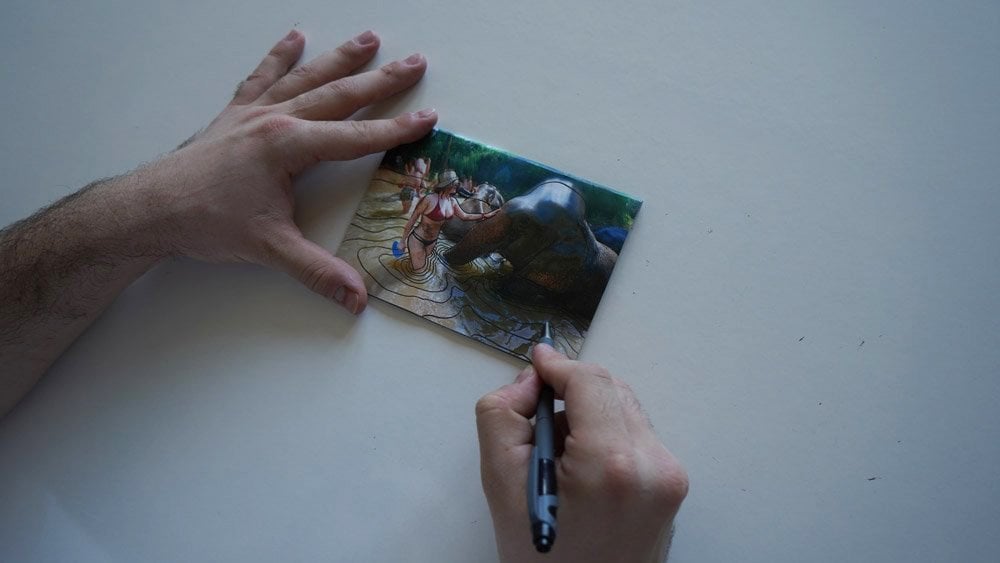
Designing Your Lino Print
Read More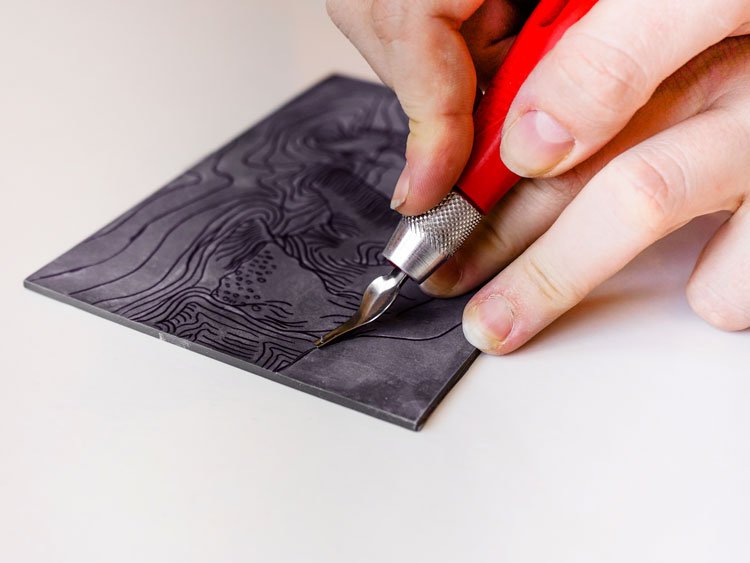
How to Cut and Carve Your Linocut
Read More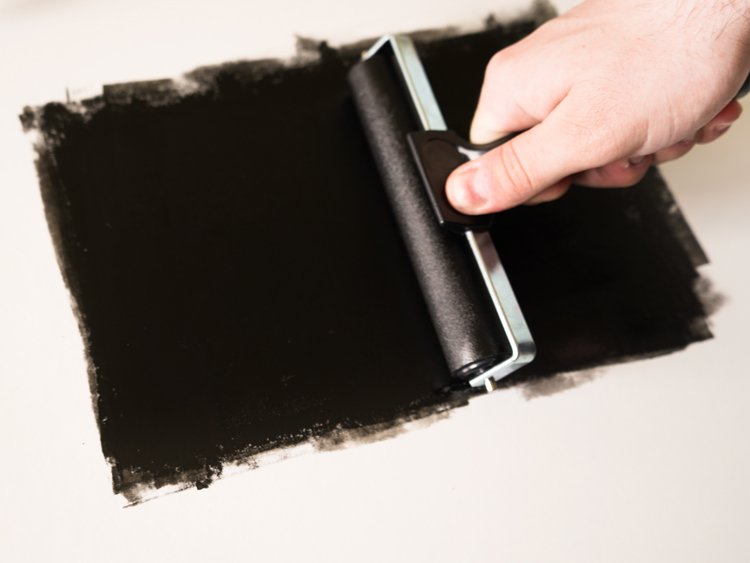
Inking Your Linocut Block
Read More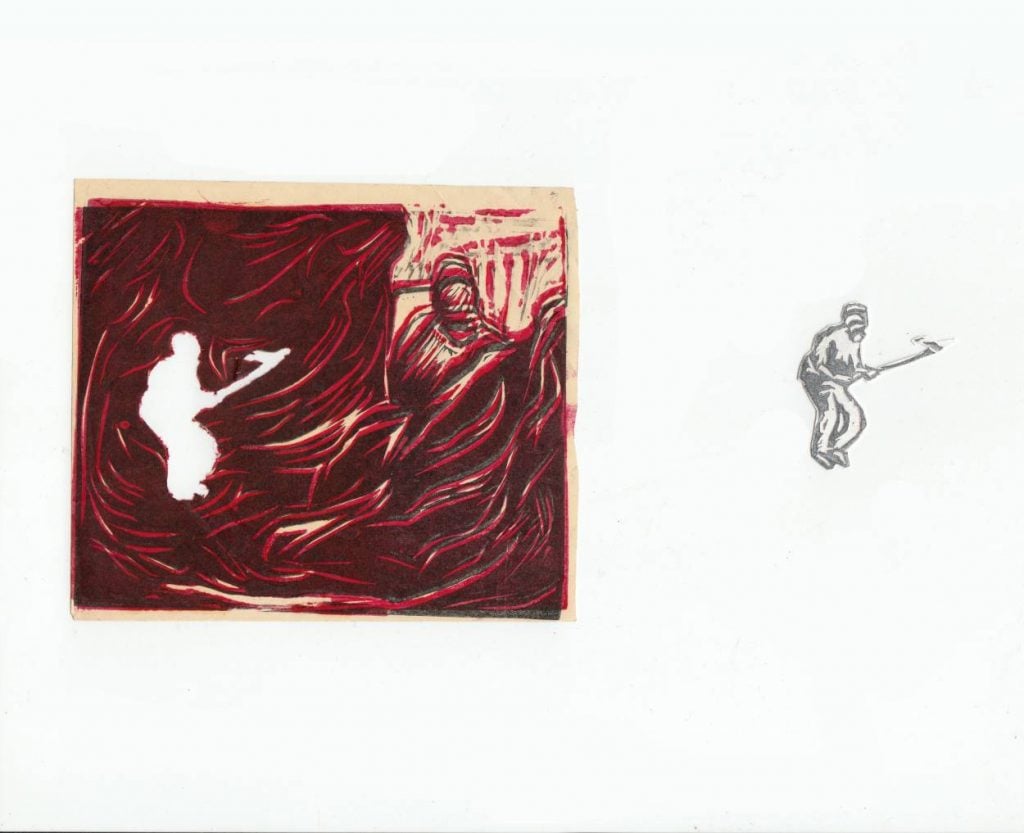
Lino Printing Multiple Colours With A Paper Mask
Read More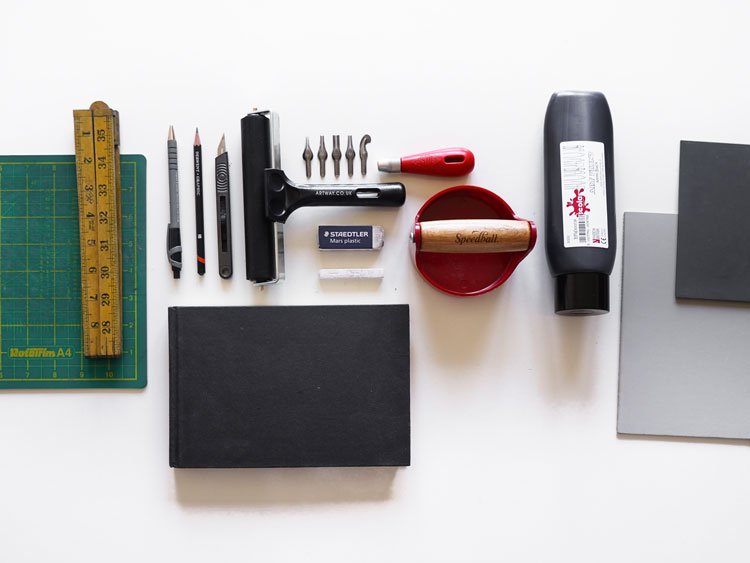
Lino Printing Workspace and Equipment Setup
Read More
Printing Your Linocut
Read More