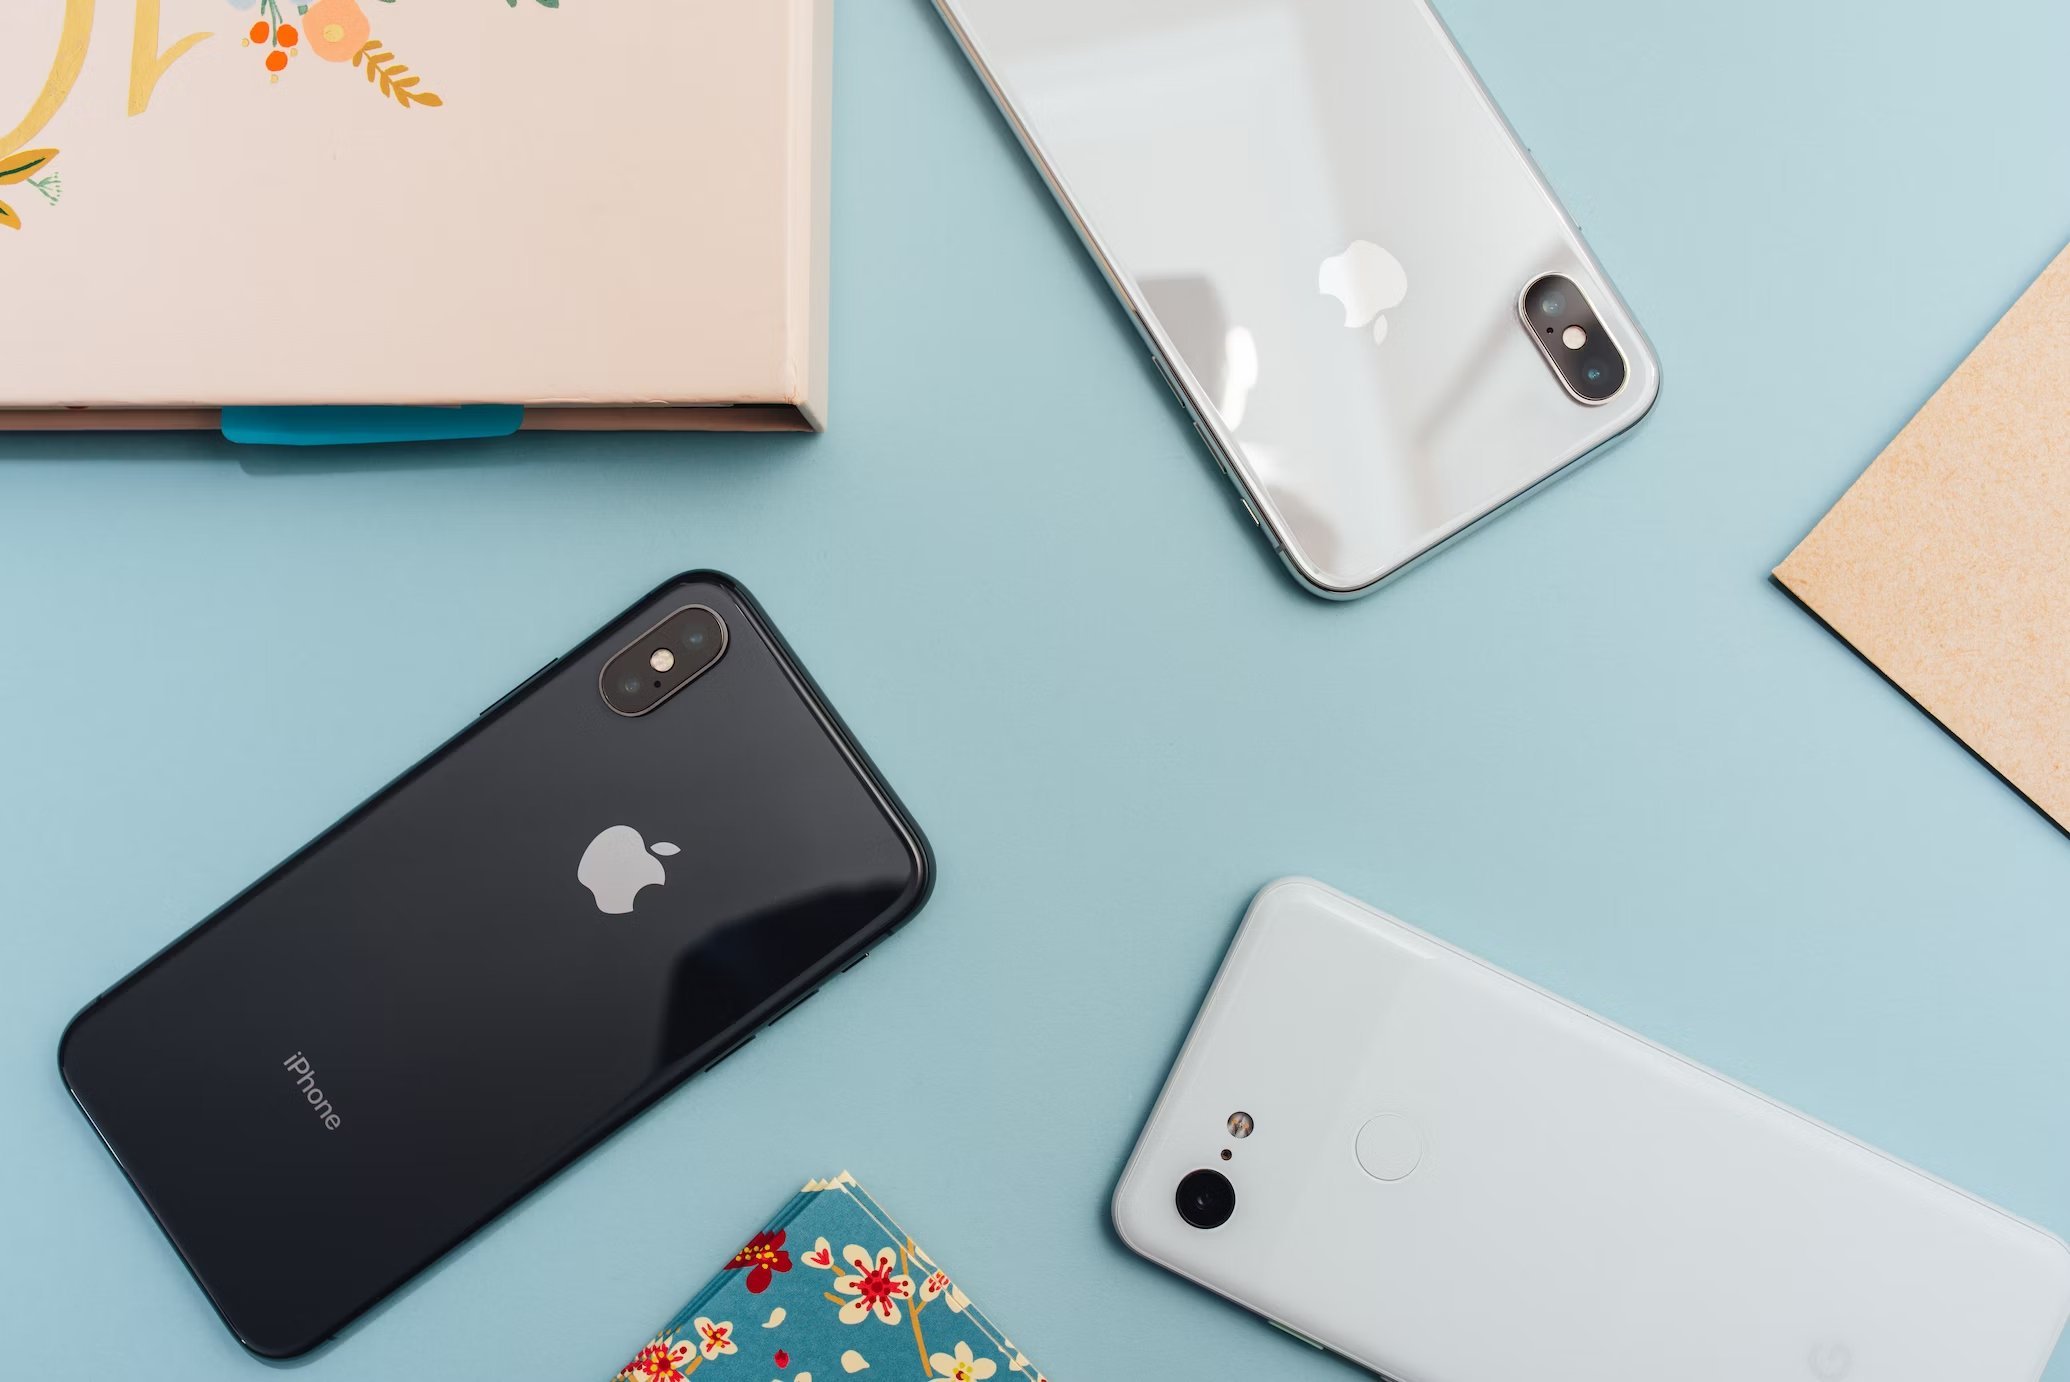
It’s an open secret that an iPhone camera is one of the best photography cameras. And they get better with each release. With practice, your iPhone camera photos may be indistinguishable from those of high-end DSLR cameras. Overall, you will discover with the right strategy, getting pro photos with your iPhone camera is a walk in the park.
Pro tips on how to take good photos with iPhone
Every photographer has their iPhone camera tips for taking great photos. In this iPhone photography blog, we share pro tips on using your iPhone camera. You may also explore advanced iPhone photography tutorials on BacklightBlog.com, on capturing professional portraits, landscape shots, and stunning street images. However, these 10 tips help to make your photos stand out. These tips include:
- How to hold your iPhone camera
- Managing lighting on the scene
- Zooming your iPhone camera
- Taking multiple shots of the same object
- Capturing a balanced photo – rule of thirds
- Pay attention to contrast and shadows
- Trying alternative shutter buttons
- How to capture stunning panoramas
- Try new iPhone camera apps
Table of Contents
How to hold your iPhone camera – iPhone photo tips
One of the challenges of using a camera without a stand is ending up with blurry images. One of the iPhone camera tricks overcomes this limitation by keeping your elbows tucked in and the screen close to your body. When taking shots, use your thumb. To achieve it, hold the phone, so the thumb is on top of the shutter button. That makes it easy to press the button while keeping your hands rock-steady gently. This strategy works when taking both portrait and landscape shots.
Managing lighting on the scene to take better iPhone photos
A poorly lit scene ruins even the best sceneries, irrespective of the camera you are using. The best time to take outdoor photos with your iPhone are early mornings and late afternoons. These times give you just enough light to capture every tiny detail and from the front and sides.
However, you should still try to take positions where most of the light falls on the object you intend to capture. It is the best way to avoid excessive glare on your shots. Overall, the scene’s light quality, direction, and volume affect the crispness of your images.
Zooming your iPhone camera
Your iPhone offers two kinds of zooming options – a digital zoom and an optical zoom. A digital zoom is where the camera software crops and deletes the scene around the focus object. It creates the illusion of a zoom because the focus point is enlarged, as the now-reduced image is stretched to fit the screen. How it sacrifices the overall quality of the image as it has fewer pixels for its frame size.
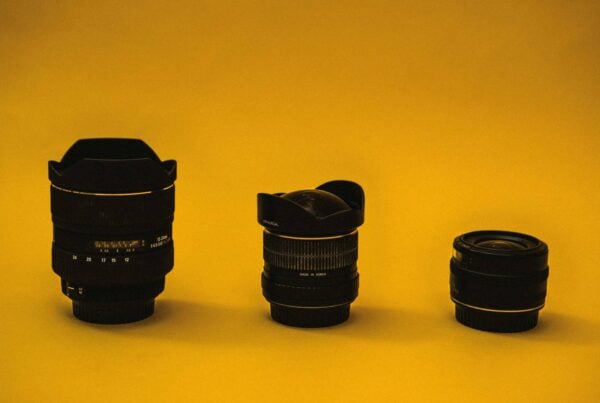
The optical zoom is where the phone has an option to switch between two lenses. For instance, you can have an ultra-wide lens and a telephoto lens. Try to use the telephoto lens option to get close to the point focus of the image optically. And the ultra-wide lens allows you to capture a wider scene. Unlike digital zoom, optical zoom will deliver images with the exact resolution or pixels. With those iPhone picture tricks in mind, you should only use digital zooms when moving close to the scene, or using an optical zoom is impossible.
Taking multiple shots of the same object
If you want to take good photos with iPhone or capture any moment that only happens once in a lifetime, then take multiple shots. And start the shots a few seconds earlier and from different points of view. It allows you to select the best of those shots later. While you don’t have to do it with every other photo, such a strategy gives you the best possible outcome when capturing rare moments.
Capturing a balanced photo with the rule of thirds
Whether using an iPhone camera or a top-brand camera, you need to take balanced shots. Photography experts agree that the rule of thirds is among the best iPhone photography techniques. It is where you divide the frame into three equal thirds, vertically and horizontally.
Place the focus object, such as the horizon, using the resulting grid, either on the upper or lower grid lines. If the focus is a person instead of the horizon, place them on the left or right grid line. It gives the viewer’s eye a rolling motion as they scan the iPhone’s cool pictures from the focus object to the rest of the scene.
Pay attention to contrast and shadows
Take time to take photos throughout the day and observe how shadows affect the same scene. It gives you knowledge about what to expect when taking photos at various times of the day. You will notice that light and shadows influence objects of different colours differently. Use that knowledge to plan future events and strategize and improve your photography creativity.
How to capture stunning panoramas
Your iPhone comes with a Pano mode, which makes it easy to shoot better iPhone photos, such as breathtaking landscapes, sprawling cityscapes, and any scenes requiring a wider view. To use the Pano feature, switch the iPhone camera to Pano mode. Next, tap the shutter button, then slowly pan the phone’s camera across the scene as promoted on the screen.
You will get a magnificent, wide-angle panoramic view that rivals professional photos. This feature is great for outdoor photography, such as capturing interesting architecture, cityscapes, travel scenes, and landscapes.
How to make iPhone camera better
You create stunning photos with the above iPhone photography techniques and immortalise your special moments. However, that is not all; thanks to the numerous iPhone camera apps, you can still go further and improve your photos. These apps add new functionalities not included in the native app, especially proprietary editing features.
We hope you found this iPhone photography tips guide helpful, and have fun capturing your moments in style. Those unannounced moments you may only capture with your iPhone become memorable.


