Lino printing offers artists a vibrant playground for creativity and experimentation. However, it comes with its own set of challenges, especially for those new to the craft. Recognising and tackling these pitfalls is crucial to achieving high-quality prints.
Table of Contents
Experimentation is Key
Every lino print successful or not, teaches you something new about carving, inking, or overall technique. Embrace mistakes as opportunities to grow:
- Innovate and Explore: Try new ink colours, textures, and even mixed media. Stepping outside your comfort zone can help push your work in exciting directions.
- Learn and Adapt: Carefully examine each test print to understand what worked (and what didn’t). Adjusting your approach based on these observations will help refine your skills.
Common Lino Printing Issues & Problems
Below are some frequent problems that beginners encounter, along with brief solutions:
- Uneven Ink Coverage
- Symptom: Patchy or incomplete prints.
- Solution: Spread your ink evenly on the tray and block. Avoid flooding the lino; a thin, tacky layer is best.
- Blurred Edges or Smudging
- Symptom: Lack of crisp outlines.
- Solution: Keep your paper and lino block stable. Use registration marks or tape so they don’t shift during printing.
- Difficulty Carving Fine Details
- Symptom: Jagged lines or botched intricate areas.
- Solution: Keep tools sharp. If carving is difficult, gently warm the lino on a radiator to soften it for easier cutting.
- Paper Sticking to Lino
- Symptom: Paper peels off with difficulty or tears.
- Solution: Your ink may be too thick or too wet. Adjust ink consistency and allow it to “sit” a moment before printing.
- Lino Block Movement
- Symptom: Double outlines or misalignment.
- Solution: Use non-slip mats or double-sided tape underneath the lino to keep it firmly in place while you carve and print.
- Ink Adhesion Issues
- Symptom: Ink won’t spread evenly or beads up.
- Solution: Clean any oils off the lino with a mild detergent or white spirit before inking.
- Insufficient Printing Pressure
- Symptom: Faint prints or missing details.
- Solution: Use firm, even pressure with a baren or spoon. Press over every part of the design to transfer the ink thoroughly.
- Over-Inking Leading to Loss of Detail
- Symptom: Filled-in carved lines or loss of definition.
- Solution: Roll ink until it feels slightly tacky, rather than globby. Too much ink can seep into carved-out areas.
- Under-Inking the Block
- Symptom: Bare patches where ink didn’t cover.
- Solution: Load your roller evenly. A well-distributed layer ensures all raised surfaces get inked.
- Ink Drying Too Quickly
- Symptom: Ink won’t transfer fully, leaving patchy or pale prints.
- Solution: Work quickly or use an extender medium to keep the ink from drying before printing.
Tips to Avoid Common Errors
- Gradual Progression: Begin with simple designs before moving on to intricate patterns.
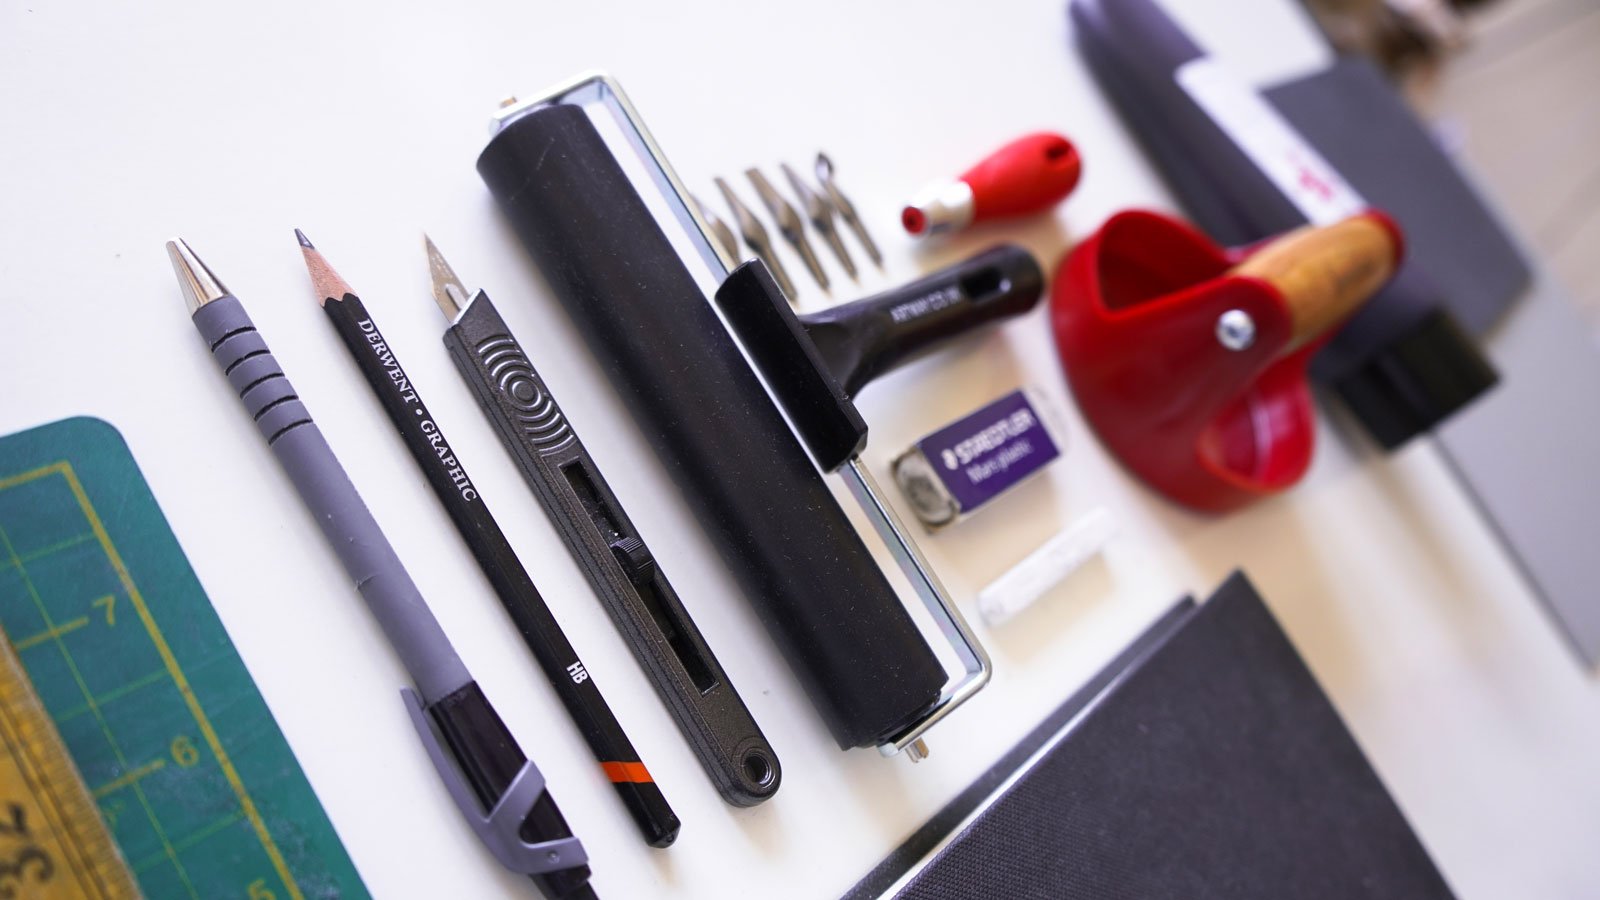
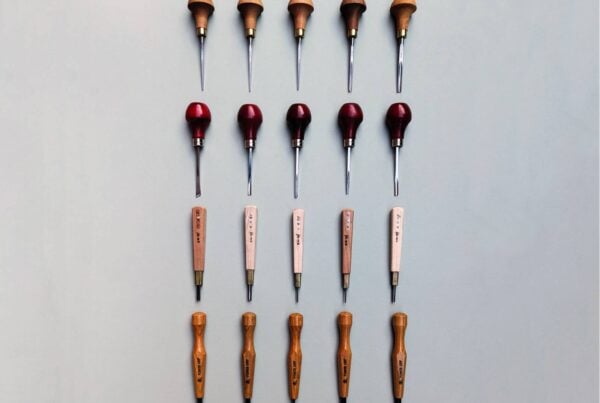
- Invest in Quality Tools: Sharp carving tools and a decent roller can prevent many avoidable issues.
- Maintain a Clean Workspace: Residual ink and debris can interfere with crisp, clean prints.
- Join a Community: Printmaking workshops or online forums are great for sharing tips, asking questions, and learning from others.
- Always Test: Make a quick proof print to catch any problems early, be it carving depth, paper quality, or ink consistency.
Creativity Knows No Bounds
Ultimately, lino printing balances creative freedom with careful technique. By embracing mistakes, staying curious, and honing your process step by step, you’ll unlock the full potential of this versatile medium. Each print offers a new lesson so keep exploring, keep refining, and watch your skills grow.
For a detailed walkthrough of every step in the lino printing journey, from sketching your design to inking and creating your final print, visit our comprehensive guide to the full lino printing process.

