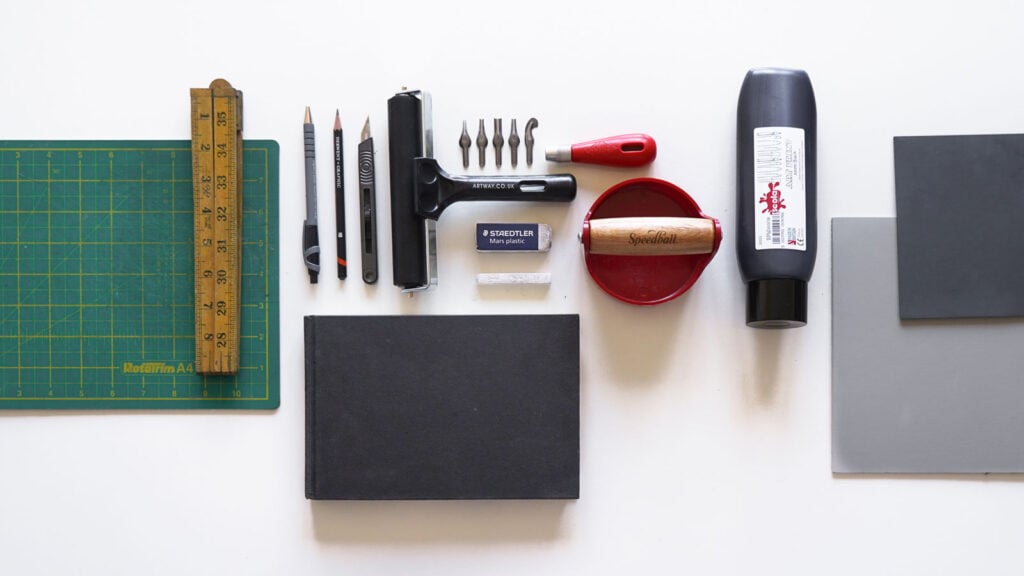
Lino Printing for Beginners: A How-To Guide
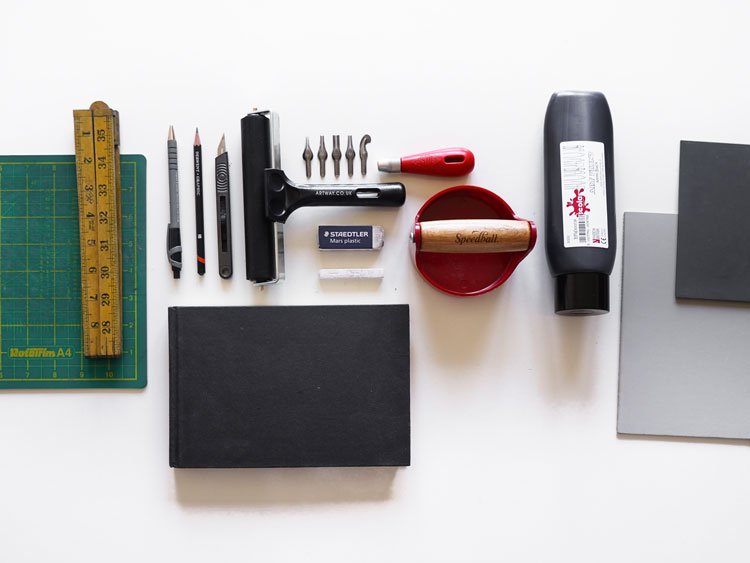
With over 12 years of lino printing experience, I’ve created this beginner-friendly guide to take you step-by-step through the entire process. We’ll cover everything from selecting the right tools and setting up a safe and efficient workspace, to carving, inking, troubleshooting, and finally pulling your first crisp lino print. My goal is to help you avoid the common pitfalls and empower you to transform plain linoleum blocks into striking works of art, right from your home.
What Exactly is Lino Printing?
Lino printing, also known as linocut, is a traditional relief printmaking technique. In relief printing, an artist carves an image into a block of material—in this case, linoleum. Ink is then applied to the remaining raised surface with a roller (brayer), and the image is transferred to paper or fabric by applying pressure. This process allows you to create multiple copies of the same artwork, known as an edition.
Think of it like a rubber stamp; the parts you don’t carve away are the parts that will print.
Lino printing is a popular form of relief printmaking, similar to woodblock printing. However, linoleum is generally softer and easier to carve than wood, making it a preferred material for beginners and many professional artists alike.
While this guide focuses on the single-color linocut technique (which we’ll achieve using a simple baren or wooden spoon, not an expensive press), the world of lino printing is vast. More advanced techniques include reduction printing (using one block for multiple colors) and multi-block printing (using a separate block for each color).
The Lino Printing Process: A Complete Overview
Before we dive into the step-by-step instructions, here’s a quick look at the entire journey, from initial idea to finished print:
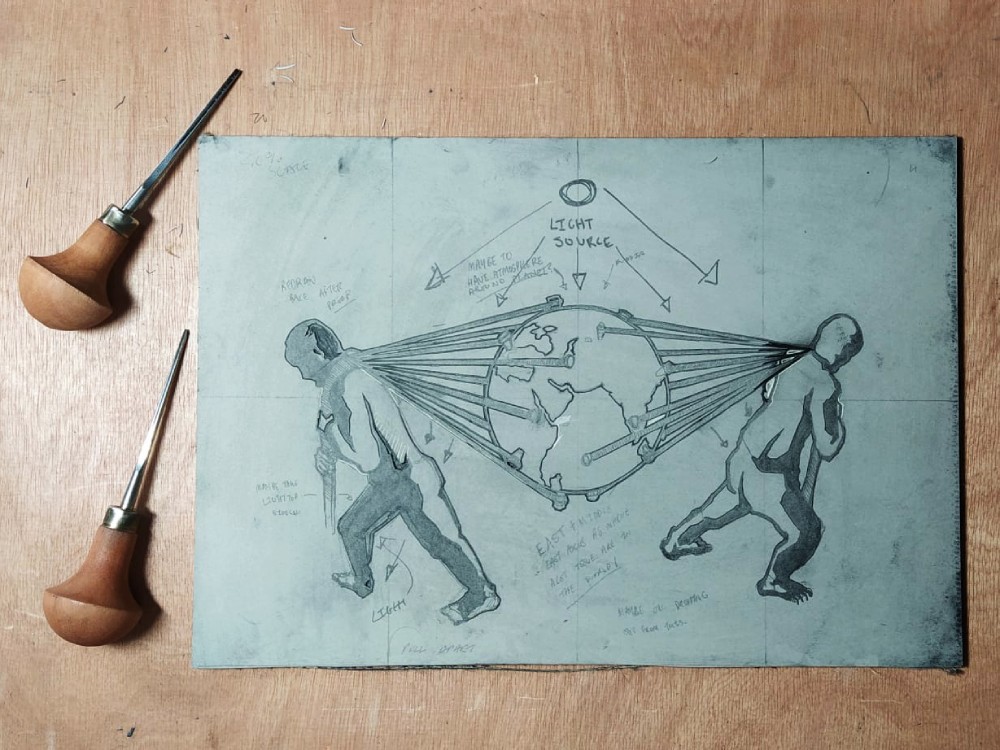
- Designing Your Lino Print: Brainstorming and sketching your initial idea.
- Transferring Your Design: Getting your drawing onto the lino block.
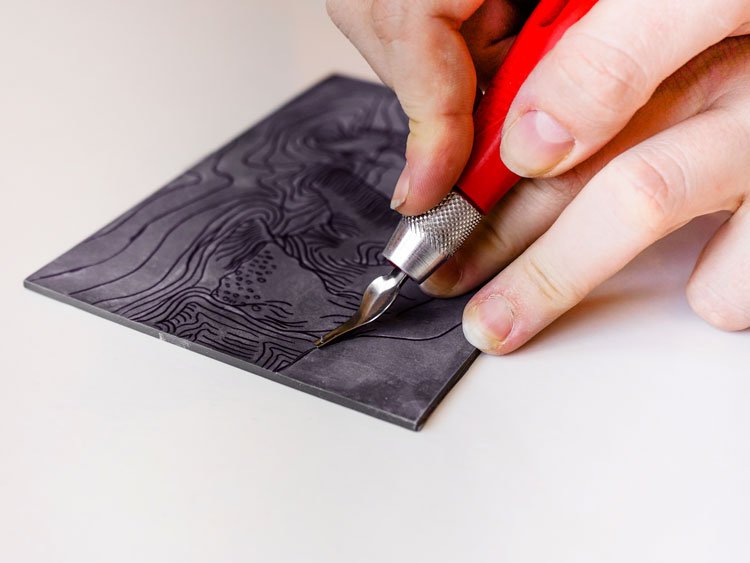
- Carving the Lino: The satisfying process of cutting away the negative space.
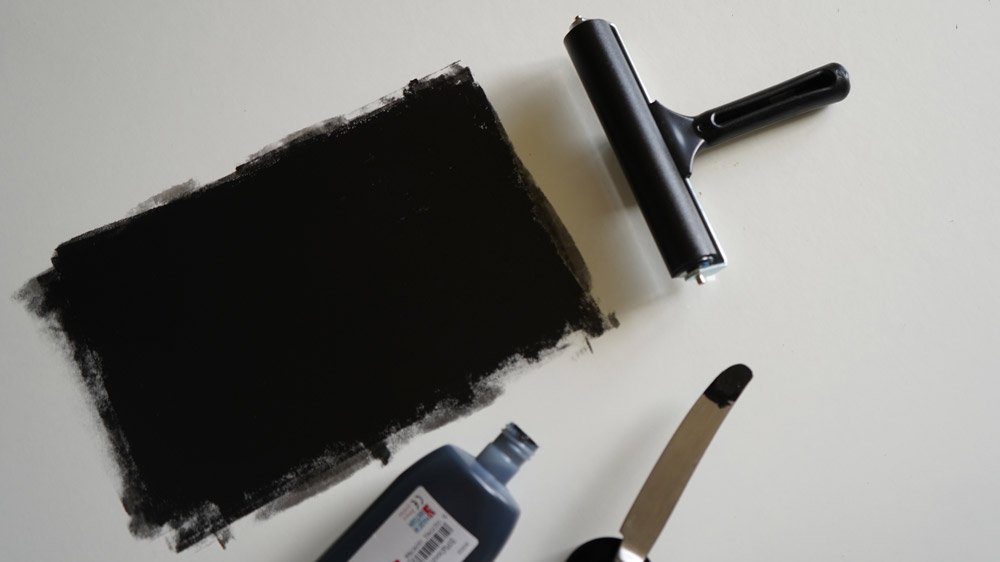
- Inking the Block: Rolling a perfect, even layer of ink.
- Printing Your Linocut: Pulling the print to reveal your artwork.
- Clean Up & Drying: The essential final steps.
Table of Contents
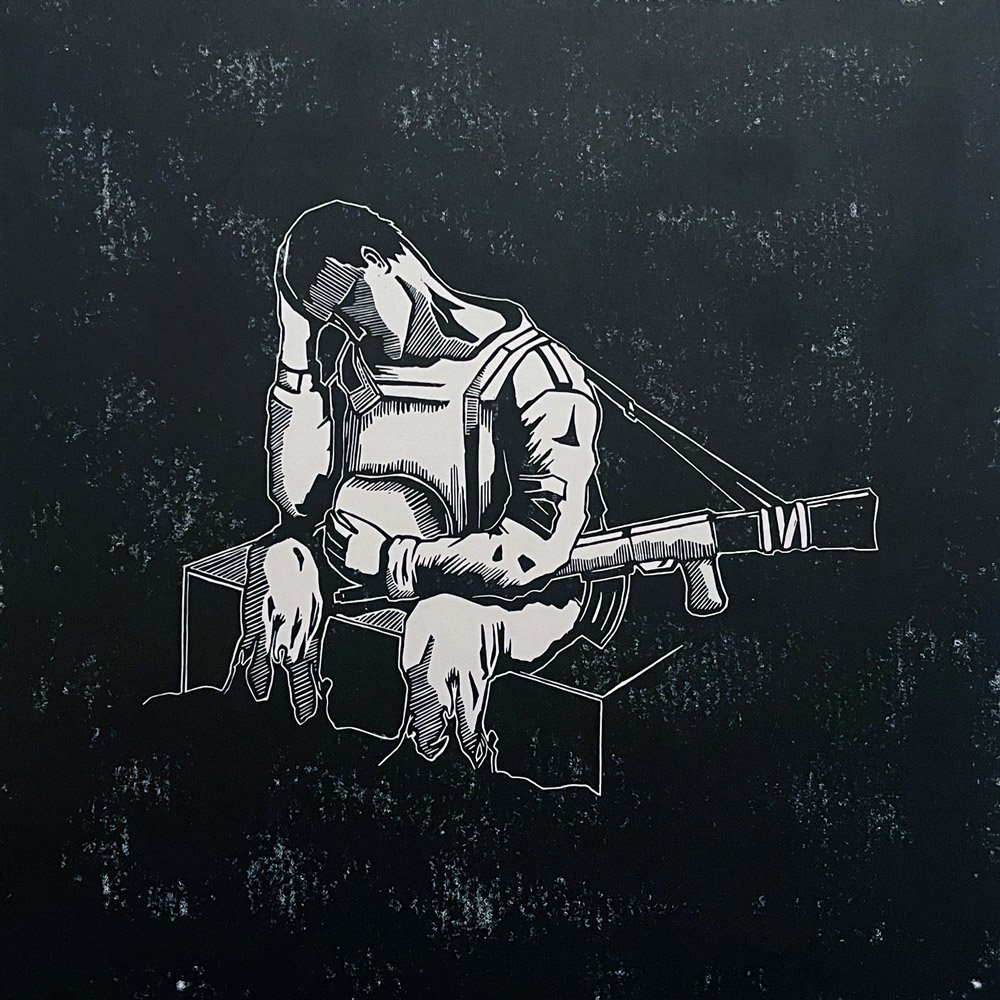
Monsters From The ID – Linocut on Zerkall Paper


