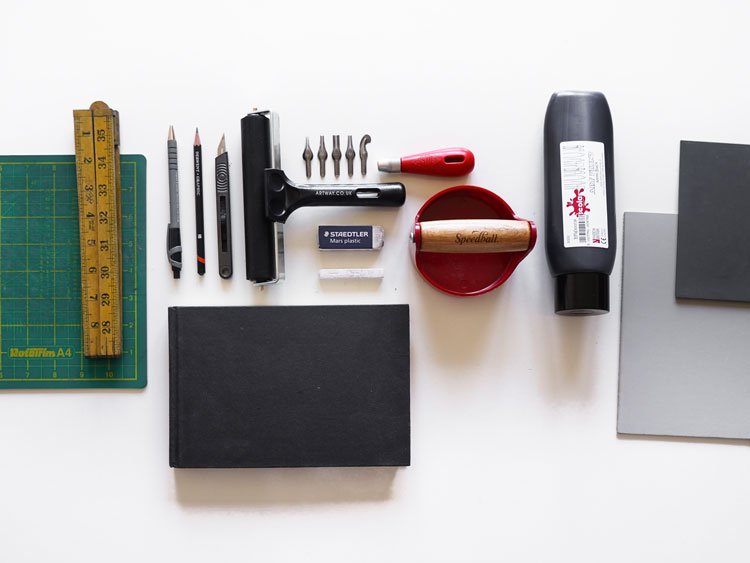
Equipment Needed
Consider starting with a few trial prints on materials like newsprint. This allows for any necessary adjustments to your linocut – always remember that while you can carve away more material, it’s impossible to replace what’s been removed.
For the final presentation, print your finest works on high-quality printmaking paper. I personally vouch for Zerkall: Mould Made Printmaking Paper, which boasts an extra smooth finish, dimensions of 53x73cm, and a weight of 150gsm, offering exceptional results for hand printing.
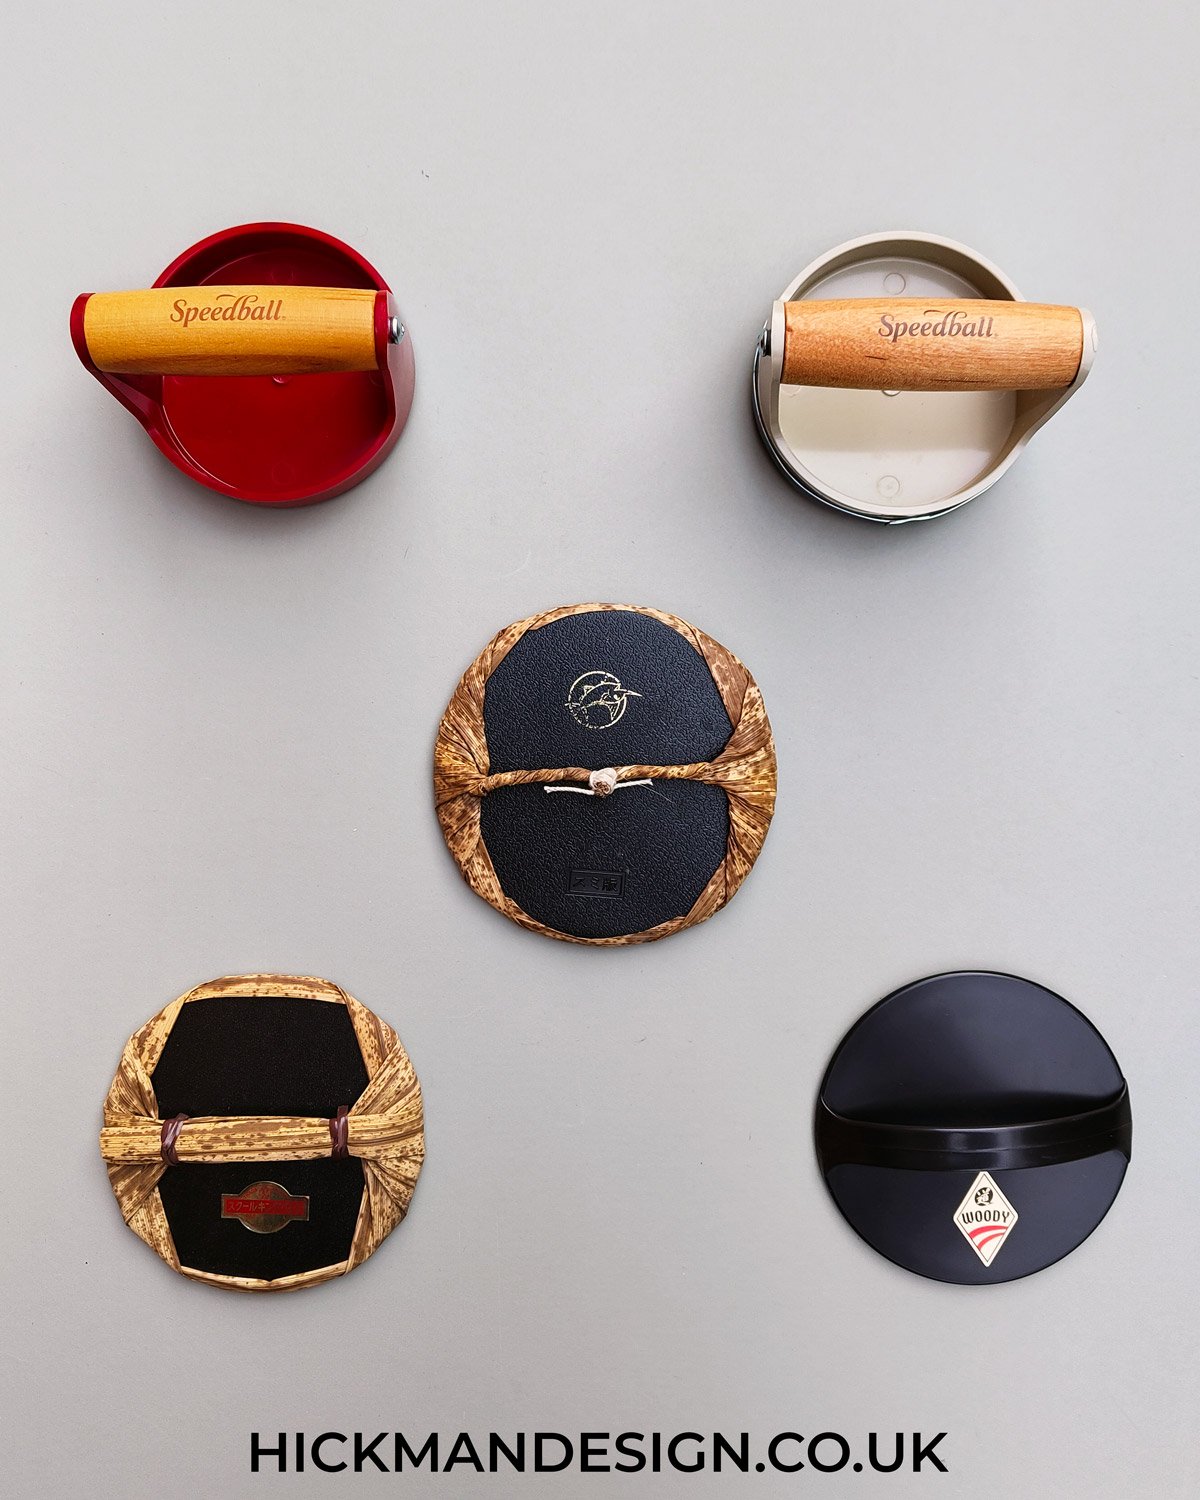
Different Printmaking Barens For Hand-printing Compared
If you’ve bought a lino printing set, most don’t include specialised papers. However, don’t worry – standard home printer cartridge paper will suffice and works well with hand printing methods, making it a great option for your early prints. Only buy specialist printmaking papers once you are confident lino printing, as they can be quite expensive.
Table of Contents
Pre Lino Printing Preparations
- Workspace Preparation:
- Ensure you have a clean, flat surface to work on. This prevents debris from interfering with your print. Lay down some protective paper or a mat to avoid unnecessary mess.
- Placement:
- Carefully position your inked lino block onto your workspace, ensuring it’s steady and doesn’t wobble or shift. This stability is crucial for an even print.
- Secure your lino block in place using non-slip mats or a bit of double-sided tape on the underside. This ensures the block doesn’t shift during inking or printing.
- Paper Selection:
- For designs that show the paper through the print (flecking, not a solid print) this means the paper weight is too heavy or you are applying enough pressure, opt for a lighter weight paper. When using a baren or hand printing, consider papers weighing 160gsm or less such as standard 75gsm printer cartridge paper.
- Choose a quality paper suitable for lino printing. This often means a paper that’s sturdy yet porous enough to absorb the block printing ink.
- Gently lay your selected paper over the inked lino block, ensuring no creases or bubbles form.
- Reserve some margin space on your paper for taping the edges, which can deter any potential shift during the process.
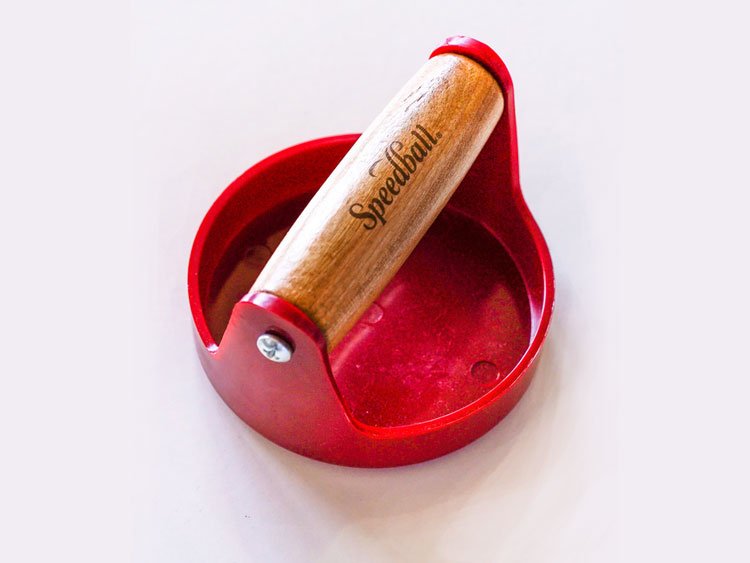
A Lino printing Baren such as this one from Speedball is ideal to help with printing.
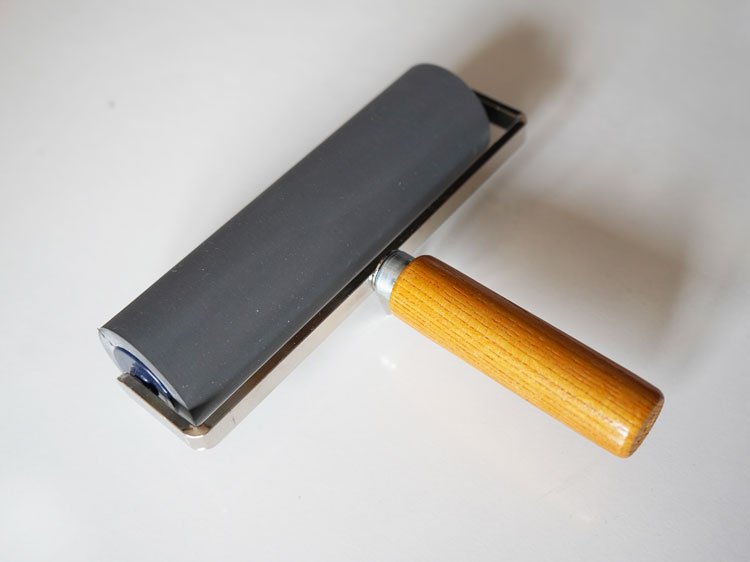
You can use a Lino printing roller to print with, however, results can vary.
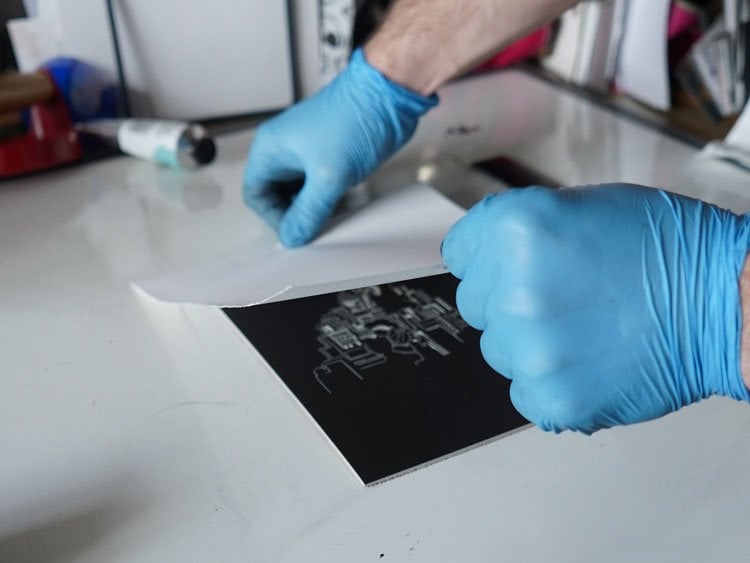
Lay paper on top of inked Lino lightly, rub very lightly to make sure the paper wont move.
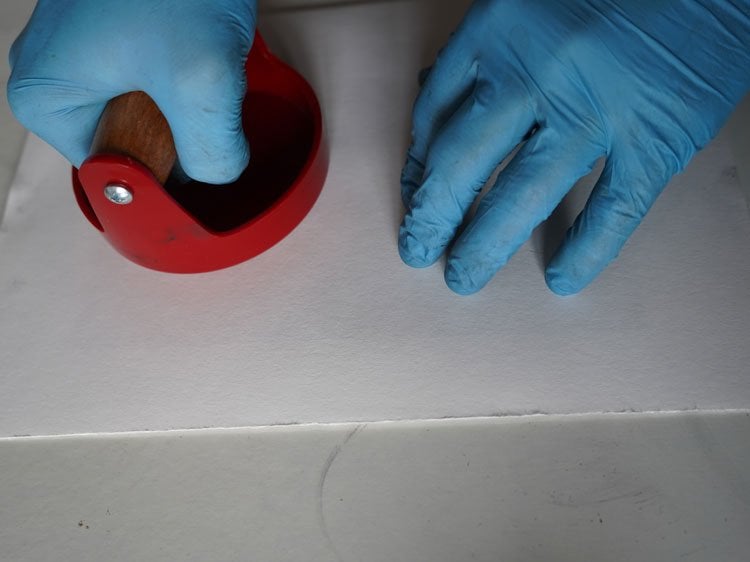
If you use a Baren rub the back of the paper in circular motions, covering all areas. If you use a roller then roller all areas with a lot of pressure to ensure a solid print.
Making Lino Printing Accessible: How to Print Without a Press
Watch the below YouTube video on lino printing without a press by Kerry Day which offers a step-by-step tutorial on creating lino prints using simple, accessible tools. Instead of using a traditional press, the video shows alternative methods for transferring the inked design onto paper, such as hand burnishing with a spoon or using a baren. This approach makes lino printing more accessible to those who don’t have access to professional equipment, allowing artists and hobbyists alike to explore printmaking techniques from home.
Tips for Printing Your Linocut:
- Pressure Application:
- Roller: For a uniform print, apply consistent pressure. A pristine ink roller can help you achieve this. Roll firmly but gently across the entirety of the paper. Make sure to roll all areas of the paper evenly.
- Spoon: Alternatively, if you’re using a spoon, the back of it can be used to apply pressure in circular motions. This technique can be especially useful for intricate designs. Use circular motions to apply pressure.
- Baren: For those who prefer hand printing, a baren is the tool of choice. Its flat surface is ideal for transferring designs from lino to paper with even pressure. Use circular motions to apply pressure.
- Peeling and Revealing the Art:
- Starting from one corner, gently and slowly lift the paper. Ensure you’re peeling at a consistent rate, and hold the lino block down to avoid any unwanted shifts.
- As you lift, your lino artwork will gradually be unveiled. If you notice an area that didn’t transfer well, you can carefully lay the paper back down and apply more pressure to that specific spot.
- Minimise Movement: Ensure stability to prevent any unintended smudging.
- Achieving the Perfect Print: If areas of white are appearing through your ink, increase both the ink volume on the plate and the pressure applied during printing. You may also need to try light weight paper, standard 75gsm printer cartridge paper can do the job well for starting out.
- For Challenges: If issues persist, you might want to try dampening the paper. Soak it briefly in water, press between newspaper sheets until it reaches a damp state, and then proceed with the print.
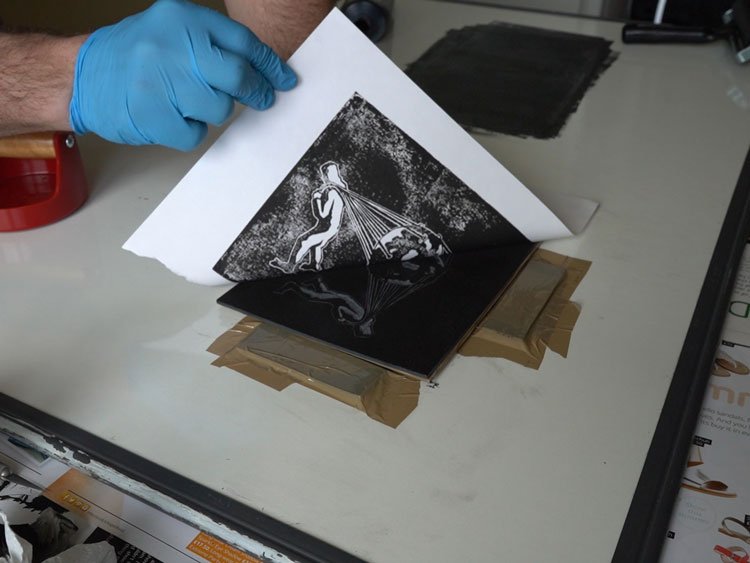
Slowly peel back paper to reveal your Lino print.
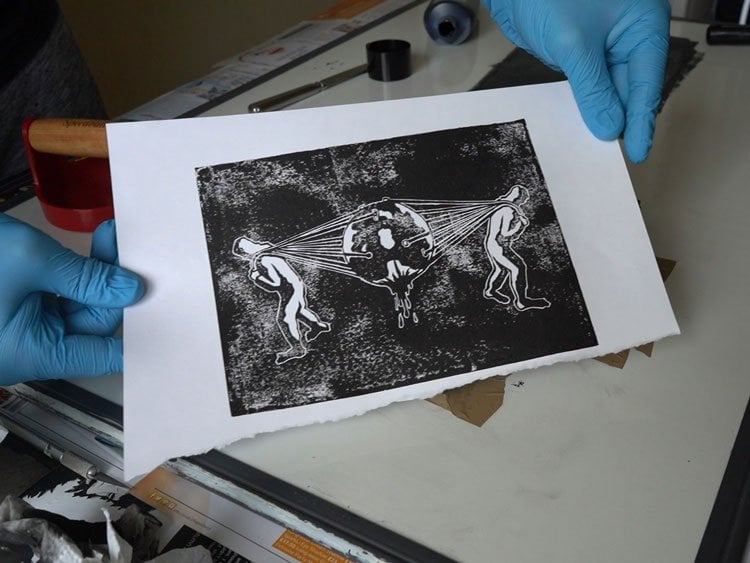
Final Lino print revealed – Paper too thick (Printing with a baren or by hand try paper 160gsm or less)
Post Lino Printing Tips
- Reprinting: Your linocut can be re-inked and reused.
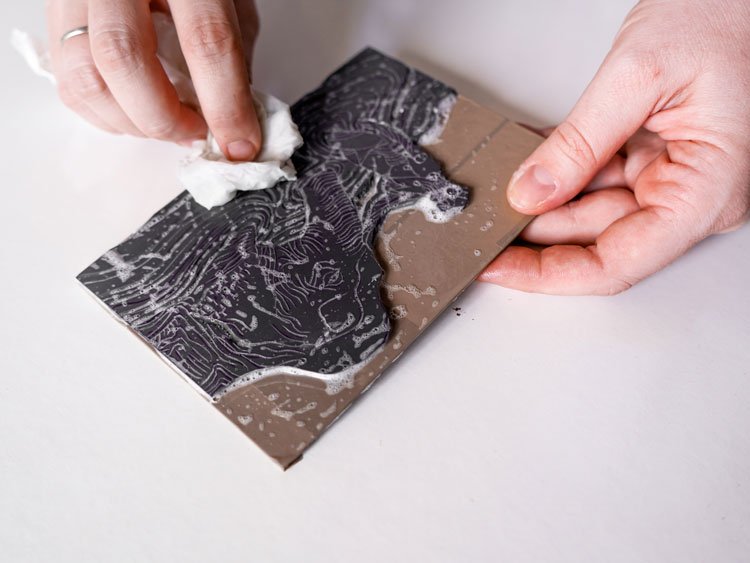
- Cleaning: Once your printing session is complete, clean your lino block, tools, and working surface immediately. This prevents ink from drying and becoming hard to remove later. Use white spirit or a special lino cleaning solution.
- Storage: Store your lino blocks flat and in a cool, dry place. If stacked, ensure they have a protective layer between them to avoid unwanted ink transfer.
- Evaluation: After your trial prints, evaluate the clarity, sharpness, and contrast. Make note of areas that require adjustment or more careful inking next time.
Tips for Drying Your Linocut Ink:
- Drying Time: Allow ample time for your print to dry fully.
- Humidity: Choose a drying spot with minimal humidity.
- Traditional Drying: During my studies, we often utilised a simple technique: string stretched between two points, from which we hung the prints using pegs.
- Layering Prints: If you intend to layer different colours or designs, ensure the previous layer is completely dry before proceeding.
- Flattening: Sometimes, the paper may curl slightly after printing. To flatten your prints, place them under a heavy book or in a press once they’re fully dry.
For additional insights, consult this article that offers invaluable advice on the rapid drying of lino prints.
Printing Barrens
Printing barrens are an optional tool you can use for printing your lino cut, they come in a variety of different shapes and sizes. The basic idea is to use a smooth surface and rub on the back of your paper, after the paper is laid onto the inked lino cut. Whilst applying some pressure and rubbing in circular motions it pushes the inked lino cut and paper together, this will print the design onto your paper. For this guide we are using a basic Speed Ball Printing Barren.
Types Of Paper For Lino Printing
Best Printing Papers For Hand Lino Printing
When it comes to hand lino printing, lightweight papers are essential for ensuring even pressure, smooth ink transfer, and the right level of absorption. Here is a list of lightweight papers best suited for hand lino printing:
1. Japanese Washi Paper (Kozo)
- Weight: 20-60 gsm
- Washi paper is made from the fibres of the mulberry tree (Kozo), giving it a soft yet durable texture. It is highly absorbent and delicate, making it ideal for hand printing. Washi paper also retains fine details from lino blocks, offering crisp lines.
- Best For: High detail work, translucent effects, and fine art prints.
2. Mulberry Paper
- Weight: 25-50 gsm
- Mulberry paper is another traditional Japanese paper that is lightweight yet strong. Its fibres help the ink sit on the surface without bleeding, making it suitable for bold, clean prints.
- Best For: Detailed prints and large, single-colour prints.
3. Zerkall Paper
- Weight: 90-120 gsm
- Zerkall is a European printmaking paper known for its smooth surface and slight texture. It is often used in relief printing due to its excellent ink absorption and ability to hold fine detail without warping.
- Best For: Hand printing with water-based inks and detailed lino prints.
4. Awagami Bamboo Paper
- Weight: 70-90 gsm
- Made from a blend of bamboo and other fibres, this paper is eco-friendly and durable. It has a silky, smooth surface, allowing for even ink coverage with minimal pressure, making it ideal for hand printing techniques.
- Best For: Detailed prints with a soft, natural texture.
5. Chinese Rice Paper (Xuan Paper)
- Weight: 25-40 gsm
- Xuan paper is a soft and lightweight rice paper that has a smooth texture on one side and a slightly textured surface on the other. It is known for its ability to absorb ink and water effectively without tearing.
- Best For: Light ink applications, watercolour effects, and delicate hand printing.
6. Simili Japon Paper
- Weight: 130 gsm
- This paper mimics the properties of Japanese paper but is slightly heavier. It provides excellent sharpness in detail and is easy to handle, especially for beginners experimenting with hand lino printing.
- Best For: Crisp, fine lines and bold contrast prints.
7. Kitakata Paper
- Weight: 30-60 gsm
- Kitakata is a natural, warm-toned paper made from Gampi fibre, which is strong yet lightweight. It is known for its resilience and smooth surface, ideal for retaining detailed lines in hand printing.
- Best For: Thin, detailed prints with minimal ink saturation.
8. Bockingford Watercolour Paper
- Weight: 90-120 gsm (lightweight version)
- Although traditionally a watercolour paper, Bockingford’s lightweight versions can be used for hand lino printing, offering a soft texture that holds ink well without soaking through.
- Best For: Hand printing where ink saturation needs control.\
9. Strathmore Printmaking 300
- Weight: 120 gsm
- Strathmore Printmaking 300 is a lightweight, acid-free paper specifically designed for printmaking. Its soft surface allows for smooth ink transfer and holds fine details well, making it ideal for hand lino printing. The slightly textured surface also provides good ink absorption without excessive bleed.
- Best For: Beginners and intermediate printmakers looking for a reliable, consistent paper for detailed lino prints.
These papers are well-suited to hand lino printing because of their lightweight nature and the ability to retain detail while absorbing ink without excessive bleeding or warping. Each offers a different texture and finish, depending on the desired outcome of your print.
READ THIS IF NOT USING A PRESS: Check out this great guide on the choosing the best paper for lino printing by hand by Boarding All Rows if you are using a Baren for hand printing. Or you can read our article about the best papers for lino printing.
Best Printing Paper for Lino Printing with A Press
For Lino Printing I Would Recommend Using Heavy Weight Papers, 250gsm+ Which Are Designed for Printmaking or Watercolour Painting to Get the Best Results Possible. Personally I Have Always Used Fabriano 300gsm Paper Which Is Cotton Based, the Weight Stops the Paper from Warping when There Is a Lot of Ink Applied. The heavyweight papers are best if you have a printing press, if using a baren or printing by hand go for lightweight papers which will give you better results.
| Paper Type | Suppliers |
|---|---|
| Zerkall Printing Paper | Zerkall : Mould Made Printmaking Paper : Extra Smooth : 53x73cm : 150gsm |
| Fabriano | Fabriano 300gsm Paper - 25 Sheets 700mm x 500mm |
| Fabriano | Fabriano UNICA Printmaking Paper 250gsm - 40 Sheets 380mm x 280mm |
| Fabriano | Fabriano UNICA Printmaking Paper 250gsm - 10 Sheets 700mm x 500mm |
| Pro-Art Strathmore | Pro-Art Strathmore Printmaking Paper 120gsm - Pad 279mm x 356mm |
| Pro-Art Strathmore | Pro-Art Strathmore Printmaking Paper 280gsm - Pad 200mm x 254mm |
| Somerset | Somerset 300gsm Paper - 25 Sheets 560mm x 760mm |
| Fabriano Rosaspina | Fabriano Rosaspina 285gsm Paper - 25 Sheets 700mm x 500mm |
| Speedball Paper | Speedball Fine Printmaking 45gsm Paper - 25 Sheets 220mm x 330mm |
| Snowdon Printing Paper | |
| Hosho Japanese Paper |
Printing your linocut is a crucial step in the process. To make sure you follow every step, follow the entire lino printing steps in our detailed guide.
Featured Linocut Guides
Check Out Our In Depth Lino Printing Guides

