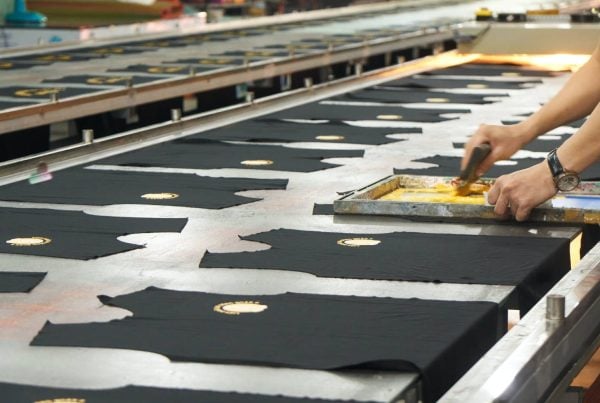
Christmas cards are a traditional method of sharing festive sentiments with loved ones. A handprinted Christmas card, however, adds a sprinkle of creativity and a touch of personal warmth to your seasonal greetings. This guide will explore several methods of creating handprinted Christmas cards, with a special focus on lino printing, and provide a comparison of the benefits of each method.
Table of Contents
Overview of Handprinted Christmas Card Techniques
There are several methods available for creating handprinted Christmas cards. Below, we list some popular techniques:
- Stencilling
- Stamping
- Lino Printing
- Freehand painting
Now, let’s delve into these methods and understand what they entail.
Stencilling
Stencilling involves using a template to create a design. You can purchase pre-made stencils or create your own out of cardstock or plastic. It is easy to repeat the same design using a stencil, which can be beneficial when making multiple cards.
Stamping
Stamping uses a stamp to transfer ink or paint onto the card. Similar to stencilling, you can purchase pre-made stamps or create your own. Stamping is a quick and easy method of creating a handprinted card, and allows for a high level of consistency across multiple cards.
Lino Printing
Lino printing, or linocut, is a type of relief printing technique. A design is carved into a piece of linoleum, which is then inked and used as a stamp. This method allows for a high degree of precision and detail in the final print. Lino printing requires some additional tools compared to other techniques, but the results can be very impressive. More about this technique can be found on the website of the Tate Museum.
Freehand Painting
Freehand painting allows for the most individual creativity, as you paint directly onto the card without a template or stencil. However, it does require a degree of artistic skill. The results can be very personal and unique, making freehand painted cards a great option for sending a special message.
Comparing Card-Making Techniques
The following table provides a comparison of these methods and their benefits.
| Method | Benefits |
|---|---|
| Stencilling | Easy to replicate designs, versatile, minimal tools required |
| Stamping | Quick and easy to create consistent designs, variety of pre-made designs available |
| Lino Printing | Highly detailed precise designs, professional-looking results, print multiple copies |
| Freehand Painting | Unlimited creativity, highly personal and unique |
Creating your own handprinted Christmas cards can be a rewarding experience, and the results can bring joy to those who receive them. Whether you choose to stencil, stamp, use lino printing or freehand paint, you’re sure to create something beautiful and unique. For more in-depth tutorials and ideas, check our detailed lino printing guide.
Guide on Lino Printing Christmas Cards
Lino printing, also known as linocut, is a printmaking technique that can produce stunning, highly detailed, and unique designs. Here is a step-by-step guide on how to create your own lino print Christmas cards.
Materials Needed
Creating stunning lino print Christmas cards requires some specific materials. If you’re starting from scratch, a lino printing kit can be a great choice as it provides all the essential tools in one package.
- Lino sheets or a lino printing kit
- Lino cutting tools (included in the kit)
- Printing ink (included in the kit)
- Brayer (roller) (included in the kit)
- Baren or wooden spoon
- Plain cards
- Pencil and paper
- Carbon paper for design transfer
Step 1: Design
First, sketch your Christmas design on a piece of paper. This could be anything from a festive scene to a simple Christmas symbol such as a tree or star. Remember, the design will print as a mirror image, so any text or asymmetrical elements should be drawn in reverse.
Step 2: Transfer Design
Once you’re happy with your design, transfer it onto the lino sheet. One effective way to do this is by using carbon paper. Simply place the carbon paper between your design and the lino sheet, and trace over your design. This will leave a clear imprint on the lino, ready to be carved.
Step 3: Carve the Lino
Now, using your lino cutting tools, carefully carve out your design. You will cut away the areas that you want to remain blank on the card, leaving the design raised.
Step 4: Apply Ink
When you’re happy with your carved lino, evenly apply your printing ink to the lino using a brayer.
Step 5: Print
Place the inked lino onto your card, ensuring it’s positioned correctly. Apply even pressure across the lino using a baren or the back of a wooden spoon. Then, carefully lift the lino from the card to reveal your print.
Step 6: Leave to Dry
Let your newly printed card dry completely before touching or moving it to prevent smudging the design.
Step 7: Repeat
You can now use your carved lino to create as many cards as you need.
Christmas Card Ideas
If you’re in need of some inspiration, here are a few Christmas card ideas that lend themselves well to lino printing:
- A festive Christmas tree
- Classic Christmas baubles
- A Christmas wreath
- Iconic Christmas symbols like stars, candy canes, or holly
- A snowy winter scene
- Iconic characters like Santa Claus, snowmen, or reindeer
You can find more Christmas card inspiration at websites like Country Living or the Good Housekeeping.
Conclusion
Hand-printing your own Christmas cards can be a rewarding activity, and it allows you to add a personal touch to your festive greetings. Lino printing, in particular, offers unique and detailed results. Whether you’re a beginner or an experienced artist, a lino printing kit can make the process easier and more enjoyable. Explore, experiment, and most importantly, enjoy the process!


