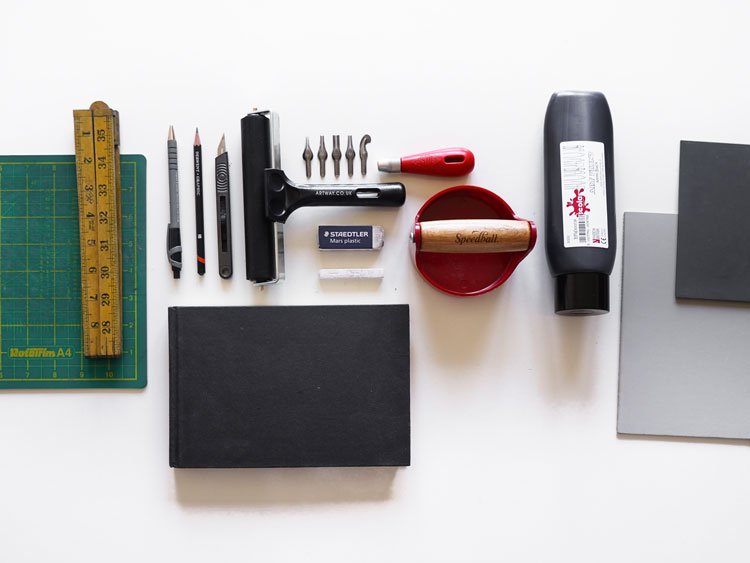
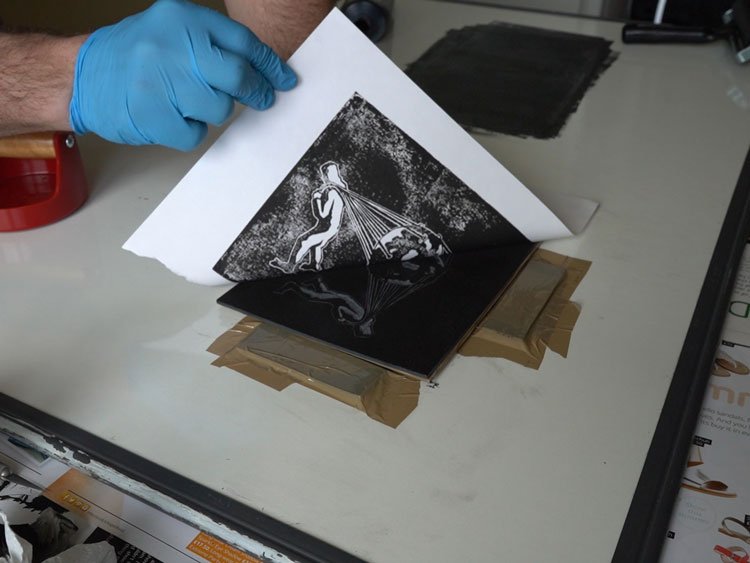
Equipment Needed
Once you’re satisfied with your design, the subsequent step is to transfer it to the lino, facilitating an easier carving process. Alternatively, drawing directly onto the lino can be a time-saving option, but keep in mind that this method doesn’t leave you with a reference back to your original design.
Table of Contents
Tips for Transferring Your Design:
- Prepare Your Lino: Select a piece of lino slightly larger than your design to accommodate any potential misalignment, providing a margin for error.
- Transfer Method: Position either carbon paper or chalk-backed paper between your original sketch and the lino. Trace over your design firmly to transfer it onto the lino. Be mindful that your design may be mirrored during this process.
- Enhance Visibility: Once transferred, go over the design on the lino with a fine-tipped pen to improve its visibility and clarity.
- Utilise Transparency: Employ tracing paper to preview how your design will appear when reversed. This is particularly crucial for text or designs with specific directional elements.
- Secure Your Work: Place your paper and lino on a non-slip surface to prevent any movement, ensuring a precise transfer.
- Apply Consistent Pressure: Ensure even pressure while tracing to achieve a uniform transfer of your design, avoiding any missed or faint lines that could complicate the carving process.
- Verification: Compare the transferred design on the lino with the original sketch to confirm accuracy and completeness, making sure no details are missing or incorrectly mirrored.
- Lightbox or Window Technique: For translucent lino (e.g., soft cut lino), use a lightbox or a window to backlight your design for easier alignment and transfer.
- Tape for Stability: Temporarily secure your drawing or tracing paper to the lino with low-tack tape to avoid slipping or misalignment.
- Optimise Your Workspace: Maintain a clean, clutter-free, and well-lit workspace to facilitate the visibility of faint lines and prevent any unintentional smudging during the transfer process.
Remember, preparation is key. Taking the time to ensure your design is accurately and clearly transferred can save you time and frustration in the carving stage.
Transferring Your Design With Chalk/6B Pencil
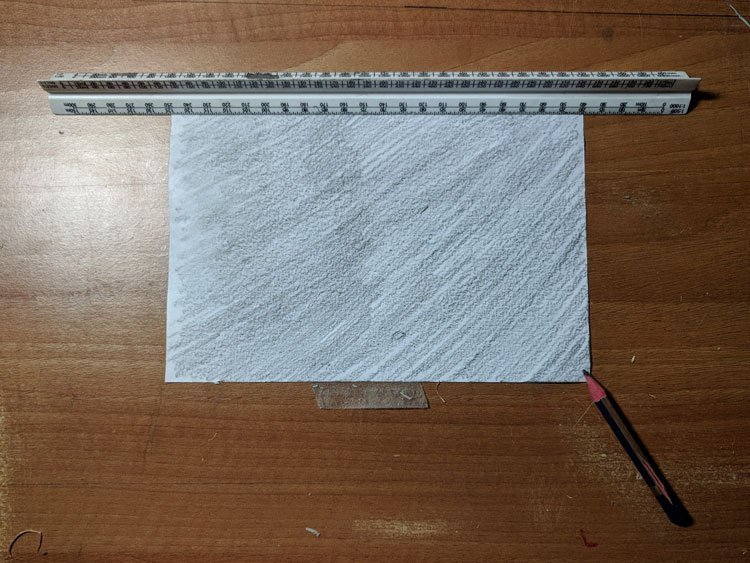
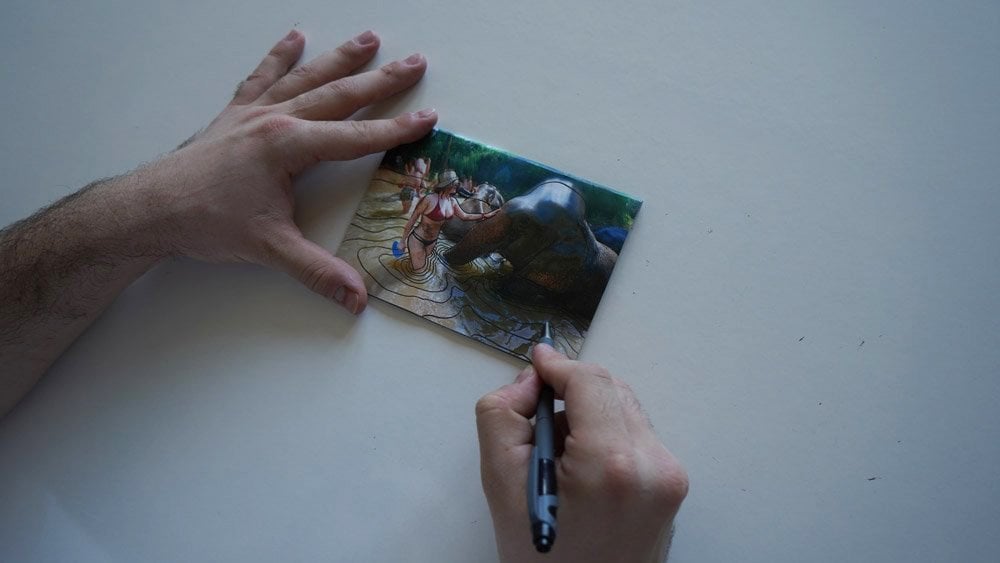
6B Pencil rubbed on the back of photo which will make a mark on your Lino when drawn over, you can use chalk too.
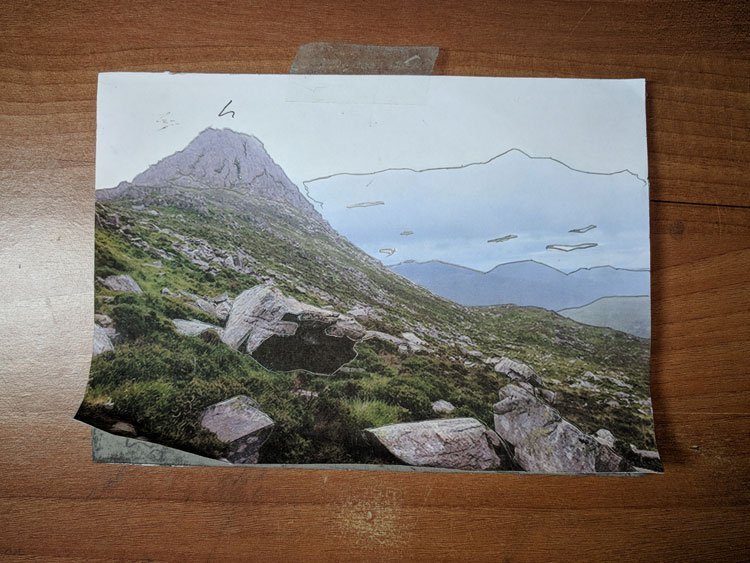
Sketching over photo with graphite rubbed on back will produce an outline on Lino.
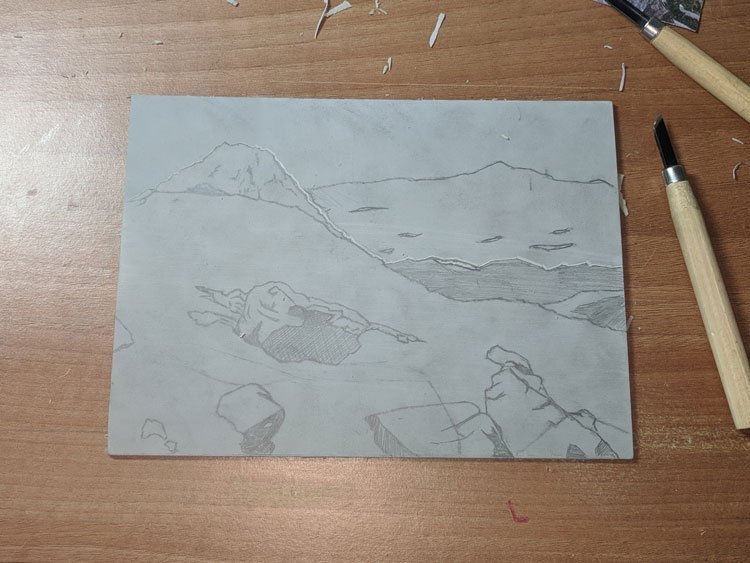
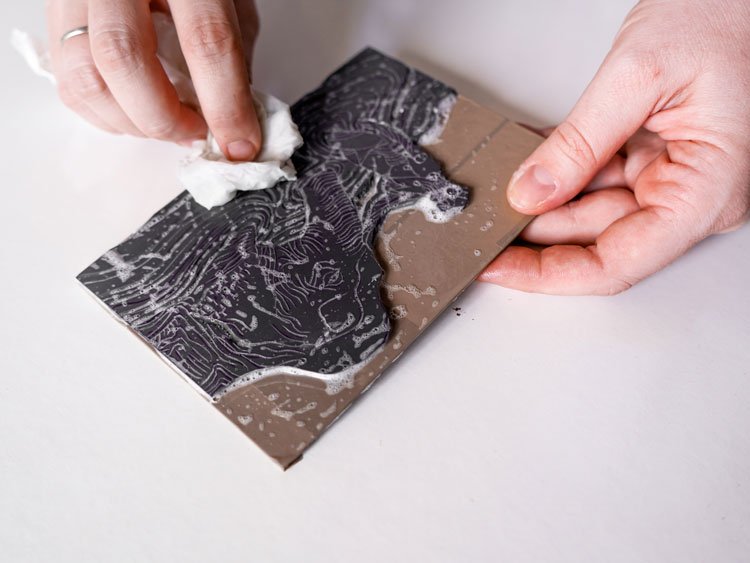
Outlined design on Lino after drawing over image with graphite on back of paper.
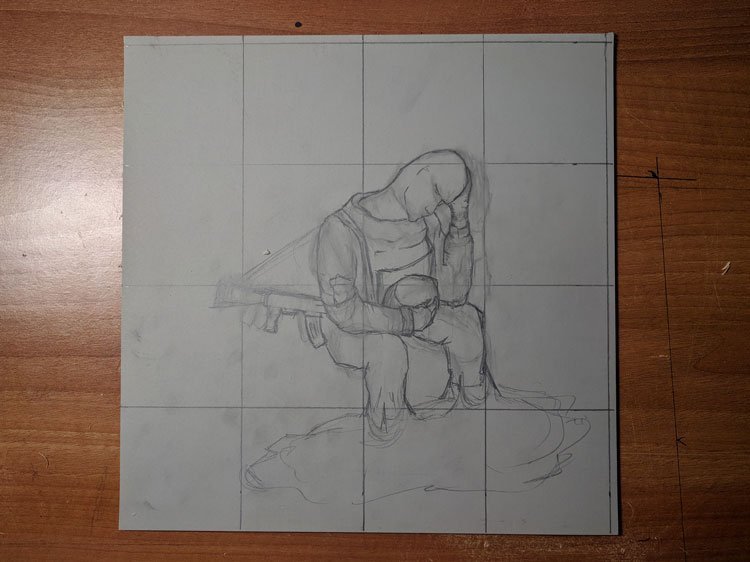
You can hand draw design onto Lino, lines are to help drawing to scale.
Transferring Your Design With Carbon Paper
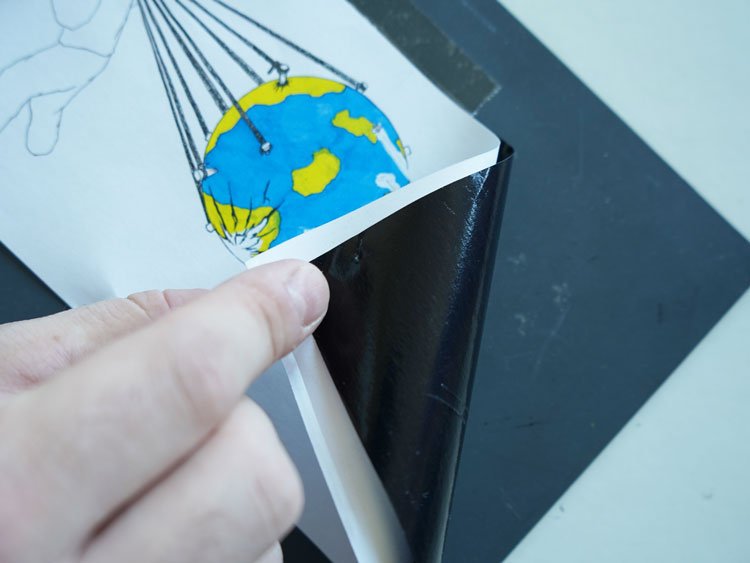
Other methods include using carbon paper on the back of your design.
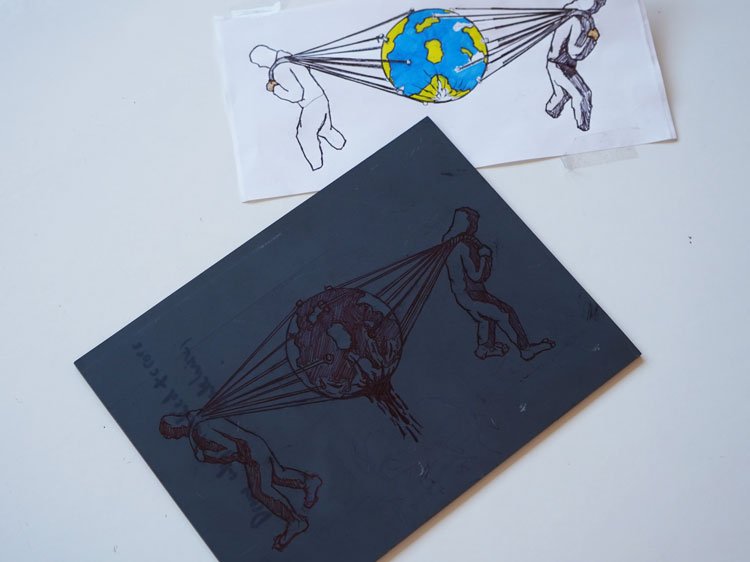
Hand drawn design transferred with carbon paper with detail redrawn.
Types Of Lino For Printing
There are a variety of types of lino sheets for printing. The 2 main types of lino that you come across are soft lino with no backing and tougher lino with a skrim/hessian backing. Generally speaking both types of lino can produce high quality prints. The more accessible softer lino is easier to cut and cheaper, however more traditional tougher lino gives you more control and detail. I personally prefer to work with the grey lino due to the quality of the print it will produce, as well as the longevity of the lino block.
For beginners, a lino printing kit usually includes softcut lino, as it’s much easier to work with when you’re just starting out.
For further reading on this you can check out a blog by Handprinted, where they tested various types of lino for printing.
| Lino Type | Suppliers |
|---|---|
| Easy Cut (Black) - Low Detail Designs For Beginners | Soft Lino Block - 10 Sheets 150mm x 100mm |
| Speedball Speedy Carve Block (US) 9"X11.75" | Pink Soft Lino Block |
| Hessian Backed (Brown) | Backed Lino Block 1 Sheet 300mm x 390mm |
| Essdee Art Lino | Essdee Art Lino 2 Sheets 305mm x 203mm |
| Zieler Easy Carve Lino | Zieler Easy Carve Lino 5 Sheets 210mm x 148mm |
| Battleship Grey | Hessian Backed (Grey) - 5 Sheets 300mm x 200mm |
| Essdee Mounted Lino | Essdee Mounted Lino - 2 Sheets 75mm x 75mm |
| Artway Soft Cut Polymer Sheets | Artway Soft Cut Polymer Sheets - 3 Sheets 594mm x 420mm |
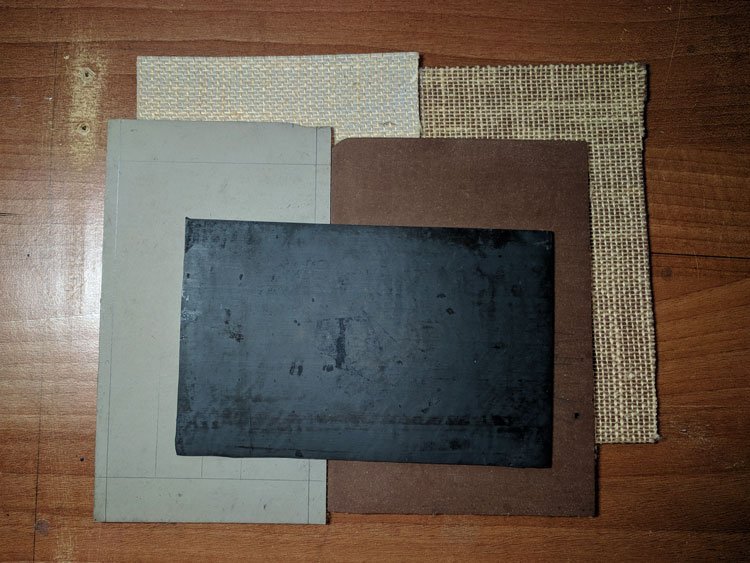
Different types of Lino for Printmaking.
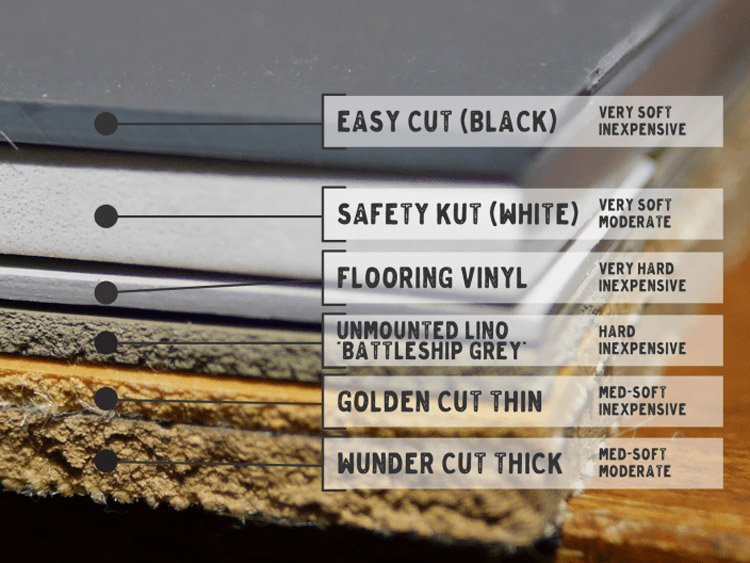
Types of Lino for Printing by warpedvisions.org
Transferring your design is a crucial step in lino printing. To follow the next stages and refine your technique, learn more about the lino printing process in our complete guide.
Featured Linocut Guides
Check Out Our In Depth Lino Printing Guides

