🇺🇦 Ukraine Red Cross Fund Raiser 🇺🇦
Support Ukrainian refugees by donating to the Red Cross campaign to help buy vital supplies for people fleeing from the recent invasion.
The screen printing process is a versatile printmaking technique that allows you to quickly stencil the same design on multiple items such as clothing e.g. DIY T-shirt printing at home or screen printing a poster.
Ink is transferred using a synthetic mesh stretched across a frame and a stencil is created by blocking off a negative image of the desired design (ink goes where the open spaces are). This screen printing process guide will walk you through how to screen print at home, even if you are a complete beginner.
You can checkout the Reddit Printmaking Forum for more ideas and information. Feel free to contact me through the contact form to contribute & improve this guide. You can also check the comments at the bottom of the guide.
Affiliate Disclosure: I only recommend products I would use myself and all opinions expressed here are our own. This post may contain affiliate links that at no additional cost to you, I may earn a small commission when you purchase. These commissions help with the running costs of this website, if you do purchase via one of the product links many thanks it is greatly appreciated!
You can find links for the required tools and materials in the table below! You will need the following items before you start screen printing at home – check out Cat Spit Productions for an idea of different setups.
Equipment | Suppliers |
Screens - 43T for Textiles / 90T+ for Paper | Wood Screen Printing Frame - A3 43T Mesh | Wood Screen Printing Frame - A3 90T Mesh |
Scoop/Trough (for coating screen with emulsion) | Photo Emulsion Coating Trough - 330mm Wide |
Screen Print Desk Clamps | Screen Printing Hinges Registration Clamps |
Sheet of Glass (same size as screen frame size) | Find Local Glass Manufacturer |
Exposure Unit/1000w Light Rig (I made one at home to start with) | Ebay | |
Pressure Washer/High Powered Hose | Garden Hose Pipe & Jet Nozzle | Black & Decker Pressure Washer |
Hair Dryer / Iron (for textile printing) | Hair Dryer | Clothes Iron |
Squeegees | Various Screen Printing Squeegees | Quality Aluminium Squeegees |
Equipment | Suppliers |
T-Shirts | Fruit Of The Loom Shirts |
Waterbased Inks | Daler Rowney System 3 Inks |
Scrubby Pads/Cloths | J Cloths - 50 x Blue Cloth |
Pregasol F - Screen Decoater | Kiwo Pregasol K-FL - 1 Litre Pot |
Azocol Z1 - Screen Print Emulsion | Kiwo Azocol Z 135 Violet - 1 Pot 1KG |
Pregan NT9 - Screen Printing Degreaser | Kiwo Pregan NT9 - 1 Pot 5 Litre |
Spray Bottles | Spray Bottles - 1 x 750ml Bottle |
Paper Towel/Brillo Pads/Blue Roll | Sirius Blue Roll - 6 x Rolls |
Spatula (For Mixing Ink) | Icing Spatula - 3 x Spatula Sizes |
Brown Tape | Brown Packing Tape - 1 Roll 48mm x 66m |
Printing Medium - Textiles/Paper Medium Different | System 3 Printing Medium - 1 x 250ml Pot (Designed for paper & textile) |
Acetate Sheet/Tracing Paper | FEVERWORK 20Pcs A4 Inkjet Film |
There are pros and cons for printing on paper and textiles, each of them have their own uses which are case dependent on what you want to create/produce. For the purpose of this guide, we will be covering textile printing on t-shirts, however, this process can also easily be used for paper printing. Throughout the screen printing guide I’ll recommend alternative materials where there are any changes in the technique for paper/textiles.
Paper screen printing can be used to create posters and large format artworks. It enables you to produce multiple copies of the same artwork, with the potential to make each with their own character so no print is the same! This can be achieved by trying different coloured inks or papers.
Screen printing on paper is often used to create: fine artworks, business stationery, packaging and a variety of marketing materials. You’ll be surprised to know that a lot of products and things around you are in fact screenprinted!
Textile screenprint is great for creating t-shirts which this guide covers, but you can also screenprint other materials and garments such as bed sheets, tea towels, tote bags, and socks to give your least favorite family member at Christmas.
Dependent on what you want your finish to be you can use a variety of inks and methods to create your final garment which will be worn by millions of people around the world MIC DROP.
When you screen print on paper/textiles you have to use a different mesh to restrict the amount of ink that is pushed through the mesh/screen onto the substrate. With textiles printing you need to allow more ink to come through the mesh, as the garment has to absorb the ink.
Whereas on paper you don’t need as much ink to absorb into the substrate, so you use a tighter mesh. Mesh counts can be found on the table below and go up in units of “T” which stands for “threads per inch”.
If you’re screen printing on textiles you will probably be printing t-shirts. So ask yourself, will you wear this t-shirt? Or is it just for fun? Because if it’s just for fun, leave, leave now … this isn’t for you.
When screen printing on textiles you need to use a lower mesh count, as this is to allow more ink to print onto the garment. I would advise using a 43T mesh if you are screen printing on T-shirts, this mesh count is a standard with most T-shirt screen printers.
You may also find that you need a higher or lower mesh count dependent on the material that your printing onto or the inks you print with. For this guide, we don’t have to worry, be happy, we’re a little bit more chilled-out around here and WE will be using 43T mesh.
On the other hand, when screen printing on paper you’ll have to use a higher mesh count. A safe bet is to use a minimum of 90T screen but I would advise a 120T mesh from personal experience, as it allows you to get higher detailed artwork or image.
Please refer to the table below for an idea of what materials are best suited for the screens, paper and card.
The information in the table below was taken from Wicked Printing Stuff Mesh Guides, this has been a great guide for me over the years.
Mesh Count | Material/Ink |
21T 24T | Beach Towels, Pennant Inks, Glitter Inks, Thicker Inks |
34T 43T | Textile Inks, Opaque Inks Textile, T-shirts |
49T 55T | Textile Inks, Finer Textile Design, Water Based Inks |
62T 68T | Enamel Inks, Very Fine Textile In Or Coarse Plastisol Ink Printing |
Mesh Count | Material/Ink |
77T | Paper & Board Inks, & Textile |
90T 100T | Vinyl Inks, Plastic Inks, Plastisol Inks, Solvent Based, Paper & Board |
110T 120T 130T 140T | Halftone Printing, Paper & Board Vinyl Plastic, Plastisol Etc |
150T 165T 185T | U.V Printing, Or Very Fine Halftone Work, Solvent Inks |
You can use a variety of screen printing inks. The main two you’ll come across are water-based and plastisol inks. This guide will cover the use of water-based inks. However, with some more research, you can use this guide with plastisol inks as the process is the same.
Water based screen printing ink is more environmentally friendly and is advised for beginners and home use. It is available to purchase from your local Hobby Craft. I’d advise using system 3 screen printing inks to start with. You’ll find that with most water-based screen printing inks you’ll have to mix them with printing medium and some water. This is to stop the inks drying in the screen mesh and also control how dense the ink is.
With some water-based inks you will find they are pre-mixed, this is case dependent on who you purchase from. With water-based inks, they can be air-dried on the garment and on paper. You may need to heat the ink on the textile/garment with an iron or heat gun to help cure the ink and seal it into the garment, making it machine-washable.
This is a very important step or you’ll have a lot of angry customers with a one-coloured wardrobe. Water-based inks can be washed away with water and a cloth, with no chemicals needed.
Water-based inks are also thinner than plastisol inks, it may be required to print an underbase of white on dark garments. On light garments printing should be fine.
Pros of Water Based Inks | Cons of Water Based Inks |
---|---|
Cleaned easily with water | Dry in screen quickly unless using retarder |
Can use hairdryer to seal inks | Hard to match pantone colour after ink has dried |
Can be used on paper | Ink can look washed out on darker textile/material |
Eco friendly to some extent | |
Easy to use for beginners |
Mix Waterbased Inks 50/50 with Textile Medium
Mixed pots of screen printing ink
Plastisol inks on the other hand require a lot more work because they have to be cured under a heat lamp/flash dryer to cure the inks otherwise the ink does not dry. They also require solvents to clean up the inks after printing, which are not environmentally friendly. The inks contain plastic particles which is the reason they have to be heated up and melted with a flash dryer to cure them.
However, some key benefits are having longer-lasting inks and inks that are a lot more vibrant and colourful on all garments, regardless of the colour. It is advised to only use plastisol on textiles and garments.
Pros of Plastisol Based Inks | Cons of Plastisol Based Inks |
---|---|
Designed for textile printing | Cant be cured on paper |
Colour consistency | Have to be cured using flash dryer |
Colour density | Not Eco friendly (Contain plastic) |
Can easily be matched to Pantone Colour | Concern for health after long time using plastisol |
Inks do not dry on screen | Chemicals have to be used for cleaning |
For the purpose of this tutorial we shall be working with water based screen printing inks as they are more accessible for beginners to use.
There are a variety of squeegee blades that you can use for screen printing, some are demonstrated in the image above or below (I haven’t decided yet). This guide covers 90 degree squared blade, which is best for both textile and paper printing. You can check out this squeegee blade guide from Anatol for further information.
Types of Squeegee blades by beta-chemical.com
Watch the video below for information on what materials/types of squeegee blades that are available for screen printing and how they can affect the quality of your print. You can check out Floodway Print Co on youtube for some great explainer videos on screen printing.
Exposure lights are one of the key tools for screen printing, without them you cannot expose your screens and all your efforts would be in vein. However, with the right lights, you can expose your screens, as an alternative you can expose your screens under natural sunlight.
You can either purchase a UV exposure kit/unit which can be quite expensive or you can buy a cheap 1000wat halogen light on eBay and build your own which I have pictures of below. You must be very careful with self-built exposure lights as there is always a fire risk when using these, please don’t leave them unattended.
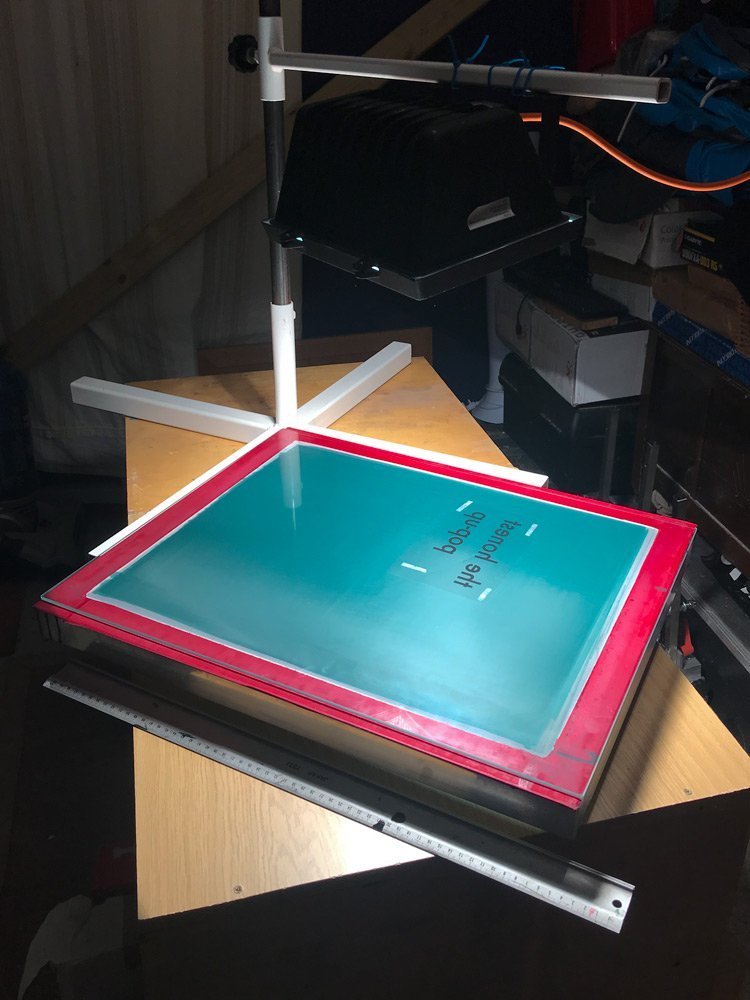
The units I have built with 1000wat halogen flood lights have been made with the light at about 15 inches away from the screen. A safe bet for exposure time of your screens is around about 4 minutes, this can vary dependent on your setup so you will need to experiment. Please refer to the table below which has a rough idea of different heights and lights.
Two other key points when exposing your screens before printing:
An example of this is a sheet of wood with black foam stuck to it, bare in mind the heat produced from the light may warp the foam. This is to make sure the artwork does not move when you expose your screen, otherwise, this may cause ghosting. This will be covered in more detail in the steps below.
Current 1000w Screen Printing Exposure Light
A1 Size homemade 1000w screen print exposure unit turned on
A1 Size homemade 1000w screen print exposure unit
A1 Size homemade 1000w screen print exposure unit being built
1st homemade 1000w screen print exposure unit
There are multiple ways you can create your positive for you screen printing which basically allows the design to be exposed on the screen. When setting up your artwork any lines of blocks of colour will make up the film positives.
You can print these onto transparency paper, however, when printing onto transparencies you need to make sure the ink/toner of the positive is very dense so no light can get through. It’s advisable to use a toner printer to achieve this or seek out a printing firm who may be able to advise you on this.
Remember to align your film positives before printing if using multiple colours and ensure that the black/key layer overlaps all other colour layers with a slight bleed. Also, remember to mirror or reverse the film positive when laying it onto the screen. Use registration marks in the corners as well to align when printing. The following article on Preparing Artwork for Screen Printing in Adobe Illustrator by Smashing Magazine.
Checking density of screen printing film positives
Dense screen printing film positives
Great video about the best way to print screen print transparencies for screen printing from NateScreenPrints.
There are a number of options depending on your budget and requirements. You can either buy your own screen printing carousel for t-shirt printing or buy a vacuum bed for paper printing, however, these can cost a lot of money unless you find a good deal online.
Alternatively, you could build your own screen printing bench or carousel or buy speedball screen printing clamps. Check out the plans on building a 4 colour screen printing press.
Personally I have tried both, building my own setup from self-sourced materials and later purchasing equipment. When starting out I would advise building a simple setup to see if you enjoy it as much as I do! Then later down the line, if you decide you do want to explore screen printing and want to commit to preparing a more permanent advanced setup on a regular-use basis you can purchase a setup online, or potentially find a good deal on eBay, as I did.
As an example, I spent £500 on a second-hand Wicked Printing Stuff 8-colour screen printing carousel. Then I spent £100 on the therapy for spending that much. Then another £100 on a 10 foot by 8-foot screen printing vacuum bed.
Basic T-Shirt printing setup with clamps
Poster screen printing setup with clamps
Basic T-Shirt printing setup with cheap 4 colour carousel
You can print onto paper.
You can print a T-Shirt.
Firstly, you will need to decide whether you want to print on paper or textiles, as this will determine the type of screen you use (more details below):
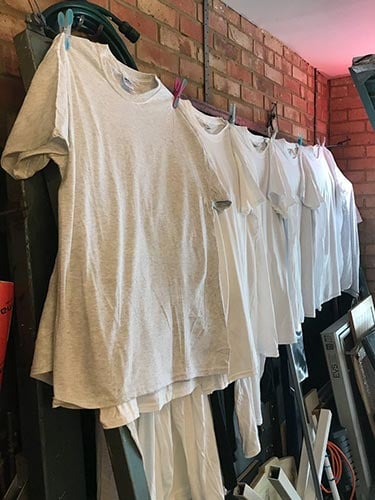
T Shirts for screen printing
Paper for screen printing
Your screen frame with mesh fitted.
Degreaser to remove grease from mesh.
Water and sponge to clean screens after degreasing.
Make sure to wear gloves!
Make sure to wear goggles!
De-grease your screen to make sure the emulsion stays on the mesh, using pregan NT9 degreasing agent.
Degrease screens before coating with emulsion
Screen printing emulsion to coat screens.
Screen printing trough to spread emulsion.
The next part of the screen print at home process needs to happen in a dark/dim-lit room (during the evening is safest!) because emulsion is sensitive to UV light.
Coat clean screen with emulsion
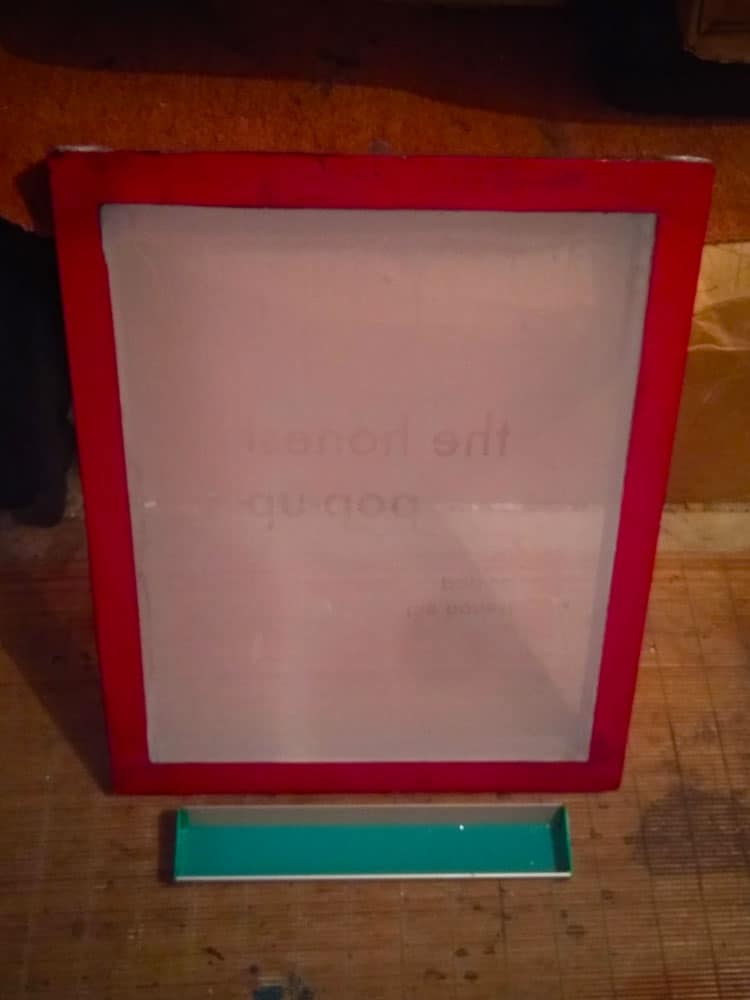
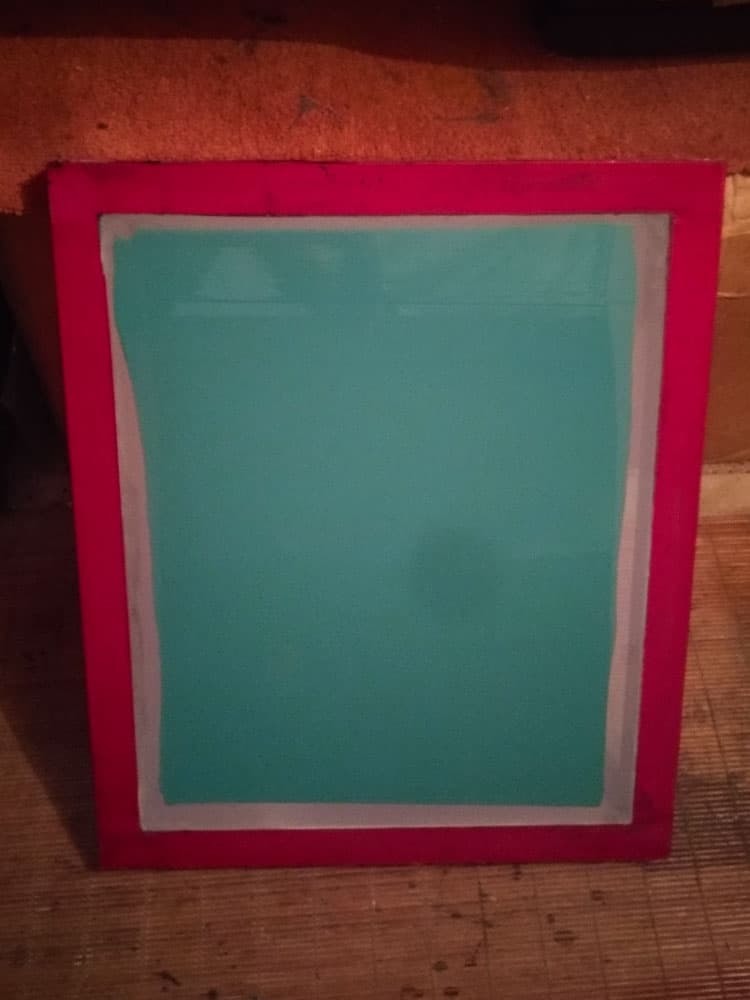
Screen coated with emulsion
Film for your positives to print with.
Computer to plan artwork on.
Pen or pencil to plan design with.
Printer to print design onto acetate.
Now for the creative part of the screen printing process. You can create your screen print design by hand, but it’s much easier to use your PC (e.g. Photoshop). Check out this preparing artwork for screen printing in Adobe Illustrator guide.
All designs should be printed onto transparency paper/acetate and be opaque, use a toner printer for this or contact a professional printer.
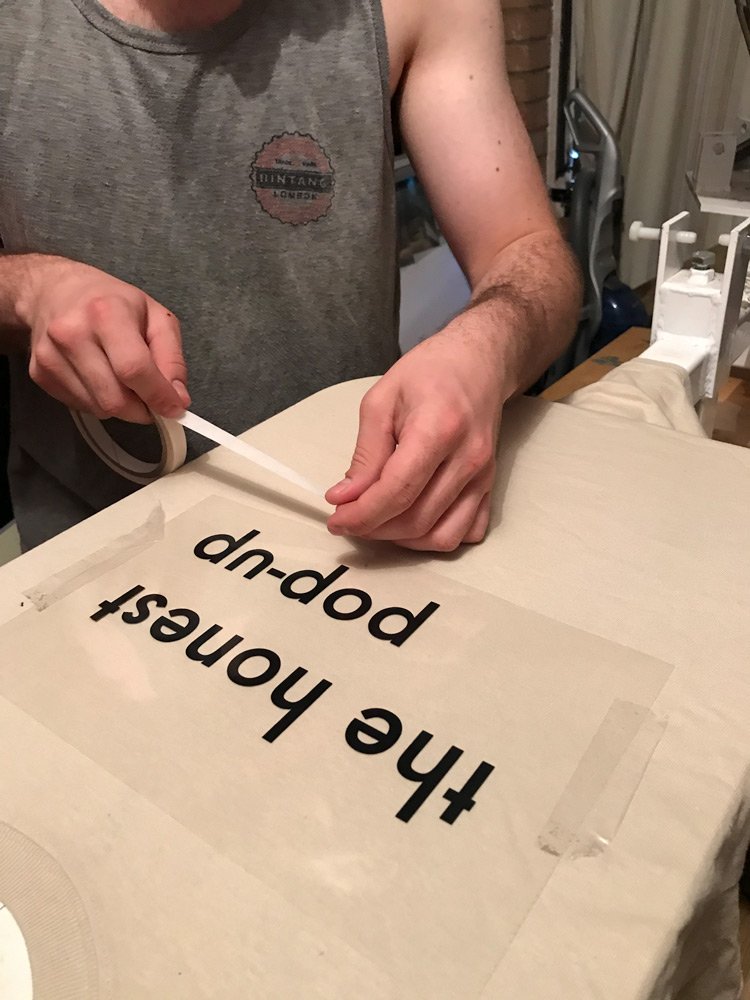
Put double-sided tape on film to keep design aligned
Setting film out on T Shirt for planned screen print
Flim stuck to screen to help keep it in place when exposing
Printed design on acetate.
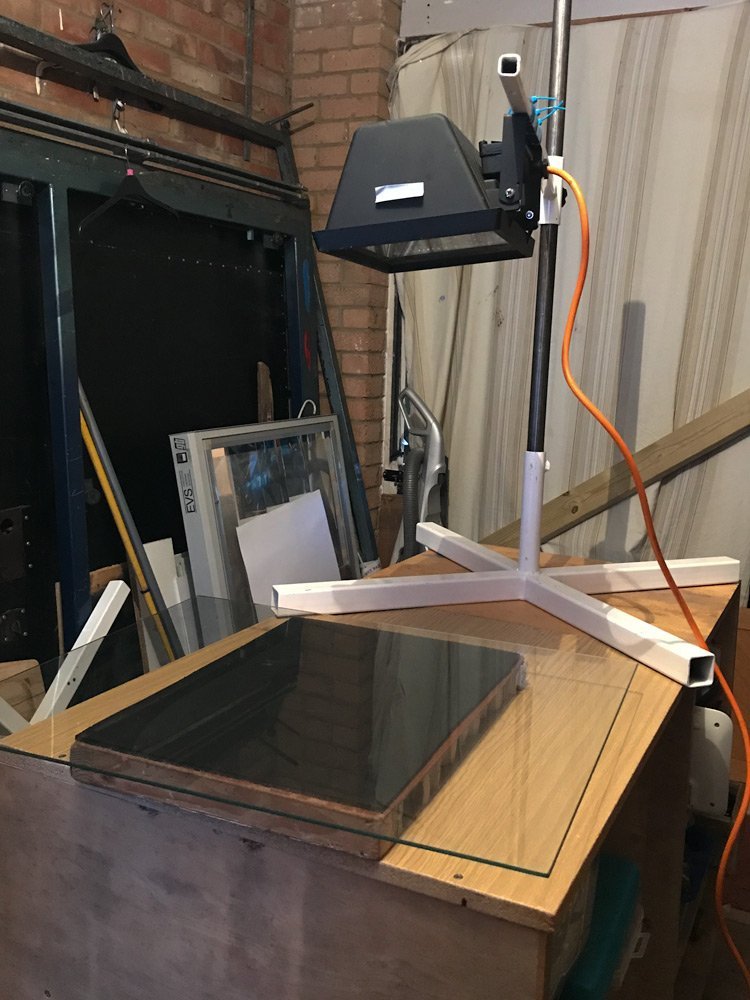
1000 watt light for exposing screens.
The glass used for exposing screens.
Screen coated with light-sensitive emulsion.
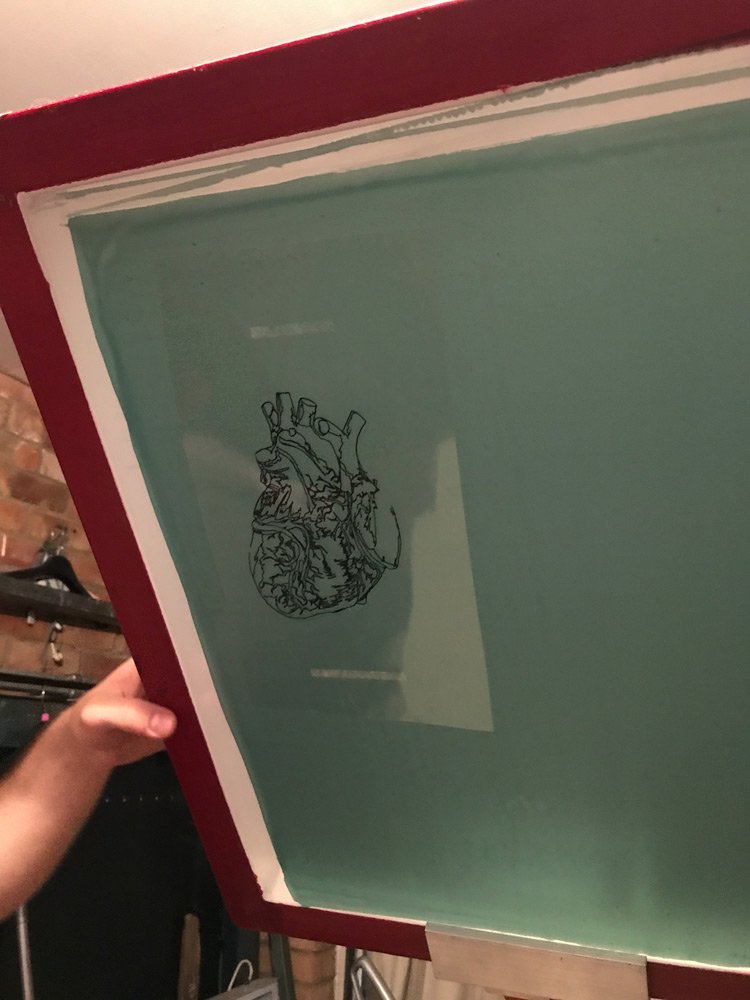
Now your design is ready for exposure onto the emulsion so it’s back to your dimly-lit room and your screen coated with now-dried emulsion. You need to lay your design which is printed on film/transparency paper on top of the screen & then expose to light. My setup with a 1000w light takes about 4 minutes of exposure. Once exposed you have to use a jet wash and clean out the emulsion that has not been exposed.
Information for the 2 charts taken from:Wikibooks Screen Printing
Screen Size | Bulb Height | Exposure Time |
8"x10" | 12 Inches | 45 Minutes |
10"x14" | 12 Inches | 45 Minutes |
12"x18" | 15 Inches | 1 hr. 14 Minutes |
16"x20" | 17 Inches | 1 hr. 32 Minutes |
18"x20" | 17 Inches | 1 hr. 32 Minutes |
Screen Size | Bulb Height | Exposure Time |
8"x10" | 12 Inches | 10 Minutes |
10"x14" | 12 Inches | 10 Minutes |
12"x18" | 15 Inches | 16 Minutes |
16"x20" | 17 Inches | 20 Minutes |
18"x20" | 17 Inches | 20 Minutes |
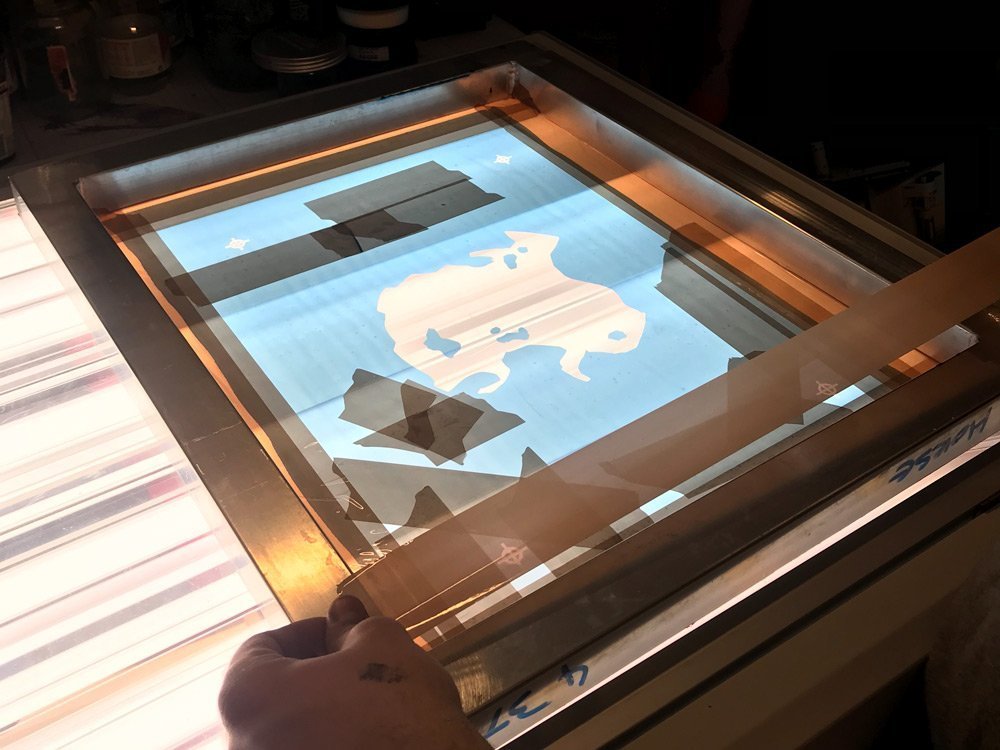
Use block of blacked out wood under the screen to push against the mesh and keep airtight againt glass
1000w light at 15 inches exposing for 4 minutes
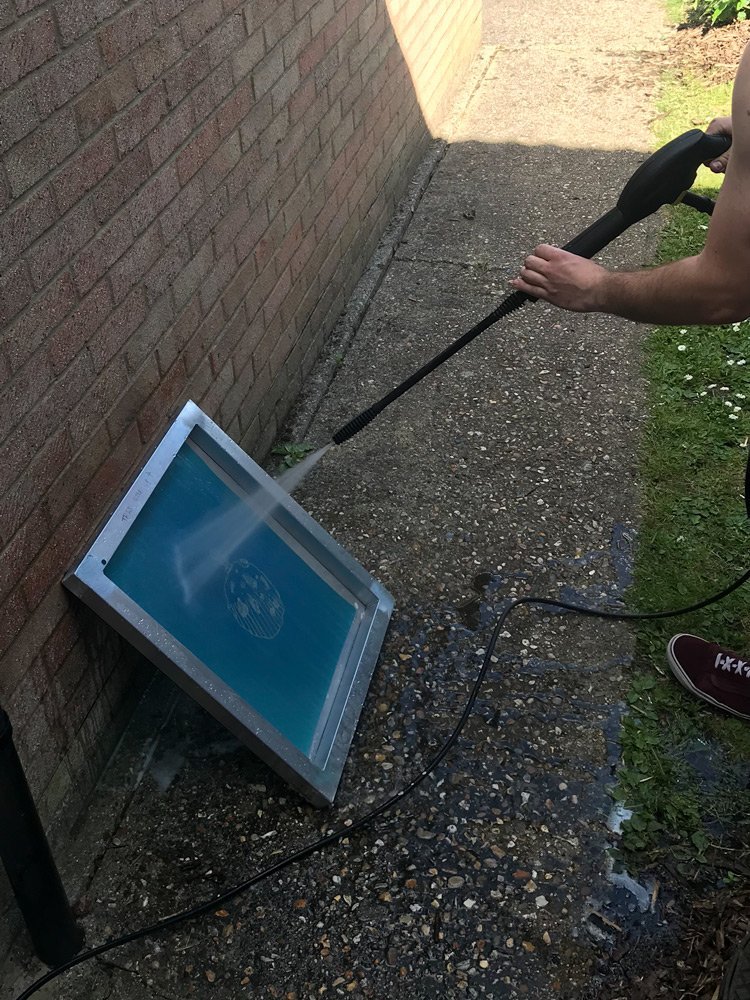
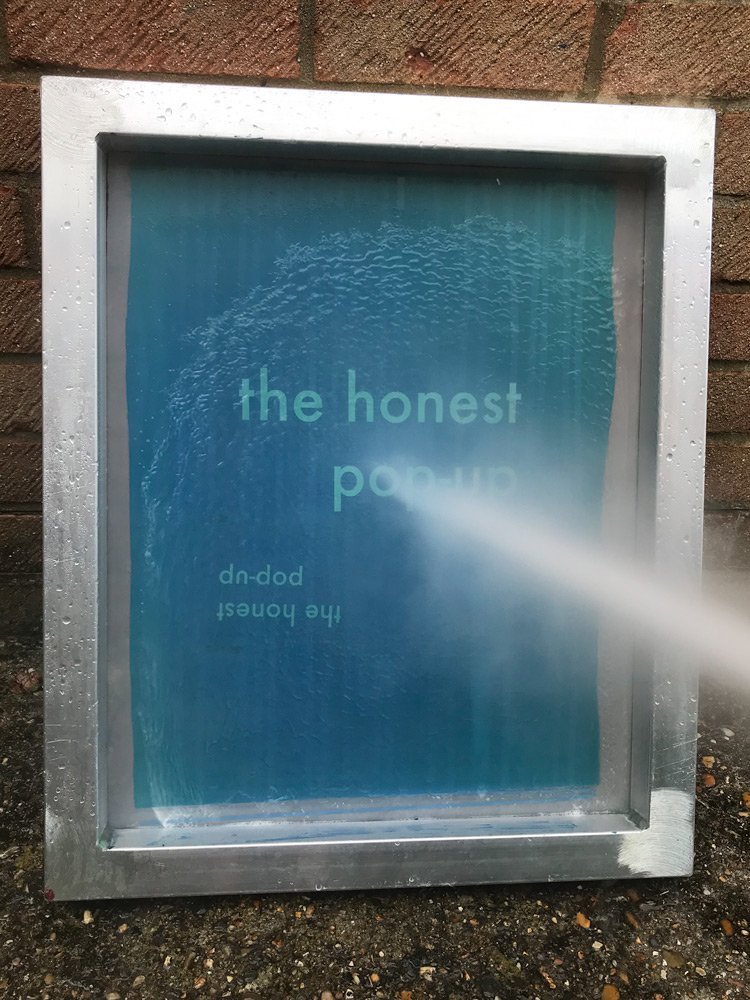
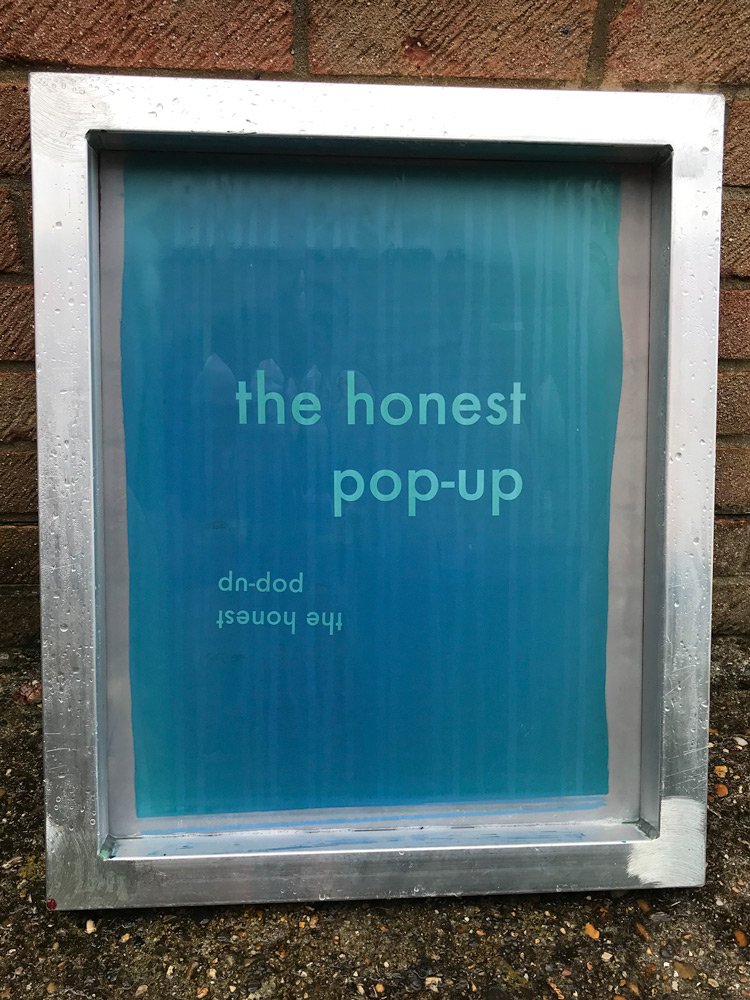
Washing out screen after exposure
Washing screen with jet washer
Washing screen with jet washer, make sure to clear out all emulsion where your design is exposed!
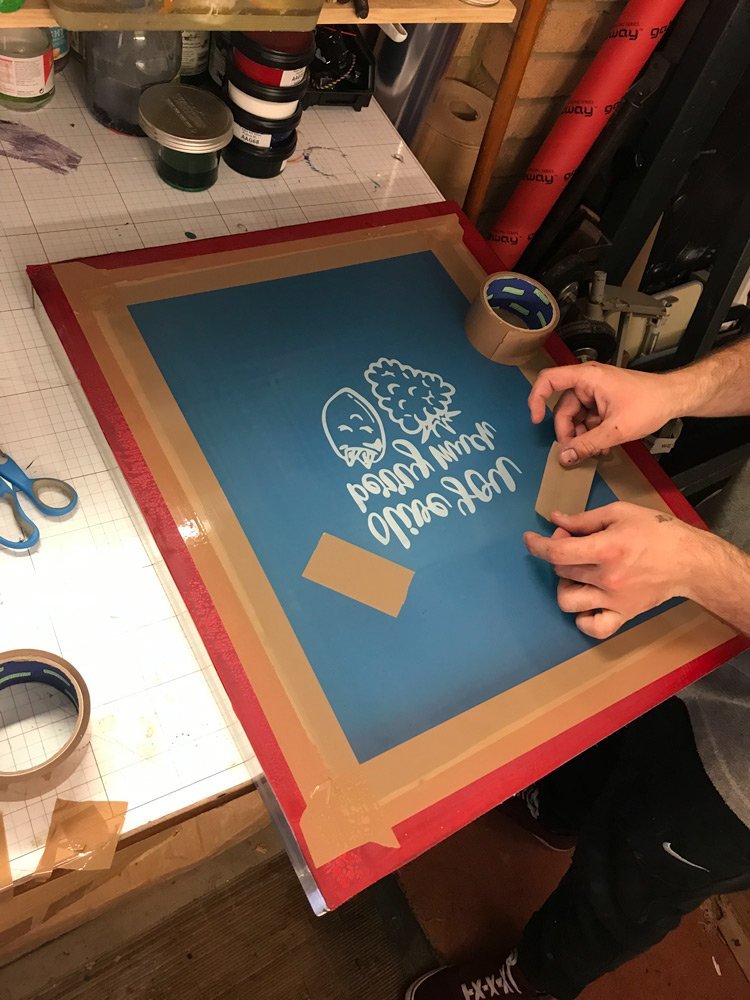
Once the emulsion is cleared start blocking out pinholes on the screen with tape
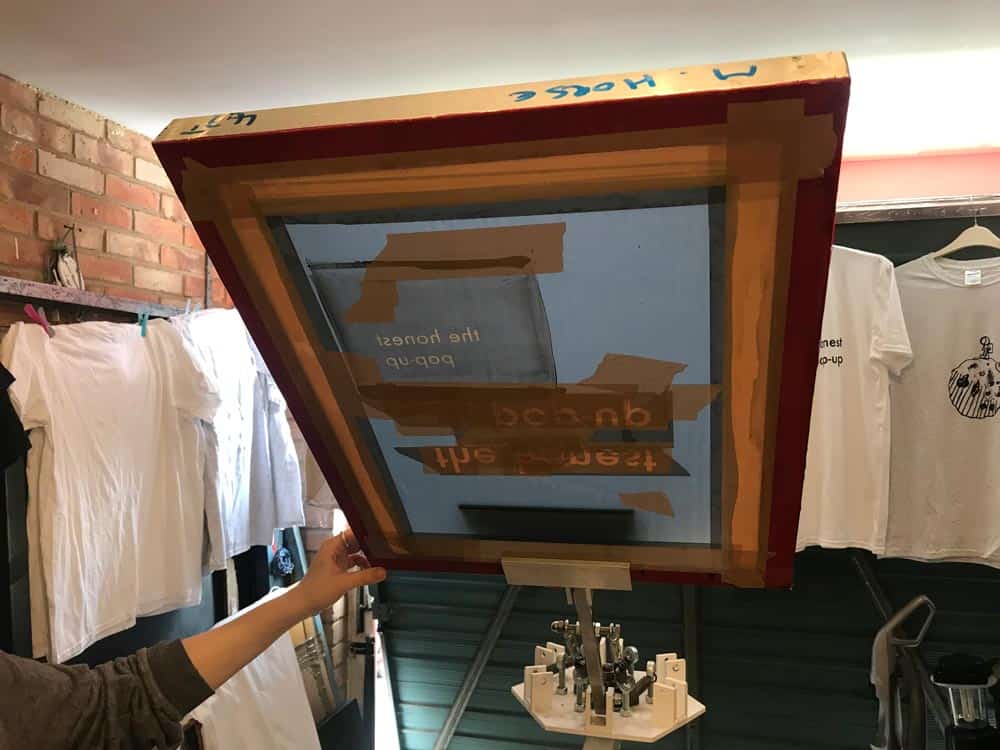
Blocking out pinholes on screen with tape
Block out unused areas of your screens
Paper to print onto.
Shirt to print the design onto.
Desired colour of water-based ink.
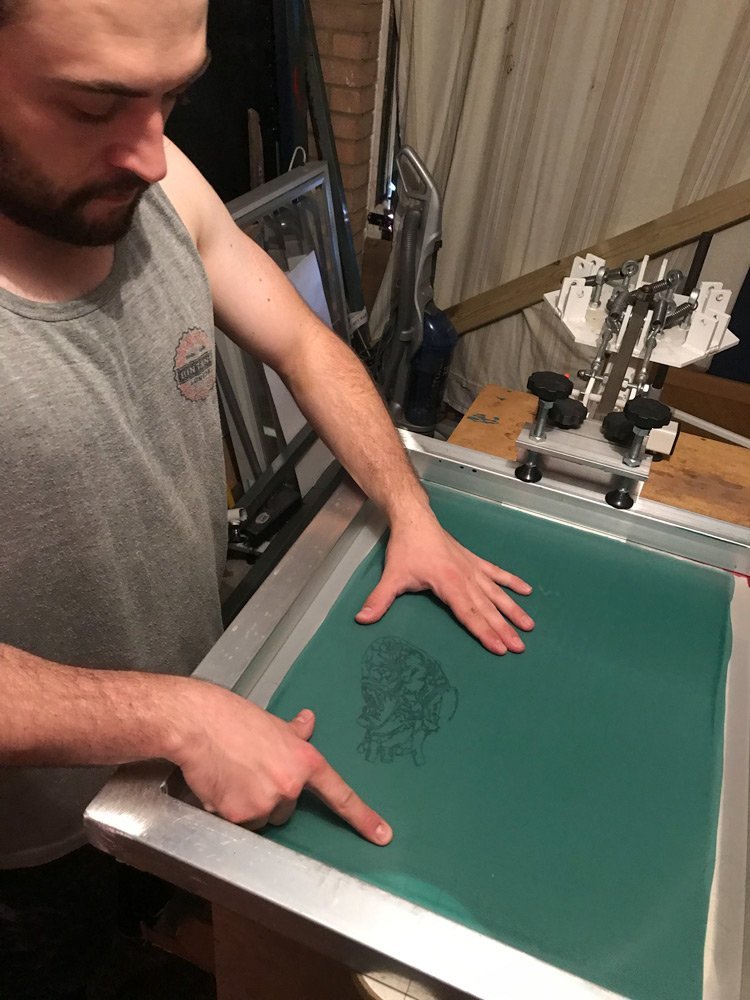
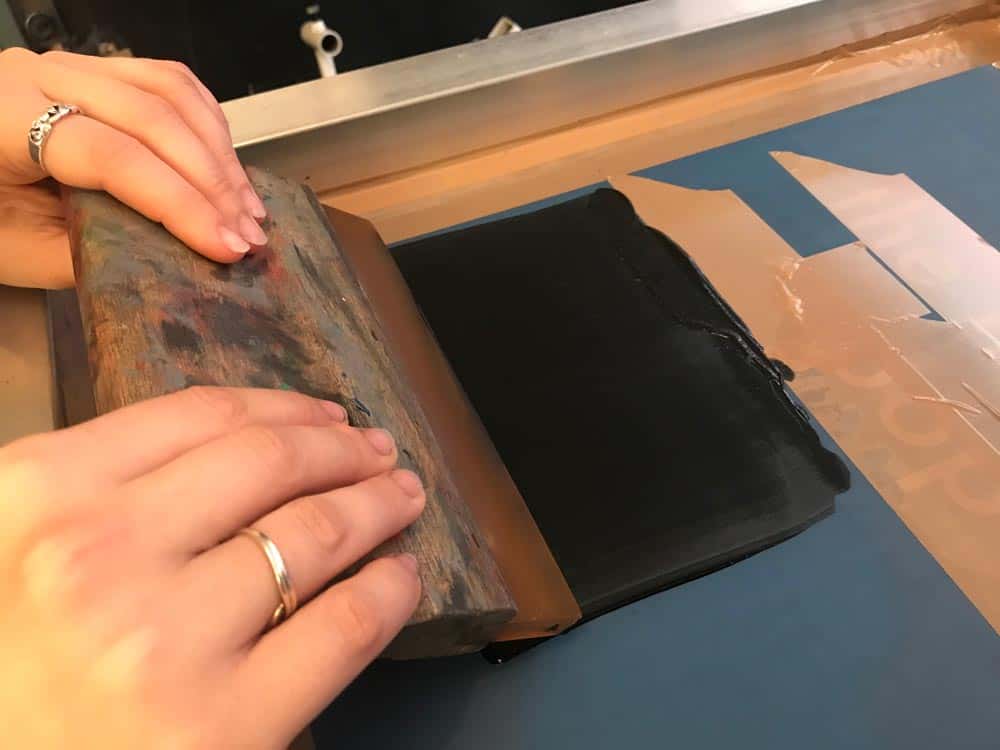
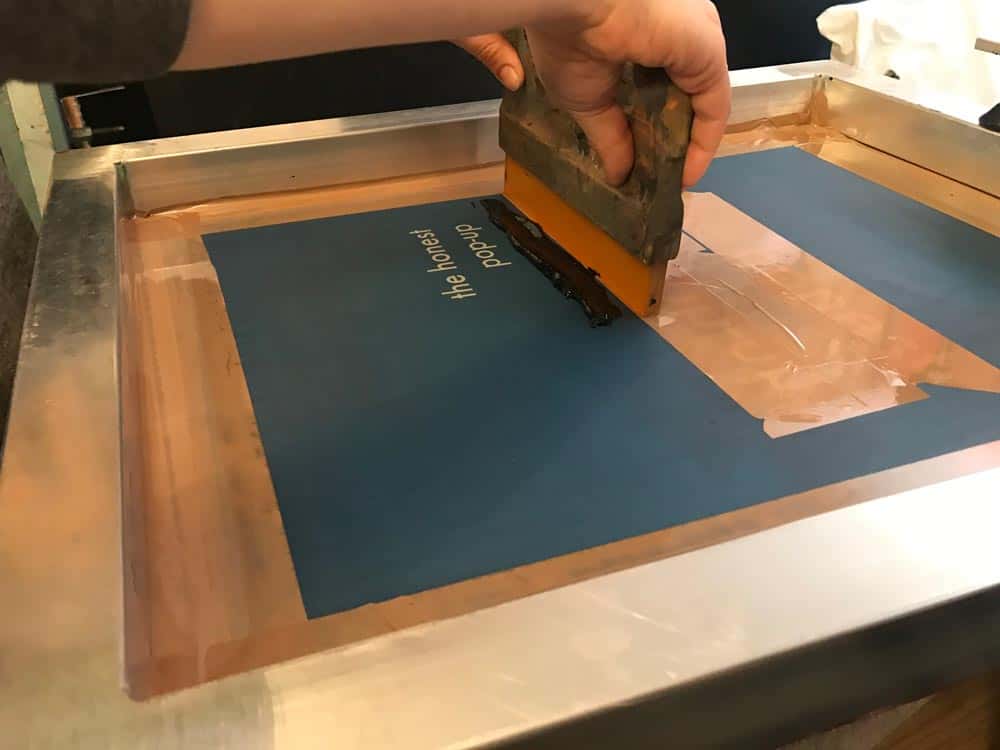
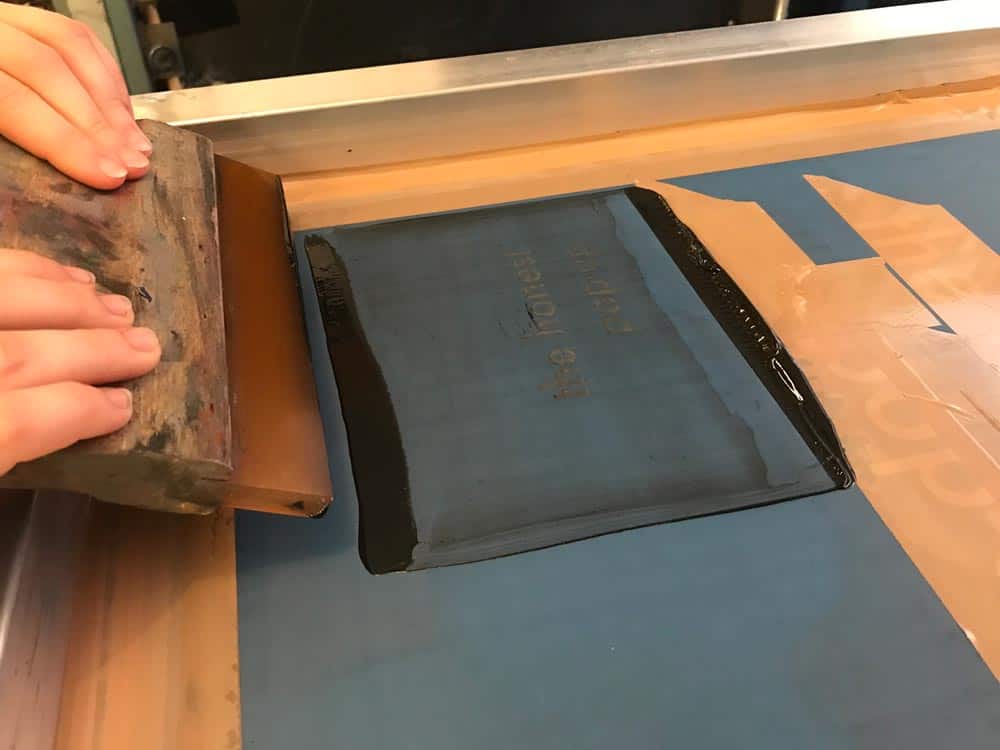
Now you are ready to print! Lay the screen on your t shirt/other fabric/paper/screen print poster, spread ink on the inside of the screen, and press the ink through the screen. You can use a spray bottle filled with water to help prevent your ink from drying up. Now let your design dry – you can speed up the process with a hairdryer or iron on textiles. You need to make sure to seal the ink with heat by ironing the shirt for a few minutes, put paper either side to help.
Place ink about the width of the design
Charge the screen with ink – Pull ink over design with no pressure applied
Push squeegee at 45 degree angle with pressure to push ink onto your garment
Use a jet wash to clean screens.
Pregasol F to decoat screens.
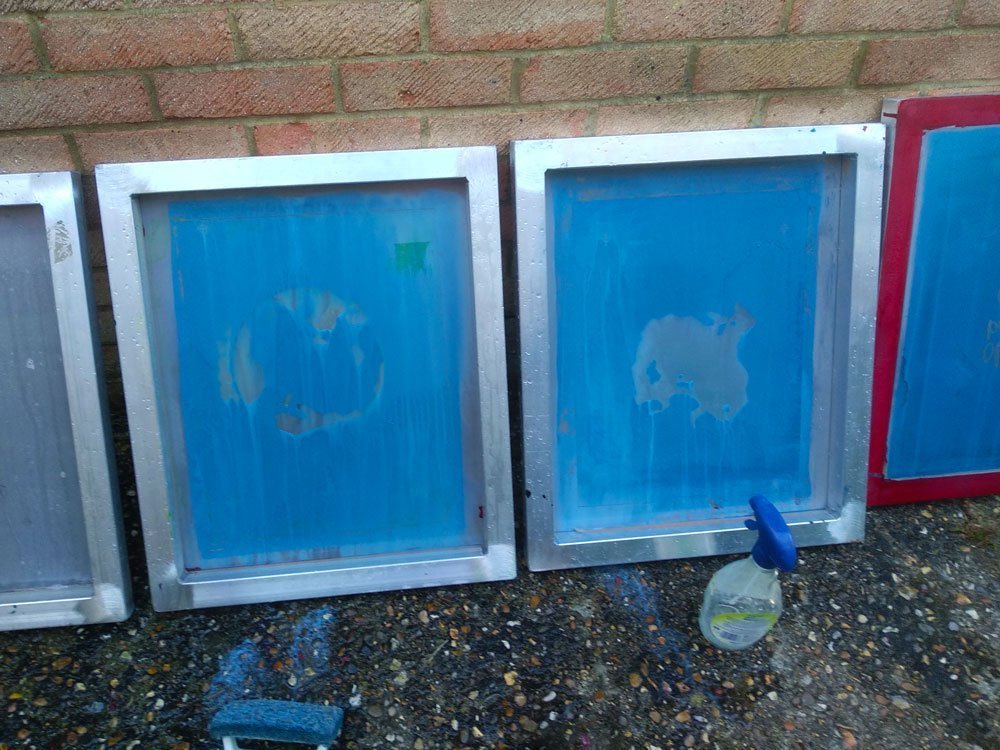
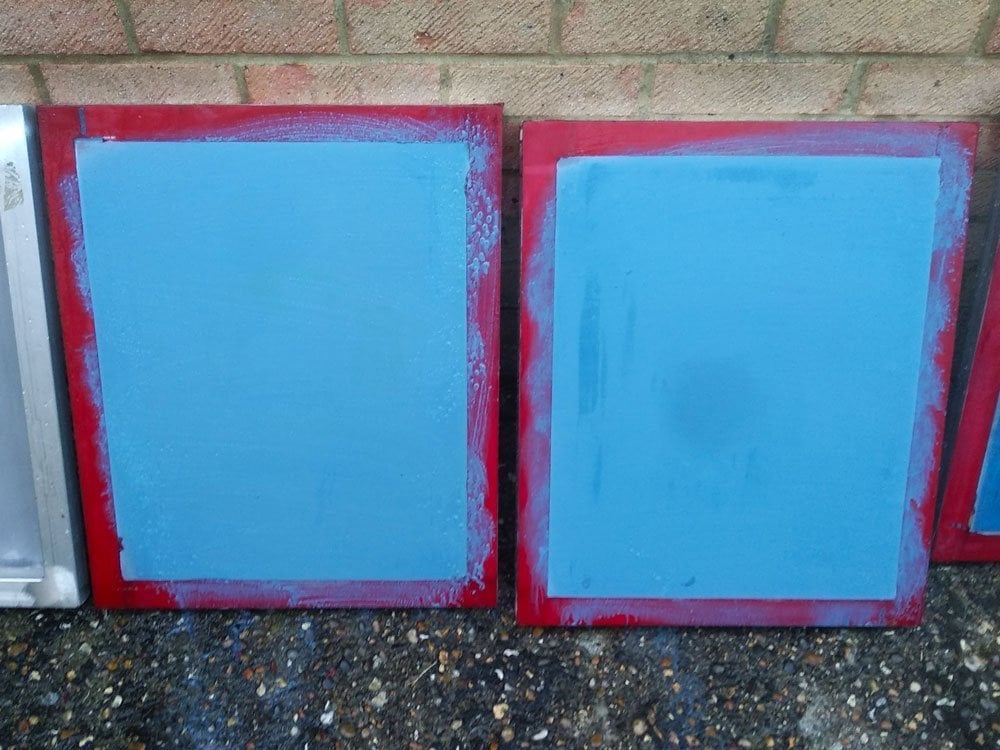
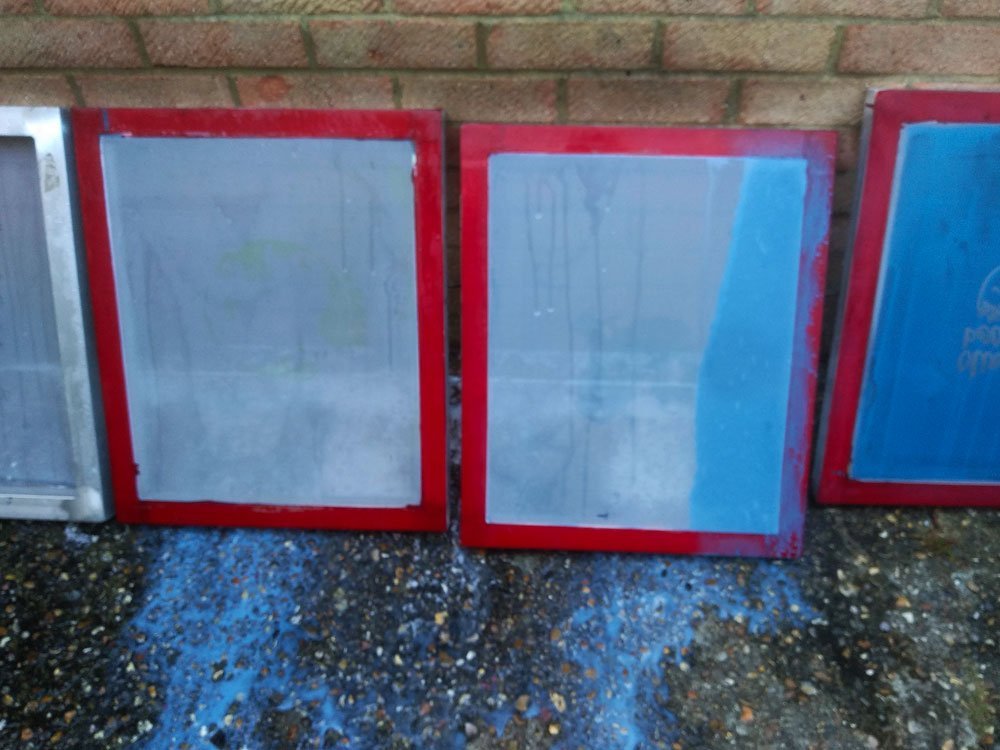
If you want to re-use your design, you can clean your screen by washing away the ink with water and a scrubby pad. If you want to remove your design completely you can soak your screen for a couple of minutes in emulsion remover Pregasol F, then use a scrubby pad to remove the design. I hope you enjoyed screen printing at home; the screen printing process is now complete!
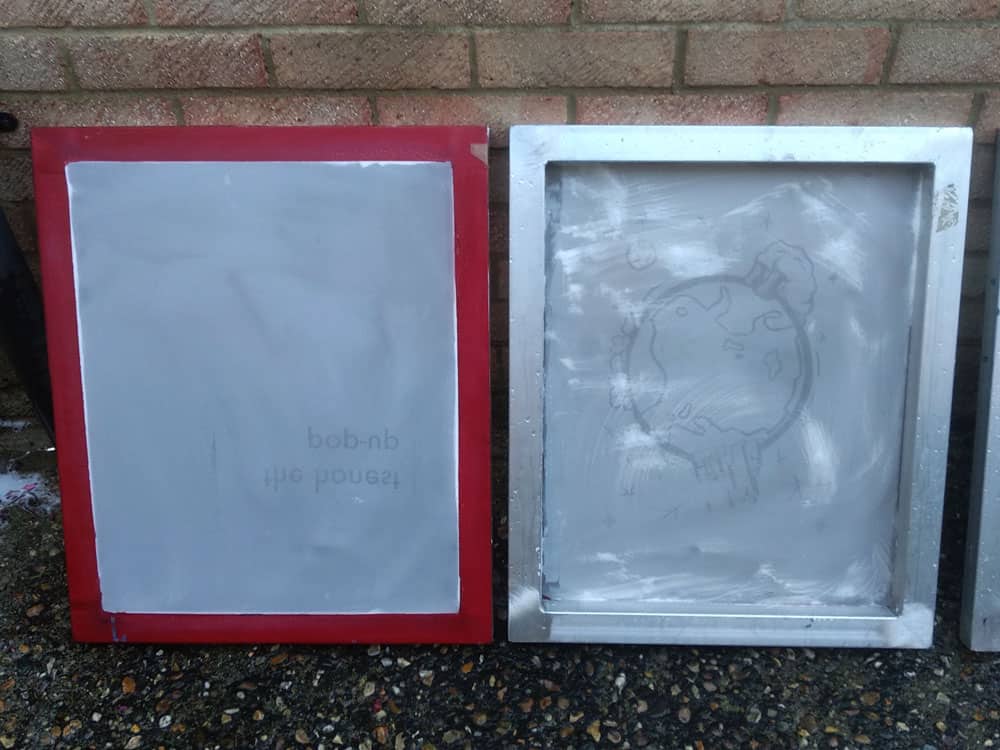
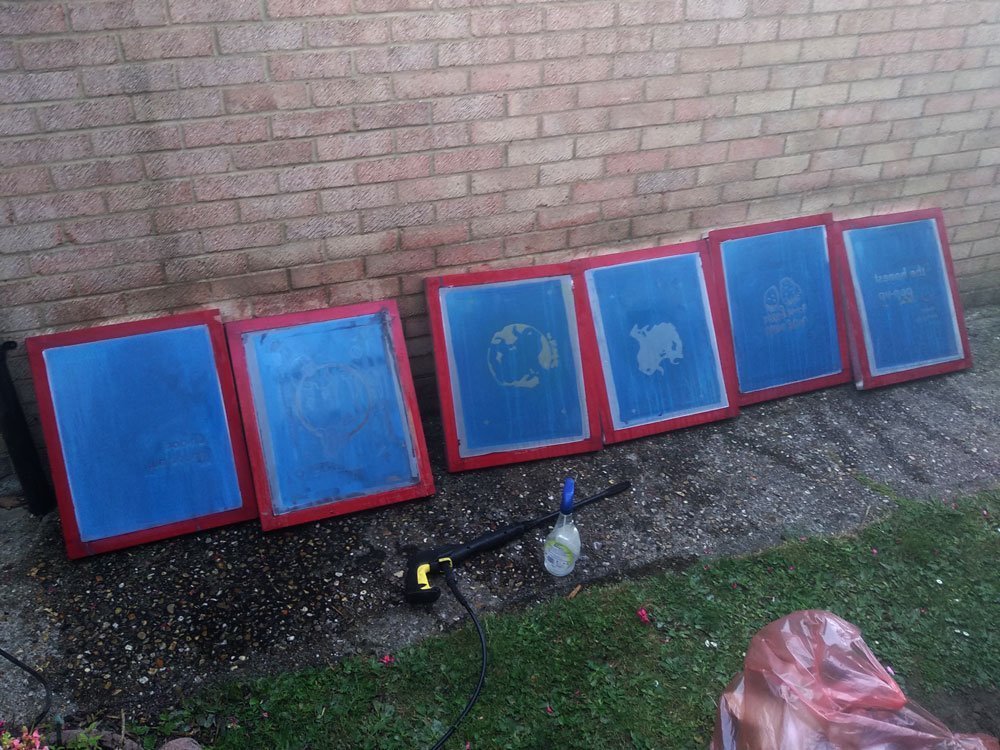
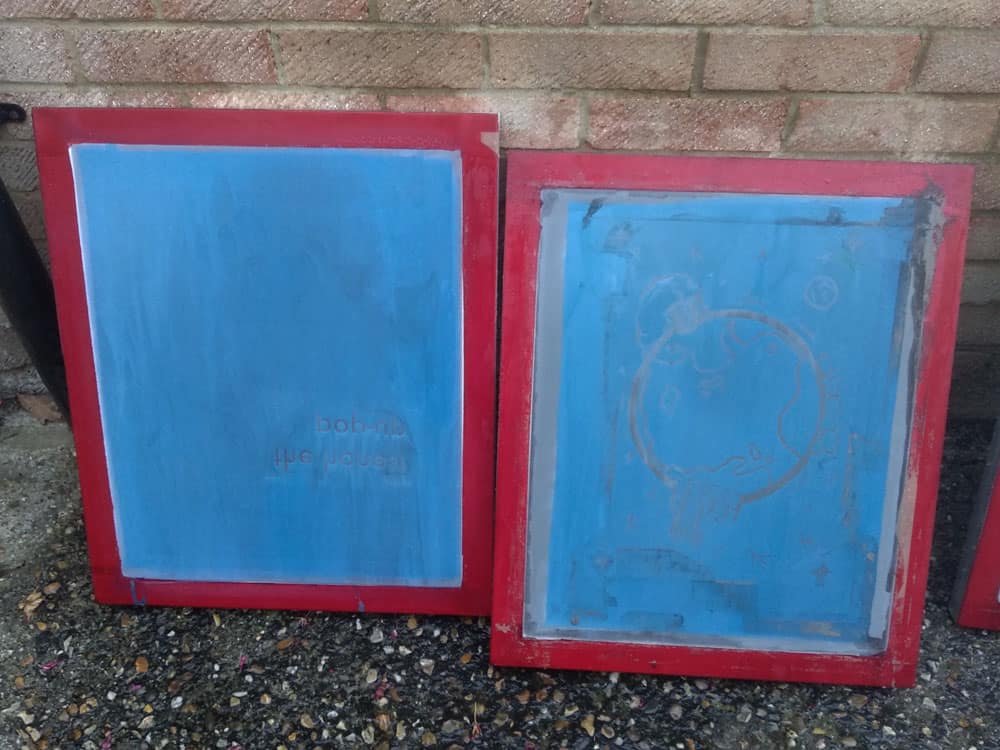
Screens ready to be decoated
Screen sprayed decoater Pregasol F
Screen being scrubbed with Pregasol F
Screen being jet washed after Pregasol F has degraded old emulsion
Degrease screens before coating with emulsion
Screen Printing is such a wonderful thing. Now you know the basics for screen printing make sure you use your skills wisely, as with great skills, comes great responsibility.
Thank you so much for all this wonderful and helpful tips and knowledge, I really appreciate it! Thank you 🙂
No worries, glad that the guide has been of use to you I shall be planning out some more in depth information over the coming months.
Like!! Really appreciate you sharing this blog post.Really thank you! Keep writing.
Over this article you will get to know about a screen printing process. It is just a proper critique blog on the topic.I am really happy to come across this exceptionally well written content. Thanks for sharing and look for more in future!!
Hello! I could have sworn I’ve been to this site before but after checking through some of the post I realized it’s new to me. Anyhow, I’m definitely glad I found it and I’ll be book-marking and checking back frequently!
Thanks for the feedback much appreciated!
Hello! This is perfect guide for all who decides to start screen printing at home. Thank you but I think that need more information about screen reclaiming. My screen have lines of exposure time’s test after washing under pressure with Pregasol and idk what to do with it. I think that this information will be useful.
Hello Alex, hope you are well and thanks for the feedback. I am looking at more details for the screen reclamation section currently, I would say if you are still getting old designs showing after pressure washing you may need a chemical like Pregan Paste (https://www.jacksonsart.com/kiwo-pregan-paste-1kg-screen-printing-ghost-remover) to remove the old ghost images. Be careful with this chemical and make sure to use goggles and gloves as it is quite a strong chemical.
There is evidently a whole lot to know about this. I consider you created certain good points in capabilities also.
Very good article post. Really looking forward to read more. Much obliged!.
Thanks for sharing, this is a fantastic article. Much thanks again. Awesome!.
Really enjoyed this article. Thanks Again. Keep writing.
Hey thank you so much for sharing valuable steps really appreciate it. This is so helpful for those who wants to startup at Screen Printing business.
I’ve been preparing artwork for screen printing for close to 8 years at a local shop using CorelDraw. Great post on screen printing techniques with Illustrator! You covered everything that’s necessary for spot color printing. This guide will finally help me to move on over to Illustrator. Thanks!
Thank you for sharing your info. I truly appreciate your efforts and I am waiting
for your further post thanks once again.
Hi! I just want to give you a big thumbs up for the excellent info you have right here on this post.
I am coming back to your web site for more soon.
I?m not that much of a online reader to be honest but your blogs really nice, keep it up!
I’ll go ahead and bookmark your site to come back in the future.
Cheers
Excellent writing about screen printing.
Wonderful website. Plenty of useful information here. I’m sending it to
some pals ans additionally sharing in delicious.
And of course, thanks to your effort!
This is an outstanding post that’s filled with so many useful nuggets. Thank you for being so detailed on Screen printing process.
Ive been screen printing for years on paper. Any tips on how to make sure your paper is in the same place every time for multiple prints? We call them “guides” and have used everything from a thick laminate with adhesive on the back to just marking with sharpie.
Hello thanks for your question! So I would usually align the screen and paper and then tape some card on the corner edges making a right angle in each corner, the paper should align each time.
Hey, thanks for the blog article.Really looking forward to read more.
Fat conversation
Q
Are there measurements of the amount of ink paste we need to print a specific design, meaning how many designs can we produce per liter of paste?