


Description
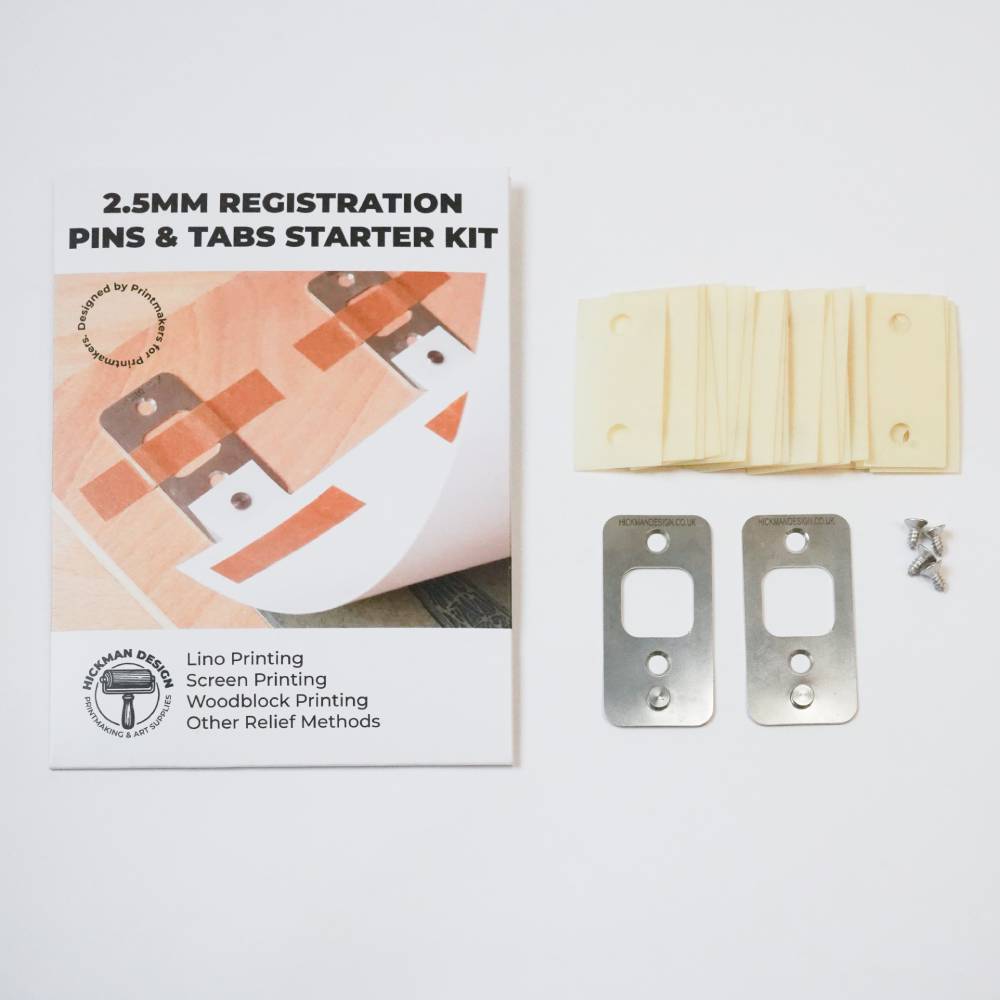
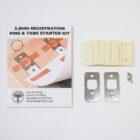
Hickman Design Steel Registration Pins for Printmaking
Enhance the precision and consistency of your prints with Hickman Design Registration Pins, designed in the UK for accurate alignment of colour layers in lino printing and screen printing. Whether you are a seasoned professional or an enthusiastic hobbyist, these versatile linocut registration pins are a reliable addition to any printmaking toolkit.
Exceptional Accuracy and Easy Alignment
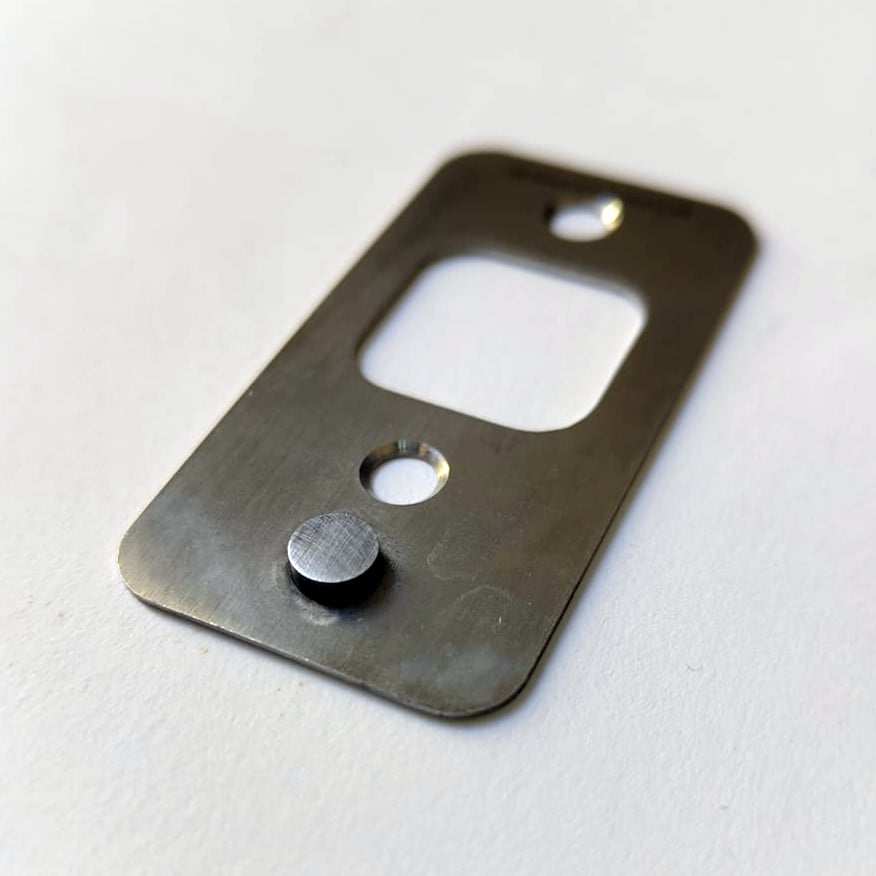
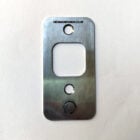
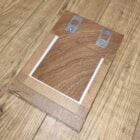
Our registration pins feature a smart rectangular shape:
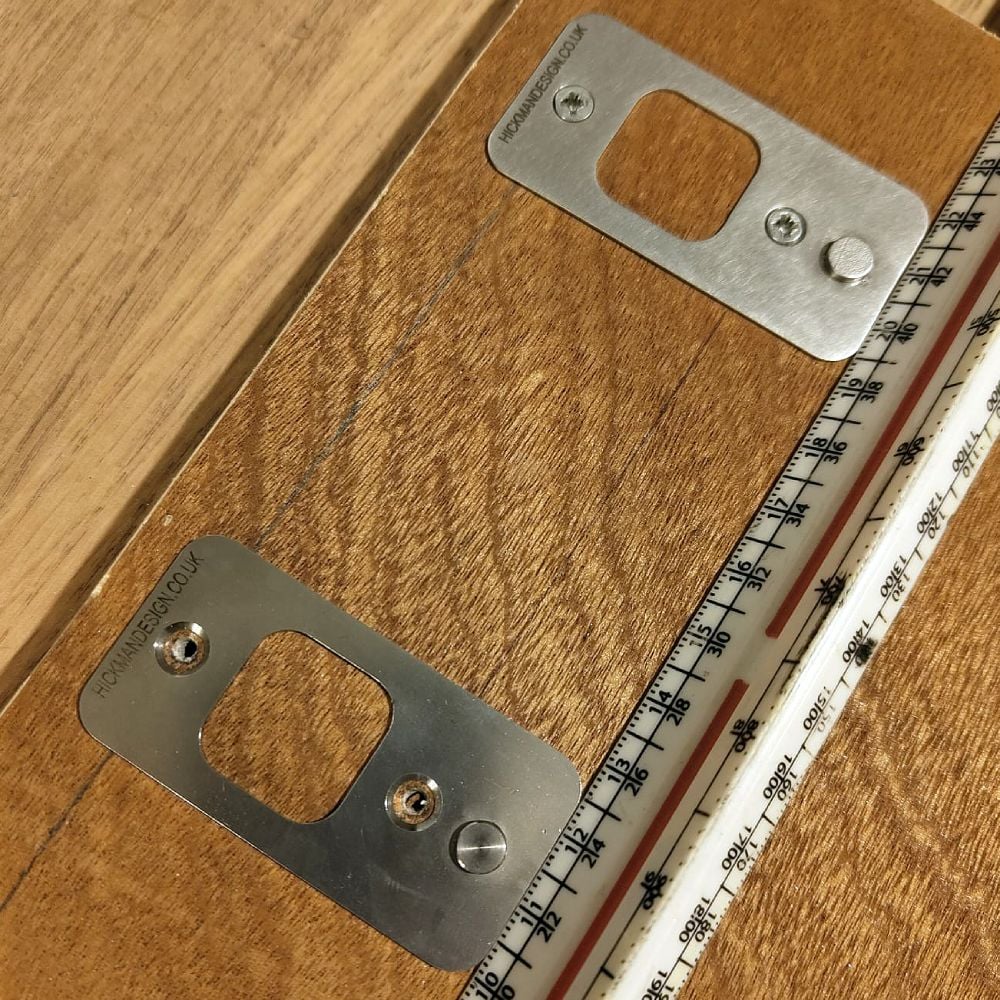
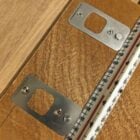
- Dimensions – 60 mm length × 30 mm width, providing ample surface area for stability.
- Easy Squaring – The rectangular form makes it simple to line up multiple pins precisely, especially for larger prints.
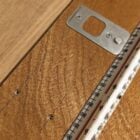
- Reliable Alignment – Butt the top edge of the pins against a long ruler or strip of wood for perfect squaring every time.
Versatile Mounting Options
Our Hickman Design Registration Pins are designed with flexibility in mind, offering multiple ways to secure them for different printmaking setups. These versatile mounting options ensure you can adapt quickly, whether working on temporary projects or establishing a more permanent alignment system.
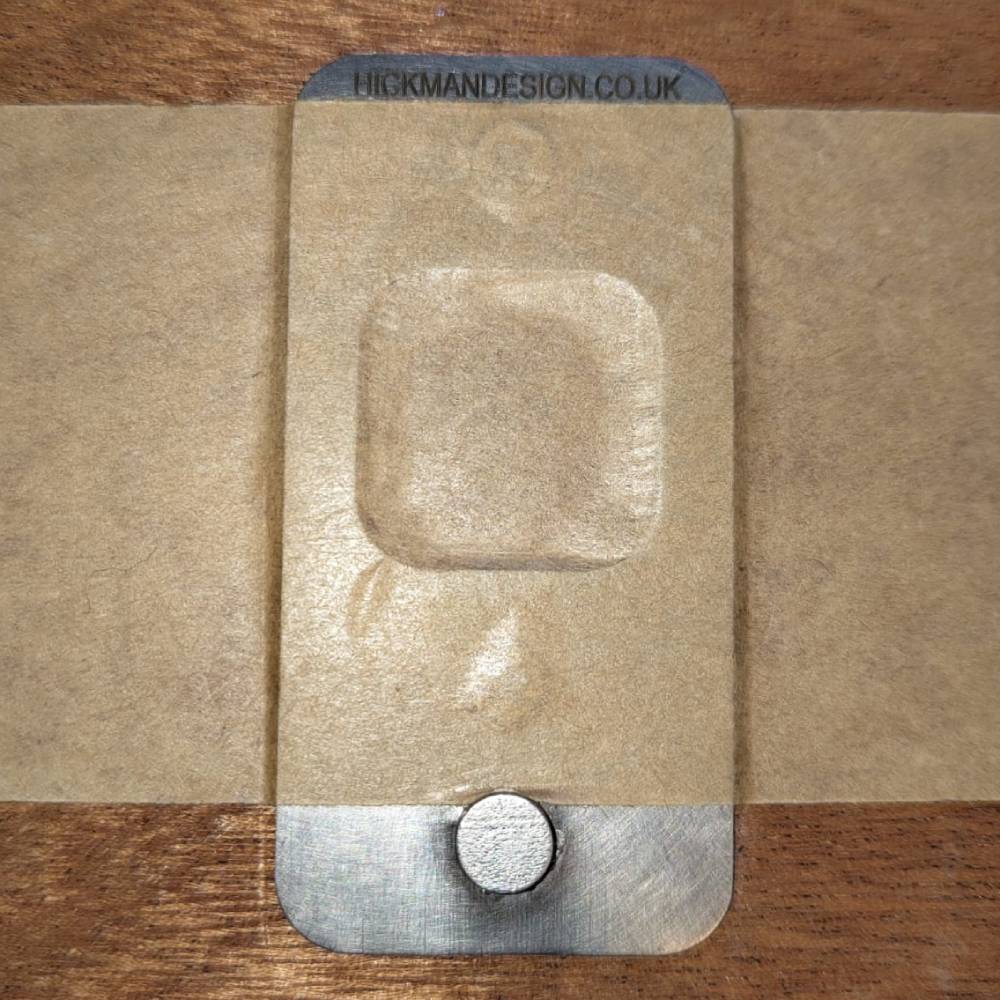
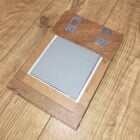
Tape Mounting (Temporary Use)
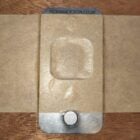
- Quick Setup – Central hole (20 mm × 20 mm) allows easy temporary fixing with tape.
- Flexible Use – Ideal for temporary surfaces or when frequently changing layouts.
- Screen Printing Friendly – Perfect for rapid adjustments on a printing bed.
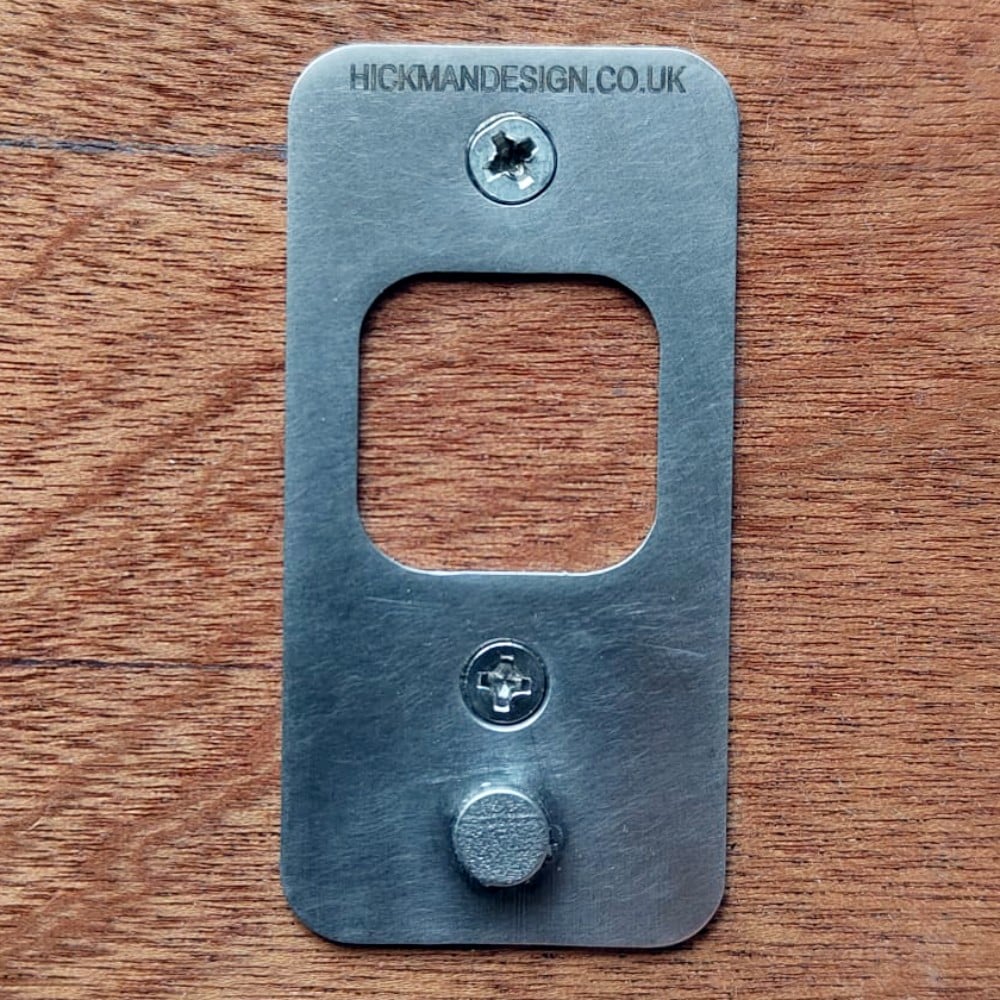
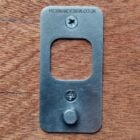
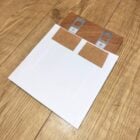
Screw Mounting (Permanent Use)
- Precision Fit – Two countersunk holes (0.7mm – 0.6mm) for secure attachment with screws.
- Stability for Long Runs – Mount directly to a wooden board for consistency over large print runs.
- Reduced Slippage – Eliminates movement issues common with other tools.
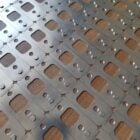
Durable and Reliable Construction
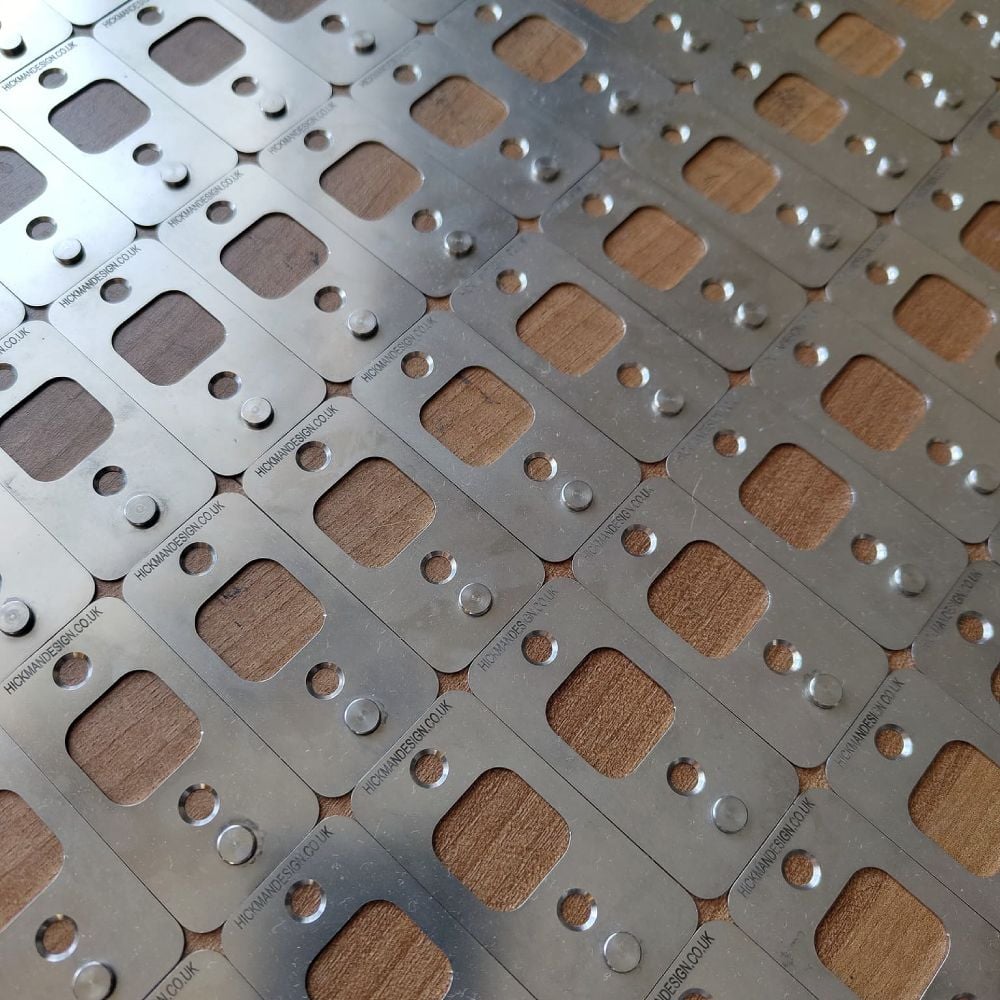
- Material – Made from 0.8 mm thick stainless steel, resistant to bending and wear.
- Low Profile – Total height of 2.5 mm, designed to sit just below the surface of a lino sheet in a press.
- Production Tolerance – Slight variation of up to 0.1 mm may occur during manufacture but will not affect performance.
- Built to Last – Withstands continuous press runs without losing accuracy.
Broad Compatibility Across Printmaking Techniques
- Lino Printing – Perfect for multicolour linocut prints.
- Screen Printing – Ensures flawless colour registration.
- Woodblock Printing – Provides reliable positioning for relief blocks.
- Other Relief Methods – Enhances accuracy across a wide range of printmaking practices.
⚠️ For etching you will need to raise the plate so it is higher than the pin of 2.5mm, this is to ensure the plate and pin can run through the rollers. We recommend testing on your setup as the pins may interfere with printing press rollers.
Product Specifications at a Glance:
- Material: Durable stainless steel
- Dimensions:
- Base: 60mm x 30mm x 0.8mm
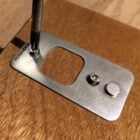
- Pin Height: 6.35mm x 2.5mm
- Central Hole: 20mm x 20mm for tape securing
- Countersunk Holes: Two 6mm holes with countersink being 6mm, for securing with screws to surface
- Base Thickness: 0.8mm, ensures stability and durability
Printmaking Registration Pins: Step-by-Step Setup
Tools and materials
- Flat base board (plywood or MDF) cut to size – Ideally 18mm
- Offcuts of lino or card to build a temporary frame for the lino block
- Registration pins and suitable screws (10 mm supplied)
- Square and steel ruler
- Drill with 1.5 mm bit for pilot holes
- Screwdriver for hand-tightening
- Low-tack tape for paper tabs
- Clamps
- Printing paper for the edition
Build and mount
Watch Product Video on Youtube
Read our detailed guide for How to register a print for colour alignment with hickman design registration pins.
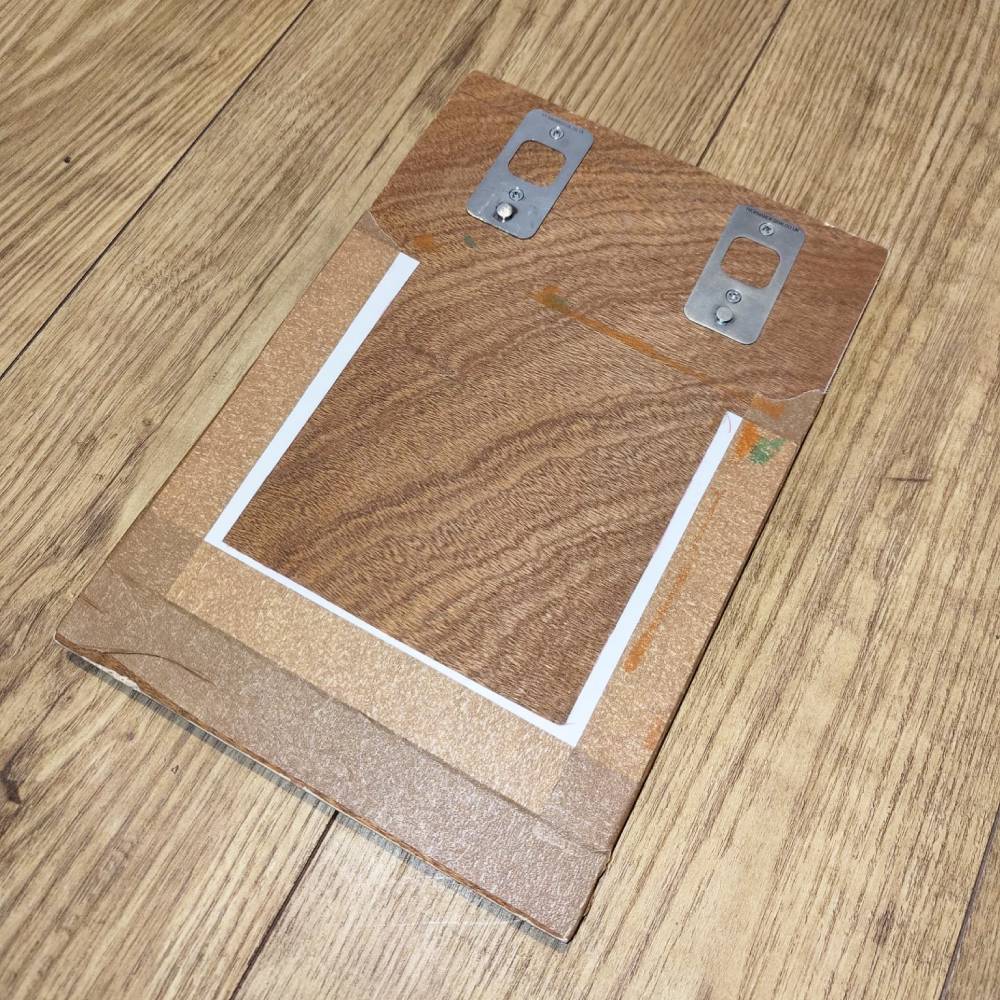
- Cut the base board to size – Ensure it is flat, square, and large enough to hold the lino plus the pins and a comfortable paper margin. Make sure your board is thick enough for 10mm screws.
- Build a snug frame for the lino – Use offcuts of lino or card taped or fixed to the base to create a temporary frame. This keeps the lino square and prevents it from creeping during printing. Mark a clear “top” on both the frame and the base so the orientation stays consistent.
- Mark a straight reference line for the pins – Using a square or ruler, draw a line parallel to the top edge of the frame where the pins will sit. Keep it far enough from the image area to allow your lower paper margin and tabs.
- Drill the top pilot holes first (1.5 mm) – Position each pin on the line and mark the top and bottom hole positions with a cross. Use a ruler to keep them square against the straight edges. Remove the pins so they don’t get damaged by the drill, and drill only the top fixing holes into the base board. Drill to a depth of 10 mm to match the supplied screws.
- Hand-screw the top screws – Fix the top screws by hand with a screwdriver so each pin is held in place but can still be nudged. Do not fully tighten yet.
- Drill the bottom pilot holes carefully – Re-check alignment and make sure the bottom hole marks still line up. Keep each pin square to the reference line, then remove the pins and drill the bottom holes slowly to avoid wandering.
- Tighten the screws – Fit both the top and bottom screws loosely at first, then snug them up once alignment is confirmed. Re-check that pins are flush, square, and co-linear.
Tip: Mark the board and frame so you always reinstall in the same orientation. Consistency removes tiny errors.
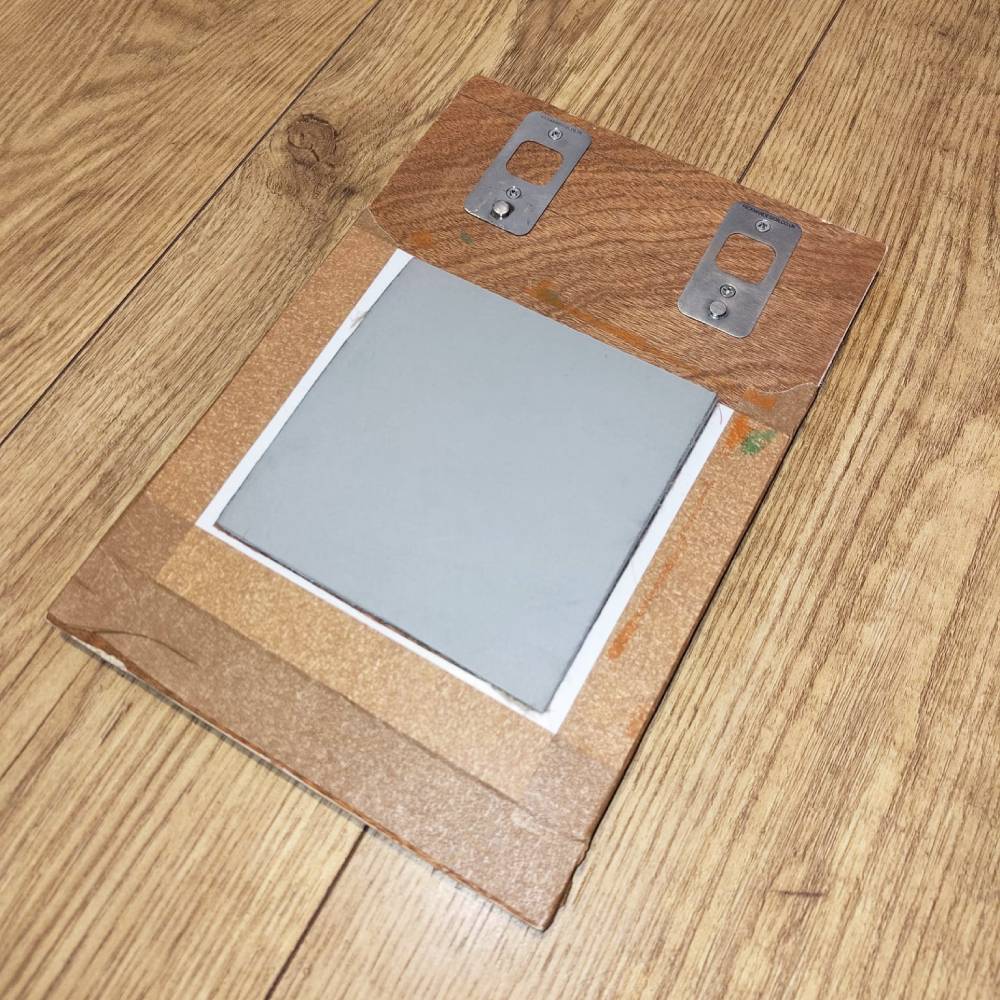
Paper registration
- Clamp a sheet of paper over the lino in the framePlace your un-inked lino in the frame. Lay one sheet of your printing paper on top and gently clamp it to stop drift.
- Register the sheet against the pinsSlide the sheet onto the pins so the bottom edge of the paper touches the base of each pin. Keep the sheet square to your frame. Ensure there is enough lower border to clear the image and accommodate the tabs.
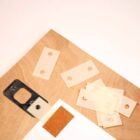
- Make and attach tabsWhile the sheet is on the pins and square:
- Place small tabs onto the pin heads, keeping them square to the pin base.
- Tape each tab to the underside of the sheet using low-tack tape.
- Remove the sheet and repeat for every sheet in the run so all tabs are identical.
Printing
Print with controlled engagement – Ink the lino and place it back in the frame. Use one hand to drop the sheet onto the pins by the tabs, and the other hand to guide and support the paper as you lay it down for the pull.
Quick checks and good practice
- Square everything: frame, pin line, and paper edge. A small square on the bed pays for itself.
- Pilot holes: 1.5 mm works well for most small screws.
- Margins: leave a generous lower margin so the sheet can fully seat on the pins without crowding the image.
- Repeatability: keep orientation marks on base, frame, and even the underside of the lino so nothing flips.
- Care when drilling: drill the top holes first, fix lightly, then drill the bottom holes for accuracy.
- Clean pins during runs: wipe ink from pin heads to keep tabs seating consistently.
Choose Hickman Design Registration Pins to streamline your printmaking processes and achieve professional, consistent, and high-quality results every time.
Disclaimer: This registration pin is a protected and registered design (Design number: 6433239) uniquely created by Wainman Enterprises Ltd trading as Hickman Design. It is also trademarked, meaning unauthorised reproduction, replication, or imitation is strictly prohibited under intellectual property law in the UK, EU, USA (Patent Pending), China and Internationally.


Kelly Nixon –
These registration pins are fantastic. Beautifully made and they come with screws so you can screw the pins down, which is a great idea. If you’re looking for registration pins I would highly recommend these as they are quality.
Barbara-Ann –
Great pins for printmakers-better than Ternes Burton! Friendly and prompt replies to emails and super fast dispatched orders. I’m absolutely delighted to have discovered Hickman Design while searching for Ternes Burton metal pins, which are no longer made. (In the vain hope someone had some) The Hickman Design pins are superb and I believe are a better design and the work with the Ternes Burton tabs. They can also be screwed onto a board which is great for hand printers. Highly recommend them.
Betsy –
Excellent quality, good and strong. I got a very good registration result when using them
irene –
Hickman metal Registration Pins, excellent robust registration pins, delivered swiftly. They work really well and hickmandesign.co.uk also show a step by step process on their website on how to use them both fixed (drilled/screwed) as well as taped which I found incredibly helpful. Would definitely recommend and love the fact they are metal and not plastic.
Fiona L –
This has markedly improved the accuracy of my printing when making reduction linoprints
Beth –
Absolutely fantastic. Super sturdy and a great alternative for any printmakers missing the TB metal pins. Definitely my go to now!
Dave Smith –
I realley like the design and build quality of these tabs. The company was super helpful in getting them to me, the price was very reasonable and shipping was quite fast. Thanks!
breeze_breeze – eBay –
I thought I was buying a pair of registration pins but they are sold individually which I hadn’t spotted. (My mistake). I had to order another one, – doubling the price and more postage. However the seller added in some lino to offset the extra postage which was nice of him. They look well made, very sturdy and will probably last for ever!
Joanne Edwards – Google –
Bought steel registration pins. First purchase from Hickman Design. High quality product & prompt delivery. Will buy art/printmaking items from them again.
Denise Janssen –
Good quality
Chris Kelly –
Very sturdy, robust and well made
ianm3096 – eBay –
Delighted with the Registration Pins, in excellent condition, securely packaged, exactly as described, very good quality finish, they look much better than I imagined they would, value for money and the postage was very reasonable, coupled with prompt delivery, purchasing the Pins was a very enjoyable experience. I will definitely buy from this seller again.
rebecca perdue –
This company is a new discovery for me and I have to say that I am delighted with the service I received. Prompt communication after my order – and throughout, with updates about posting and delivery – a customer service touch that I really appreciate. The items (registration pins) are superb quality and were dispatched same day. I will certainly be buying again. Superb! Thank you 😊
Jacqui Jones – Google –
Great range of products, very reasonably priced and posted promptly. I recently bought the registration tabs at a reduced price because they were damaged stock. They worked well for me when they were taped in place, and the 3 colours of my relief print were perfectly aligned
Yvonne –
Great product, easy to use. Would Definitely recommend.
Frapperge –
Works perfectly for registration. Prompt delivery. Good service.
ZW –
I bought Hickman registration pins and tabs after finding Ternes Burton metal pins discontinued and alternatives not so good. These are brilliant, They look very good quality and the supplied tabs and my old Ternes Burton taps fit perfectly. The screw fix option is useful too. I will buy more when needed.
Mike Cross –
Great delivery response and superb piece of equipment to aid my printing process